



Contents: Removal and installation the front…⬇ Replacing the bulbs in the front…⬇ Removal and installation the sunroof…⬇ Removal and installation,…⬇ Removal the left or right rear…⬇ Removal and installation the glove…⬇ Removal and installation the glove…⬇ Removal and installation the open…⬇ Removal and installation lights in…⬇ Removal and installation rear…⬇ Removal and installation the luggage…⬇
Removal and installation the front interior light
Caution: When using a pry tool, cover the areas where the pry tool is inserted with regular tape.
The shape of the lampshades and their controls can have different designs (depending on the configuration), the installation work is identical.
Switch off the ignition and all electrical consumers. Using wedge "3409", release cover "2" from the clips and fold it down. Unscrew the screws "arrows" (2 Nm) and, having folded back the interior light "1", leave it hanging on the mounting frame "3". Disconnect the connector.
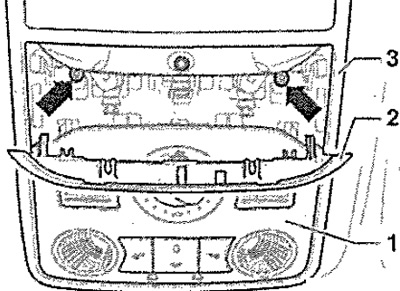
Installation in reverse order.
Replacing the bulbs in the front interior light
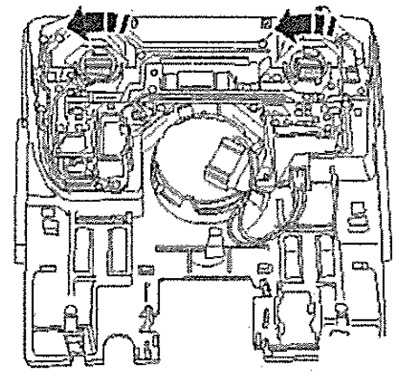
Remove the front interior light (no need to disconnect connectors). Turn the cartridge with the arrow lamp and remove it.
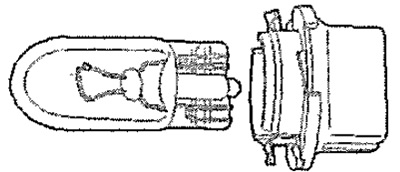
Carefully remove the incandescent bulb from the socket and replace it (W5W).
Installation in reverse order.
Removal and installation the sunroof switch with sliding cover
Remove the front interior light. Unlock the connector and disconnect it from the switch in the light. Unlock the "arrow" latches and remove the sunroof switch with sliding cover from the trim.
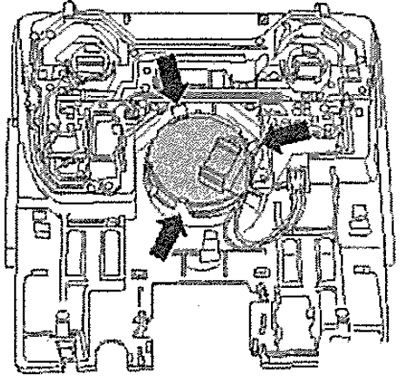
Installation in reverse order.
Removal and installation, replacement of the middle rear interior light
Turn off the ignition and all electrical consumers. Using a wedge, release the trim with the diffuser from the interior light of the "arrow" and remove it.
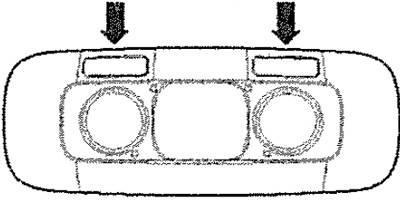
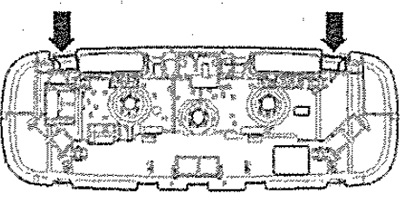
Unlock the "arrow" stops and remove the interior light from the ceiling trim. Disconnect the connector.
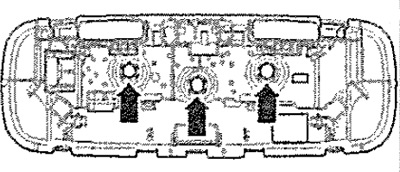
Remove the faulty incandescent lamp from the socket and replace it (W5W).
Installation in reverse order.
Removal the left or right rear interior light
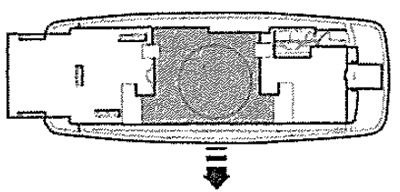
Using a small screwdriver, carefully unlock the locking tab "see arrow", open the interior light fixture and remove it. Disconnect the connector.
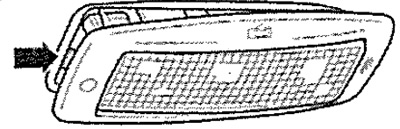
Remove the "arrow" diffuser and replace the incandescent lamp (C5W).
Installation in reverse order.
Removal and installation the glove box light
Caution: When using a pry tool, cover the areas where the pry tool is inserted with regular tape.
Turn off the ignition and all electrical consumers. Insert a flat-head screwdriver under the diffuser and carefully detach the lamp.
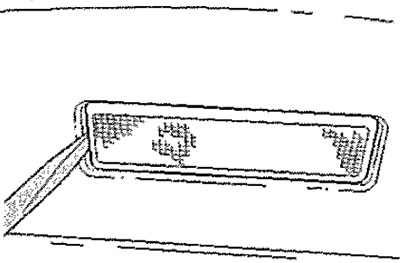
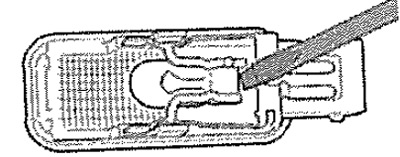
Remove the faulty bulb (W5W) and replace it. If necessary, disconnect the connector and remove the lamp.
Installation in reverse order.
Removal and installation the glove compartment light in the front part of the center console
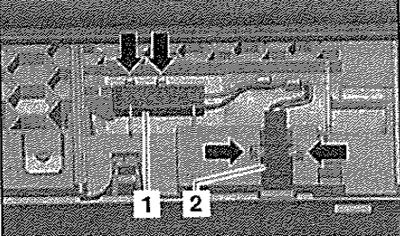
Remove the glove compartment light in the front part of the center console. Release the light "1" and connector "2" from the retaining tabs "arrows".
Installation in reverse order.
Removal and installation the open door warning light
Caution: When using a pry tool, cover the areas where the pry tool is inserted with regular tape.
Turn off the ignition and all electrical consumers. Insert a flat-head screwdriver under the diffuser and carefully remove the lamp.
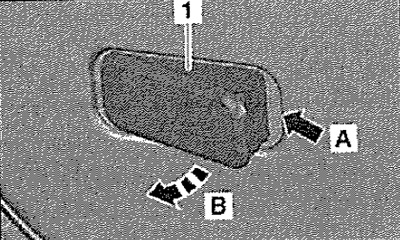
Fold back the "arrow" light cover.
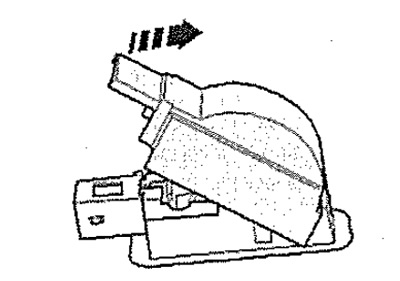
Carefully remove the incandescent bulb (W5W) from the socket and insert a new one.
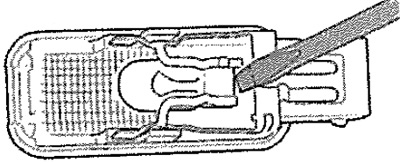
Installation in reverse order.
Removal and installation lights in the driver's and front passenger's footwell
Note: The procedure for removing and installing the front passenger footwell light is the same as for the driver's side.
Insert a flat-head screwdriver from the side of the cutout under the trim "see arrow" and carefully remove the light. Disconnect the connector.
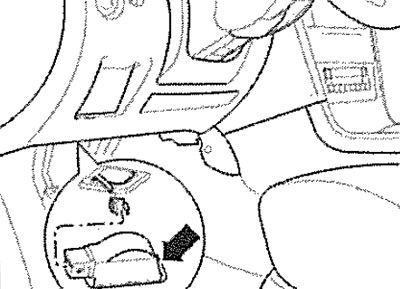
Replacing an incandescent light bulb
Open the cover of the lamp "see arrow".
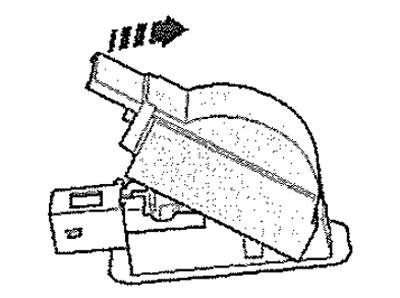
Carefully remove the incandescent bulb (W5W) from the socket and insert a new one.
Installation in reverse order.
Removal and installation rear footwell lights
Turn off all electrical consumers and remove the ignition key. Insert a flat-blade screwdriver under the cover "see arrow" and carefully remove the light. Disconnect the connector.
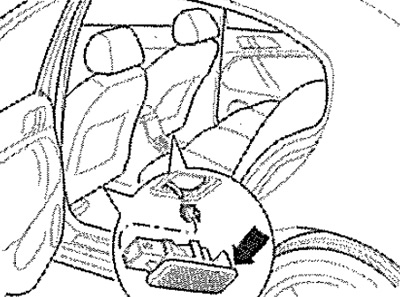
Replacing an incandescent light bulb
Fold back the lamp cover "see arrow". Carefully remove the incandescent lamp (W5W) from the socket and insert a new one.
Installation in reverse order.
Removal and installation the luggage compartment light
Switch off all electrical consumers and remove the ignition key. Pry the light in the recess using a wedge "3409" or a small screwdriver and remove it from the trim.
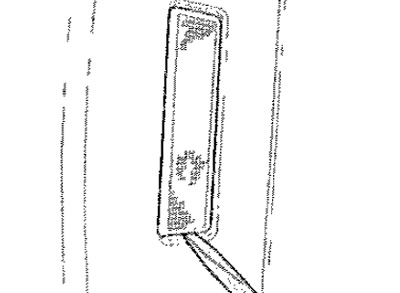
Remove the faulty bulb (W5W) and replace it. If necessary, disconnect the connector and remove the lamp.
Installation in reverse order.