
General description
1. Be guided Chapter 13, paragraph 1. Before starting work, in the case of circuits that cannot be switched off (e.g. interior lighting), remove the appropriate fuse or disconnect the negative cable from the battery.
Interior lighting
2. Remove the light assembly with a small flathead screwdriver (photo).
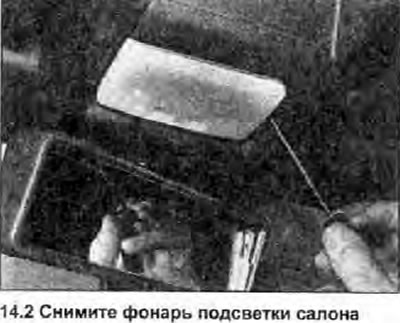
3. The lamp is simply removed from the contacts.
4. Install in the reverse order of removal, but make sure the contacts are securely holding the lamp.
Trunk light
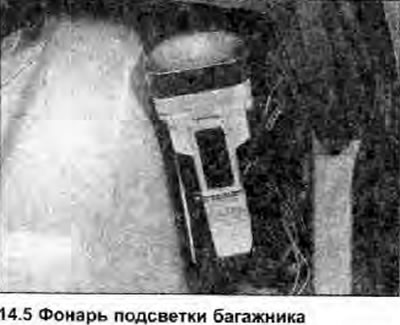
5. The trunk light also functions as a flashlight. To replace the lamp, first remove the flashlight from the holder (photo).
6. Remove the lens/reflector assembly by using a screwdriver to separate it from the flashlight body.
7. Press the bulb into the holder, turn counterclockwise and remove (photo).

8. Install in the reverse order of removal.
Instrument panel lamps and indicator lamps
9. Remove the dashboard (Chapter 19).
10. Remove the cartridge from the back of the dashboard by turning it counterclockwise (photo).
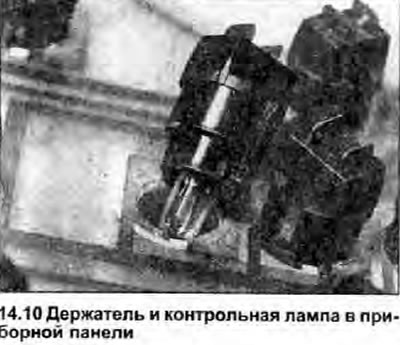
11. Baseless type lamp; just take it out of the holder.
12. Install in the reverse order of removal.
Heater control panel lighting
13. Remove the central switch panel (Chapter 12).
14. Remove the cartridge from the back of the heater control panel by turning it counterclockwise.
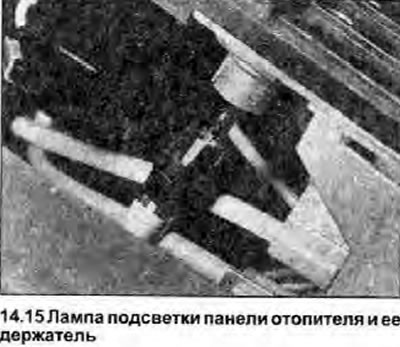
15. Baseless type lamp; just take it out of the holder (photo).
16. Install in the reverse order of removal.
Switch lighting
17. Switches for headlights, position lamps, rear window defroster, alarm, front fog lamp (where available) and rear fog lights are equipped with a backlight; some also have an indicator lamp that lights up when the circuit is on.
18. Remove the appropriate switch panel as described in Chapter 12 from this section.
19. Remove the cartridge from the back of the switch by turning it counterclockwise.
20. Baseless type lamp; just take it out of the holder (photo).
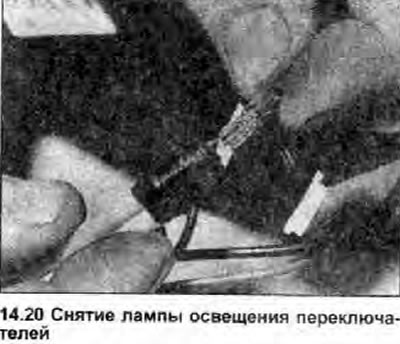
21. Install in the reverse order of removal.