



Contents: Removal and installation the…⬇ Removal and installation the front…⬇ Removal and installation the rear…⬇
Removal and installation the driver's side footwell duct
1. Remove the cover under the dashboard on the driver's side.
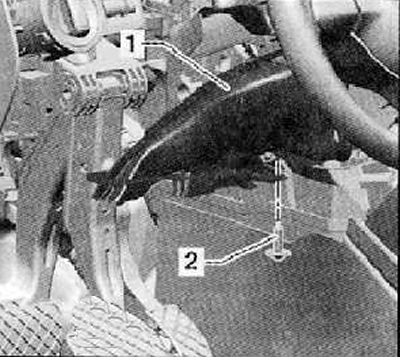
2. Unscrew the fastening screw (2) shown in the figure below, then remove the air duct (1). The tightening torque of the fastening screw during installation is 1.5 Nm.
3. Installation is carried out in the reverse order of removal.
Removal and installation the front passenger footwell air duct
1. Remove the cover under the dashboard on the front passenger side.
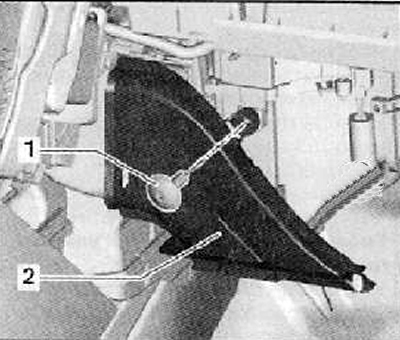
2. Unscrew the fastening screw (1) shown in the figure below, then remove the air duct (2). The tightening torque of the fastening screw during installation is 1.5 Nm.
3. Installation is carried out in the reverse order of removal.
Removal and installation the rear footwell air duct
1. Remove the driver's and passenger's seats (for more details, see the relevant section in the chapter Body).
2. Remove the center floor console (for more details, see the relevant section in the chapter Body).
3. Remove the lower parts of the front and central pillar trim panels (for more details, see the relevant section in the chapter Body).
4. Remove the interior floor covering.
5. Turn in the direction of the arrow to detach from the center air distributor (1) and remove the rear footwell air ducts (2), as shown in the figure below.
6. Installation is carried out in the reverse order of removal.
(Material is available on the website: skodabook.ru)