



Contents: Execution 1 ⬇ All ⬇ Execution 2 ⬇ Execution 3 ⬇ Performance 4 ⬇ Performance 5 ⬇ Execution 6 ⬇ Execution 7 ⬇
Note: Fuel vacuum and ventilation line quick release couplings are color coded. The quick release coupling has a dot of the desired color, or the release button is painted in this color.
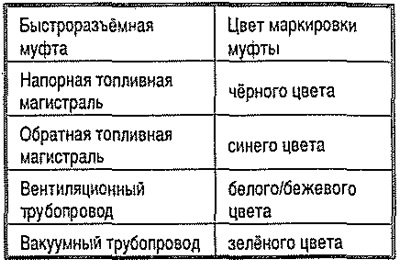
Caution! The fuel pressure line is under pressure! Before disconnecting the hoses, place a rag around the connection. Then, carefully loosen the connection to release the pressure. If the quick-release coupling has a plastic retaining ring, then this ring can be left on when removing and installing the coupling.
Execution 1
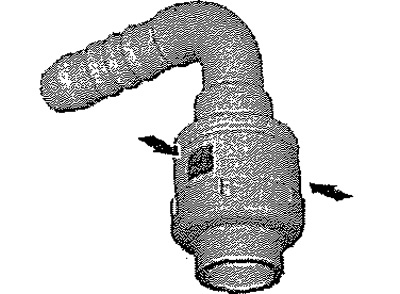
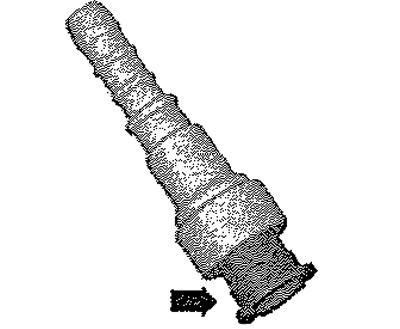
A fitting with release buttons "arrows" on the right and left.
Disconnection
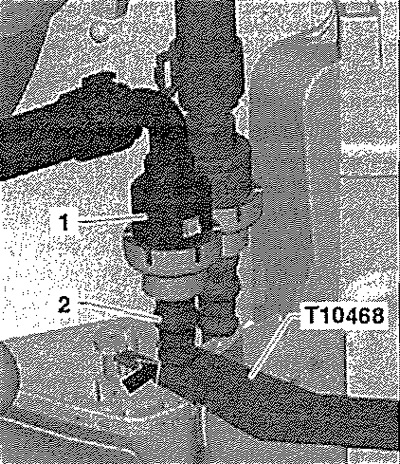
Hold the connection point "1" in the engine compartment. Insert the lever "T10468" between the heat shield and the stop "arrow" of the fuel line "2" and hold it in this position.
All
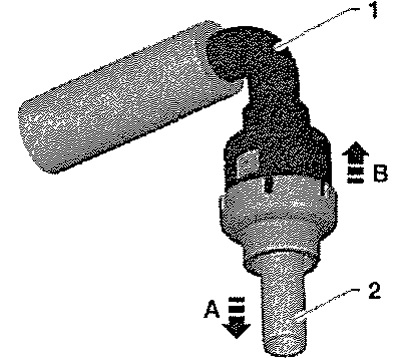
Press the coupling "1" in the "direction of arrow A". Press the release buttons and disconnect the plug-in connection "1" in the "direction of arrow B" from the fuel line "2". Observe the color when installing! Check the reliability of the fastening by pulling the connection in the opposite direction!
Execution 2
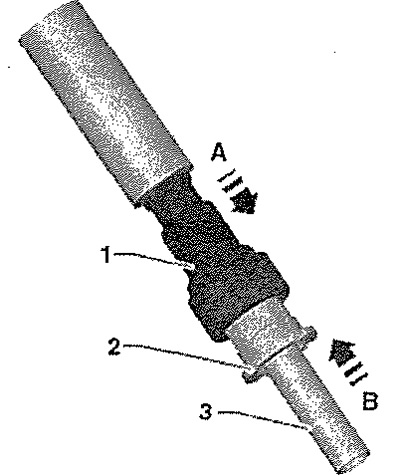
Coupling with "arrow" lock.
Disconnection
Press coupling "1" in the "direction of arrow A". Pull lock "2" in the "direction of arrow B". Disconnect plug-in connection "1" in the "direction of arrow B" from fuel line "3". Observe color when installing! Check the reliability of fastening by pulling the connection in the opposite direction!
Execution 3
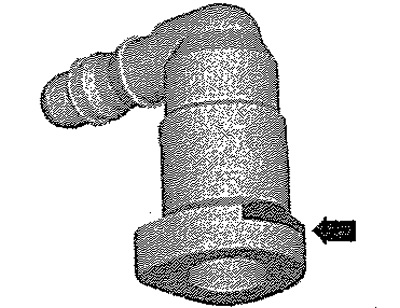
Coupling with a front "arrow" button.
Disconnection
Press the "arrow" release button and remove the coupling. When installing, take into account the color! Check the reliability of the fastening by pulling the connection in the opposite direction!
Performance 4
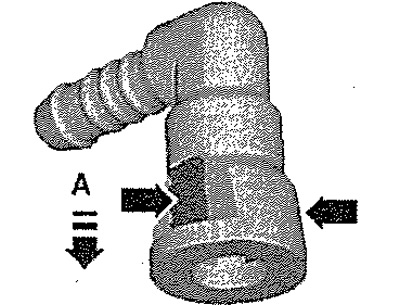
A fitting with release buttons "arrows" on the right and left.
Disconnection
Press the coupling in the direction of "arrow A". Press the "arrow" release buttons and remove the quick-release nipple. When installing, take into account the color! Check the reliability of the fastening by pulling the connection in the opposite direction!
Performance 5
A fitting with release buttons "arrows" on the right and left.
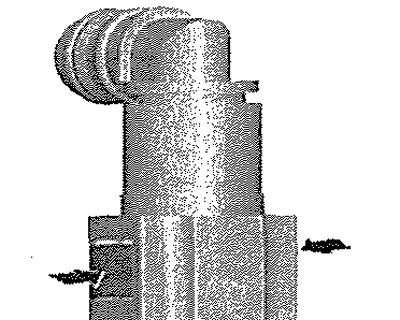
Disconnection
Press the "arrow" release buttons and remove the quick-release fitting. When installing, take into account the color! Check the reliability of the fastening by pulling the connection in the opposite direction!
Execution 6
A fitting with release buttons "arrows" on the right and left.
Information published on the website (SKODABOOK)
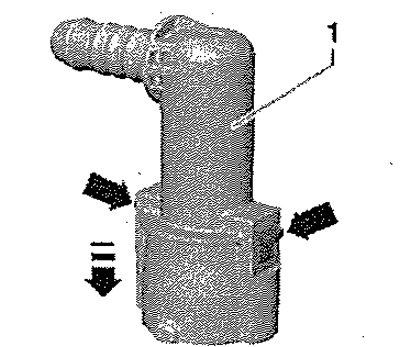
Disconnection
Press the coupling "1" in the "direction of the arrow" and hold it. Press the "arrow" release buttons and remove the quick-release nipple. When installing, take into account the color! Check the reliability of the fastening by pulling the connections in the opposite direction!
Execution 7
Quick release coupling "1" with release buttons "2" on the right and left.
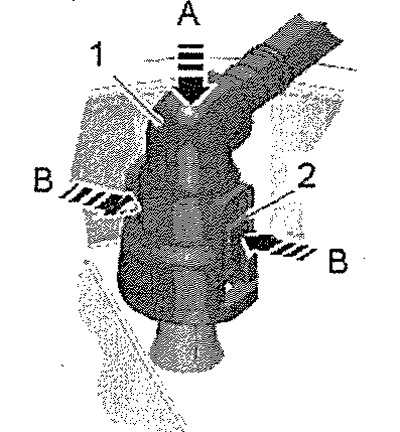
Disconnection
Press the coupling "1" in the "direction of arrow A" and hold it pressed. Press the release buttons "2" in the direction of arrow B- and remove the coupling "1". Observe the color marking during installation. The quick-release coupling must lock with a clearly audible click. Check the reliability of the fastening by pulling the connections in the opposite direction!