



Contents: For vehicles with front wheel drive ⬇ Car with independent heater ⬇ All ⬇ All ⬇ Installation ⬇
For vehicles with front wheel drive
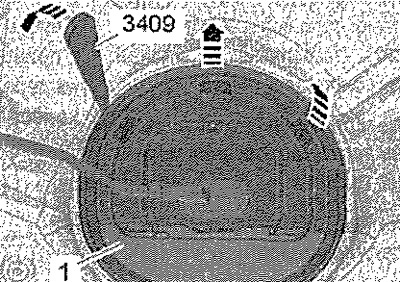
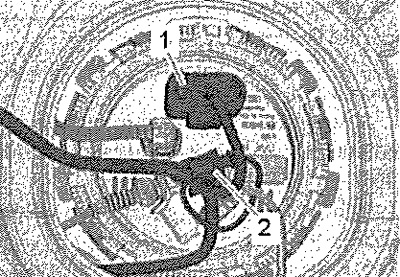
Remove the rear seat. Unlock the fasteners of the cover "1" of the connecting flange using the wedge -3409 "arrows". Disconnect the connector "1" from the fuel pump.
Car with independent heater
Disconnect connector "2" of the independent heater metering pump.
All
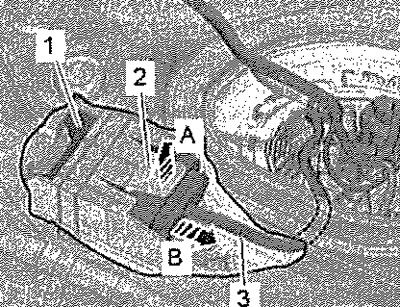
Press the fastening "2" upwards in the direction of "arrow A", grasping it with your finger between the supporting base of the body and the fuel tank. At the same time, carefully remove the fuel pump control unit from the clamp "J538" "1" via wiring "3" "arrow B", Remove the fuel pump control unit "J538" between the fuel tank and the supporting base.
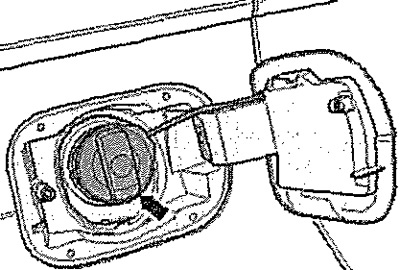
Clean the area around the filler neck. Unscrew the "arrow" cap of the filler neck.
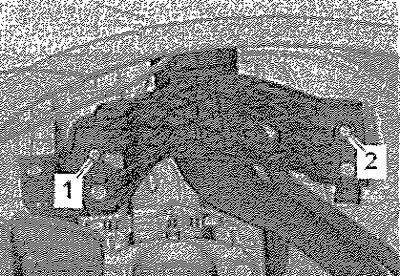
Remove the right rear wheel. Remove the rear right mudguard. Unscrew the screws -1 and 2- securing the fuel tank filler neck.
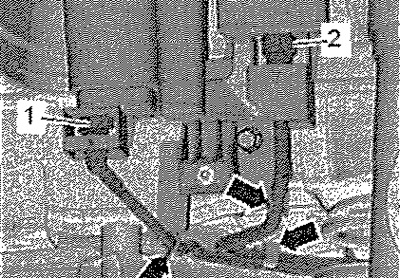
Disconnect ventilation hoses -1 and 2- of the adsorber. Disconnect the ventilation hoses from the fasteners on the "arrow" bracket.
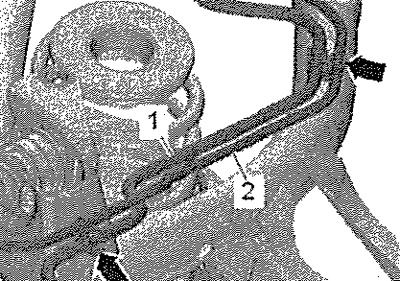
Disconnect ventilation hoses -1 and 2- from the fastenings on the "arrow" bracket. Remove the rear muffler.
All
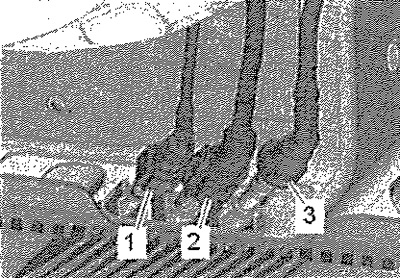
Disconnect the ventilation hose "3" and the fuel line "2".
Note: On vehicles with an independent or additional heater, it will also be necessary to disconnect fuel line "1" of the metering pump "V54".
Caution! The fuel tank is heavy - risk of accident. The fuel tank must be empty when removed. Before removing, mark the installation position of the fastening clamp.
Unscrew the fastening screw "4". Remove the exhaust system bracket. Unscrew the screw "2" and remove the clamp.
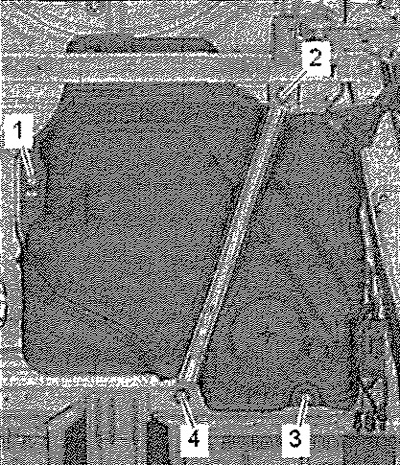
To avoid hanging, place the engine and transmission jack "VAG 1383 A" under the car and support the fuel tank on it, as shown in the figure. Unscrew screws -1 and 3-.
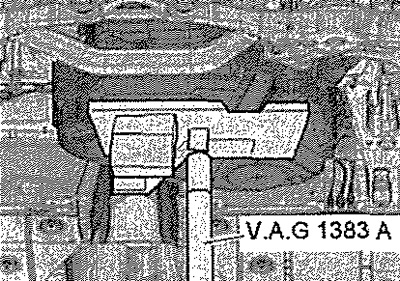
Lower the fuel tank by tilting it to the side appropriately. At the same time, pull out the filler neck with the help of a second mechanic.
Installation
Check both ground connections for corrosion, clean if necessary. Check the installation position of the ground wire. With the help of a 2nd mechanic, run the filler neck between the rear suspension and the body. Then place the fuel tank on the engine and gearbox lift "VAG 1383 A". Installation is in the reverse order. The ventilation and fuel lines must be laid without kinks. Do not confuse the supply and return lines (return - blue, supply - black). Ensure a secure connection of the lines. After installing the fuel tank, check whether the lines are secured to it.
Original text is located on (skodabook)