
Assembly diagram of the rear bumper
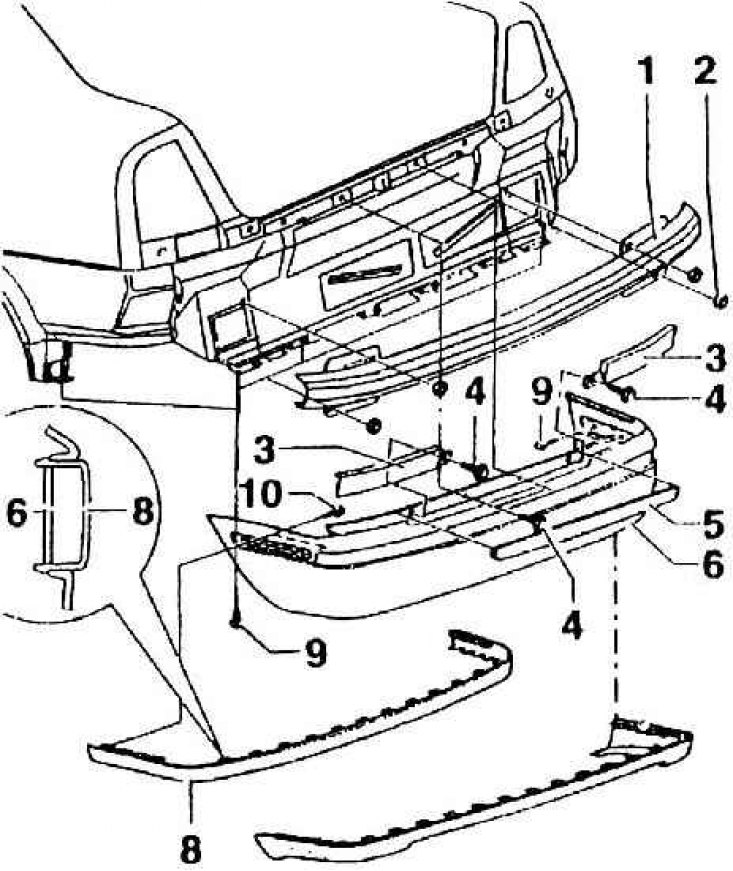
1 - cross member (deformable part); 2 - hex nut; 3 – naschelnik under a back dimensional lantern; 4 - 1 Nm; 5 - flashing (pressed into the bumper clamps); 6 - bumper; 8 - buffer overlay; 9, 10 - screws
Disassembly
1. Remove bumper 6.
2. Unscrew the hexagon nut 2 and remove the cross member.
3. Open the trunk lid.
4. Remove flashing 5.
5. Remove screws "Togh" 4 and, having shifted the trim under the rear position lamp 3 to the middle of the car, remove it.
6. Remove buffer pad 8.
7. Remove screws 9.
8. Having moved the trunk side molding, unscrew the screws 10.
9. Remove the bumper back.