Removing
Note.
- The process of removing and installing the left headlight is described below, the removal of the right headlight is similar.
- Before removing the cartridges from the headlamp housing, their location must be marked with a suitable marker.
1. Turn off the ignition and all electrical consumers.
2. Remove the front bumper assembly (for details, see the relevant section in chapter Body).
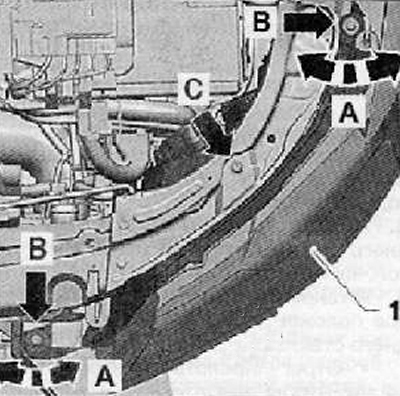
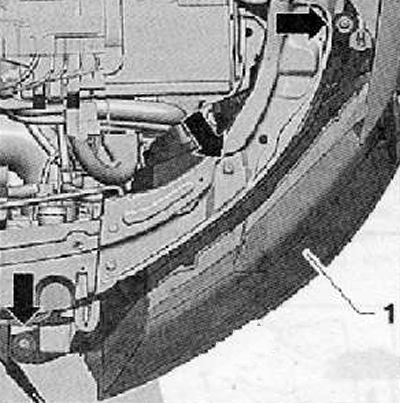
3. Unscrew the fastening screws (arrows), shown in the figure below.
4. Disconnect the wiring harness connector and remove the headlight assembly (1), as shown in the figure below.
Installation
Installation is carried out in the reverse order of removal.
Install the headlamp in relation to the body panels properly.
Install bumper assembly (for details, see the relevant section in chapter Body).
Moving the setting element (A) (arrows), as shown in the figure below, finally install the headlight in its original position, relative to the body panels, as shown in the figure below.
Tighten the fastening screws (IN), then tighten the fixing screw (WITH), shown in the figure below. The tightening torque of the fastening screws during installation is 3.5 Nm.
Note. The mounting element will align automatically when the fastening screw is tightened (WITH).