
Removing
1. Drain the coolant for more details, see the relevant section in the chapter Cooling system).
2. Remove the air filter housing for more details, see the relevant section in the chapter Intake and exhaust system).
3. Remove the oil filter element (3), as shown in the figure below.

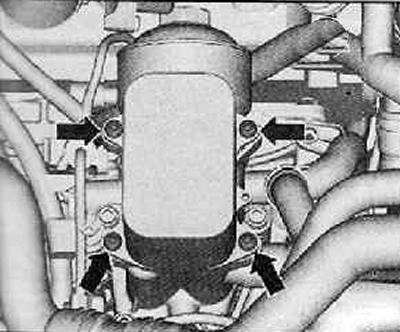
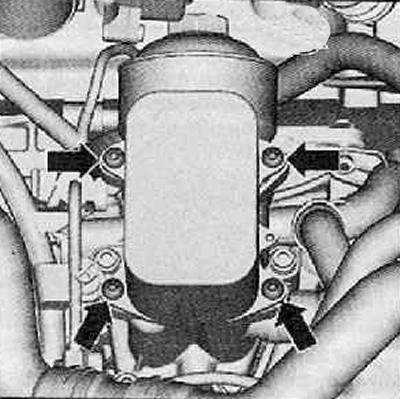
4. Unscrew the fastening screws (arrows) shown in the figure below.
5. Remove the oil cooler from the frame as shown in the figure below.
Installation
Installation is carried out in the reverse order of removal.
Note.
- Replace seals, O-rings and O-rings.
- Before proceeding with the installation of the hose connections, as well as the pipes and the charge air hose itself, it must be ensured that they are free of oil and grease.
- Hose connections are fixed with spring clamps. When repairing, use only spring clamps.
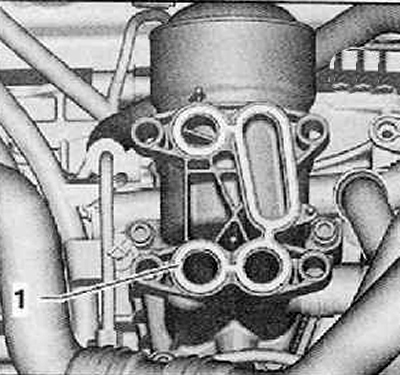
Insert new seal (1) into the mounting points on the oil filter holder as shown in the figure below.
Install the engine oil cooler carefully onto the dowel pins.
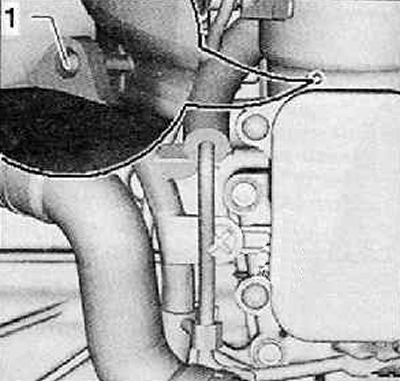
Press the engine oil cooler so that it rests on the end of the dowel pins (1), as shown in the figure below.
After inserting new screws, screw them in until they stop.
Tighten the fastening screws (arrows) crosswise in three steps:
- step 1: pull up by hand only;
- step 2: 5 Nm;
- step 3: 11 Nm.
Install the oil filter element, add engine oil and check the engine oil level.
If the engine oil cooler has been replaced, it is necessary to add or change the coolant.