



Removal
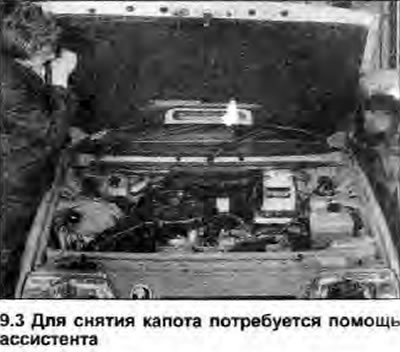
Note: This procedure will require the assistance of an assistant.
1. Open the hood and place a thick layer of rags under each of the rear corners to protect the paint from damage.
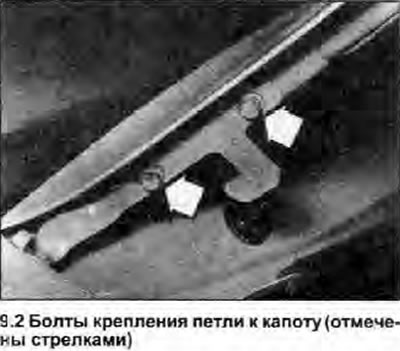
2. Trace the hood hinges with a pencil, then loosen the bolts that secure them to the hood (see photo).
3. Supporting the hood with an assistant, lower its support and unscrew the bolts. Remove the hood (see photo).
[Text taken from this website: skodabook.ru]
4. If it is necessary to remove the hood support, remove it from the rubber bushing located on the hood lock plate.
Installation
5. Install in the reverse order of removal. If installing the old hood, align the marks made before removal. When installing a new hood, center the bolt holes on its hinges. Tighten the hinge bolts to the hood only slightly at first, then carefully close the hood and make sure it is centered relative to the adjacent body panels.
6. After the hood position has been adjusted (see below), tighten the bolts to the specified tightening torque Specifications.
Adjustment
7. If the distance between the hood and the front fenders is not the same, loosen the bolts securing the hinges to the hood and move the hood on the hinges to the desired side so that it is centrally positioned, then tighten the bolts to the specified tightening torque Specifications.
8. If the hood is higher or lower than one of the front fenders when closed, move the rubber hood mounts all the way down by screwing them into the lock panel, then close the hood and check its height relative to each fender. Screw the locking pin into the hood to reduce its height, or screw it out to lengthen it; when the pin height is correct (that is, when the hood is closed, it is flush with the fenders) adjust the position of the rubber cushions until they just touch the back of the hood.
9. If necessary, adjust the position of the hood lock, using the Chapter 10.