
Removing
Lock
1. Open the tailgate, remove the interior trim panel (Chapter 22) and a polyethylene membrane.
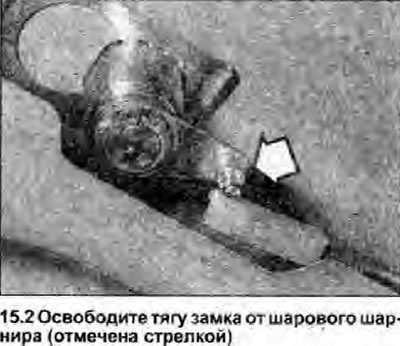
2. Carefully separate the ball joint, disconnect the lock rod from the lever (photo).
3. Move the lock bracket to the tailgate to the right (if you look at the lock from the salon), and then remove the lock.
Latch
4. Open the tailgate, and remove the interior trim panel (Chapter 22) and a polyethylene membrane.
5. Carefully separate the ball joint, disconnect the lock rod from the lever.
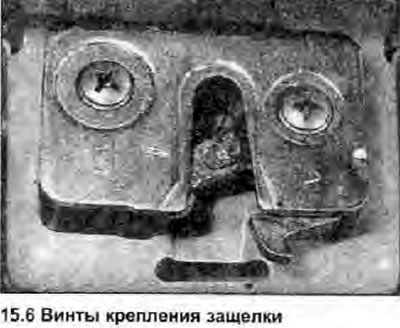
6. Remove the two screws securing the latch to the tailgate (photo), and remove both halves of the latch.
Blocking pin
7. Open the tailgate and draw around the locking pin with a pencil, then unscrew the two screws and remove the pin (photo).

Installation
Lock
8. Install in the reverse order of removal.
Latch
9. Install in reverse. withdrawal order; lubricate all moving parts and locking pin (Section 1).
Blocking pin
10. Align the locking pin with the marks made before removal: if new components were installed. center the locking pin over the screw holes, then lightly tighten the screws and check how the tailgate closes (see below). Finally, tighten the screws.
11. Close the tailgate and check that it is evenly pressed against the seal along the entire perimeter and is centered relative to the opening in the body.
12. If the installation is not correct, open the tailgate and loosen the locking pin fixing screws, then correct the pin position so that the door closes properly.
13. Finally, tighten the screws securing the locking pin, and check the operation of the tailgate lock.