



Contents: Removal and installation windshield…⬇ Removal and installation the…⬇ Removal and installation the rain…⬇
Removal and installation windshield wiper arms with brushes and adjusting their end position
Note: If the windscreen wiper motor needs to be switched on during work, the bonnet must be closed and the ignition must be switched on, otherwise the power supply to the windscreen wiper motor will be interrupted.
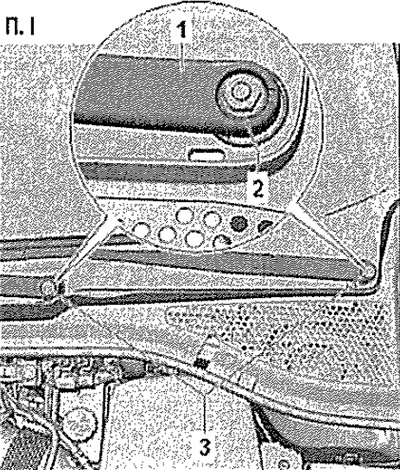
Turn off the ignition and all electrical consumers. Remove the protective caps "3" with a screwdriver. Loosen the nuts "2" a few turns.
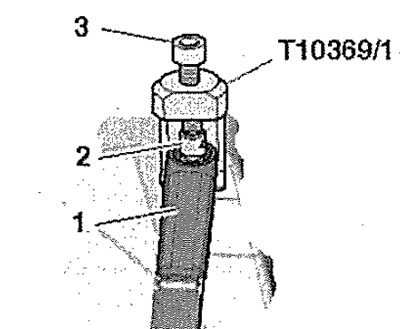
Place the "T10369/1" wiper arm puller on the arm, as shown in the figure.
Note: Always use stop "2" to release the wiper arms to prevent damage to the threads on the wiper motor shaft.
Remove windshield wiper arm "1" from the shaft by turning the pressure screw "3". Unscrew the nuts and remove the arms.
Installation
Note: Every second time the wiper motor is switched off, it moves to an offset end position in which the wiper blades point in the other direction. The wiper motor then moves downwards and then slightly upwards again. This offset end position cannot be used to adjust the wiper arms. The end position in which the wiper motor moves forward and without moving towards the lower end position must be used. If the wiper motor moves towards the offset end position, the wipe stroke must be switched on again. The offset end position function is activated after 100 wiper cycles from the time of coding or when a new wiper motor is installed. Whether this function is already activated can be determined by switching the wiper motor on and off again.
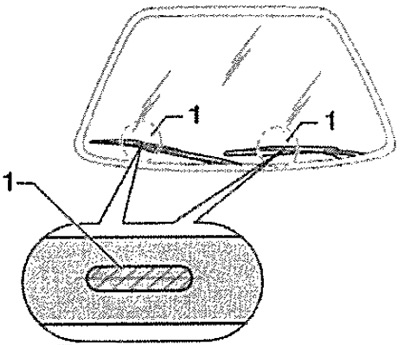
Switch the windshield wiper motor on and off and let the levers go to the end position to adjust the windshield wiper arms. Install the windshield wiper arms with the blades and align the wiper blades so that they match the marks on the windshield "1". Lightly tighten the mounting nuts. Switch to single-use mode and recheck the adjustment of the windshield wiper arms, adjust if necessary. Tighten the mounting nuts (21 Nm).
Note: The tolerance between the wiper blade and the "1" mark is ±2 mm.
Removal and installation the windshield wiper motor with a lever mechanism
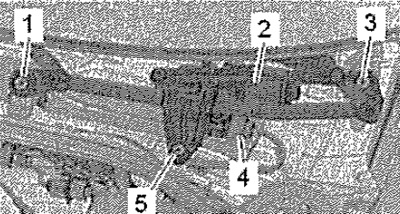
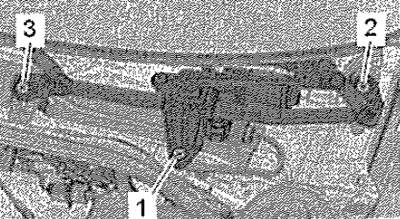
Switch off the ignition and all electrical consumers. Remove the windshield wiper arms with brushes. Remove the water drain box cover. Unscrew screws "1", "3" and "5". Remove the windshield wiper motor with the lever mechanism -2- from the water drain box. Disconnect connector "4".
Installation
Installation in reverse order. After preliminary positioning of the unit, tighten the screws in the sequence "1", "2" and "3" first by hand. Then tighten in the same order with a torque of 8 Nm.
Removal and installation the rain and light sensor "G397"
Caution! When removing the rain and light sensor "G397" from the retaining plate on the windshield (for example, when replacing a windshield), it can be reinstalled. Store the removed sensor in a dust-free room until reinstallation and make sure that the silicone connection pad is clean. To facilitate removal, rotate the mirror as needed.
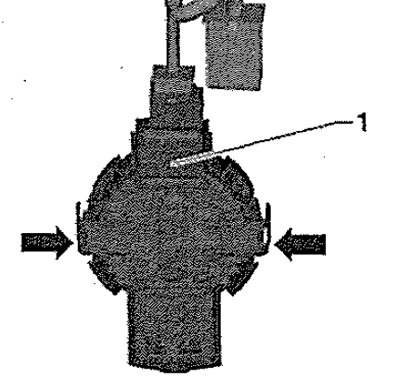
Switch off the ignition and all electrical consumers. Remove the covers of the rain and light sensor "G397". Unlock the lock "1" of the "arrow".
Note: After removing the retainer, wait at least 1 minute. This will relieve tension in the silicone layer and prevent it from being damaged when removed.
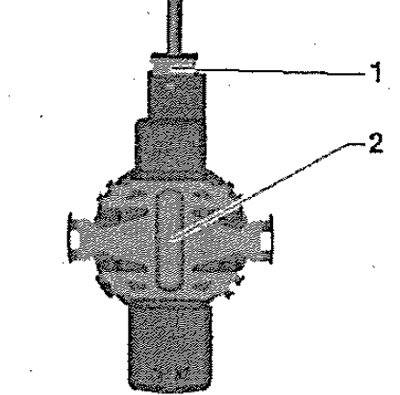
Starting from the top, carefully unhook the rain and light sensor "G397" pos. "2" from the holder on the windshield. Unlock and disconnect the connector "1".
(Original text is located on: www.SKODABOOK.ru)
Installation
Installation in reverse order.
Caution! Clean the windshield within the retaining plate thoroughly, for example with isopropanol (technical alcohol). Please note that when installing on the top surface (connecting pillow) the sensor has not been contaminated or damaged. A sensor with a damaged connection pad must be replaced. There are several types of sensors (depending on the configuration). When replacing, install the correct part. In case of surface contamination (connecting pillow) the sensor can be cleaned by applying and removing the adhesive tape several times.
If a new sensor is installed, press the clamps in the "direction of arrow A" and remove the protective cap "1" in the "direction of arrow B". Connect the connector. Insert the sensor into the holder on the windshield.
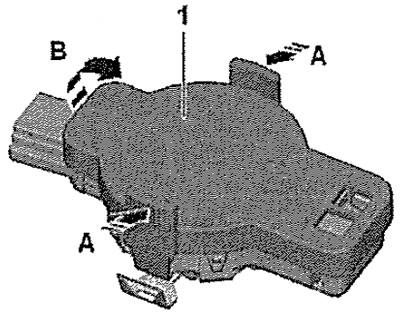
Press the lock "1" so that the "arrow" latches close with an audible sound.
Note: Even if installed correctly, small air bubbles may initially be present between the windshield and the connecting pad. For example, the contact surface should be free of bubbles after 10 minutes. If the contact surface is not free of bubbles after 10 minutes, the rain sensor must be removed and reinstalled. Air bubbles between the windshield and the connecting pad cause malfunctions of the sensor.
When replacing, it is necessary to code the new sensor using the Tester.