



Contents: For vehicles with front wheel drive ⬇ All ⬇ For vehicles with all-wheel drive ⬇ All ⬇ Installation ⬇
Note: The catalytic converter is removed together with the exhaust pipe. All cable ties must be put back in place during installation.
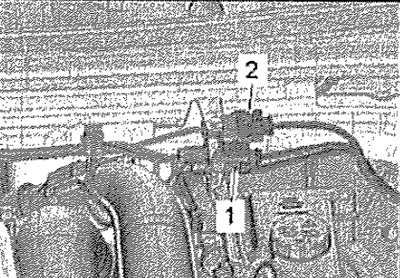
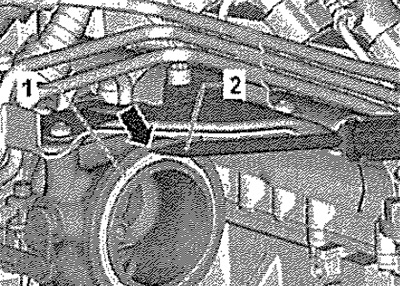
Remove connector "2" of the lambda probe before the neutralizer "G39" from the bracket, disconnect and release the electrical wires. Pos. "1" can be ignored.
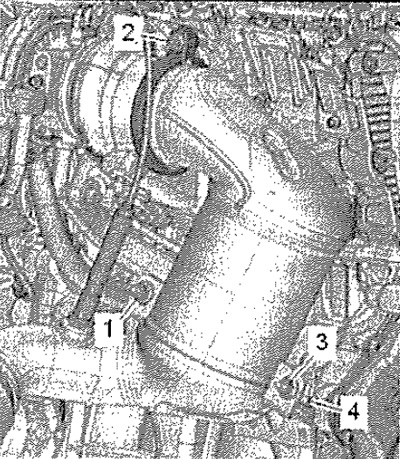
Unscrew screw "2" and remove the fastening clamp. Unscrew nuts -1 and 3-.
Note: For clarity, the procedure is shown with the engine removed. Pos. "4" can be ignored.
Note: If the intake pipe is removed again, please note the following: Do not bend the bellows more than KU - risk of damage. Do not allow damage to the bellows.
For vehicles with front wheel drive
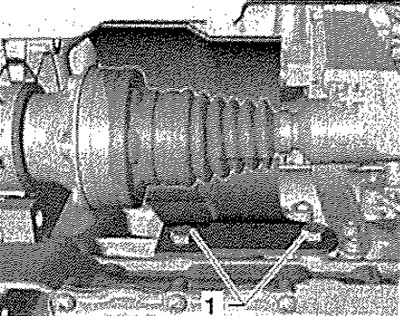
Loosen screws "1" and remove the heat shield of the propeller shaft on the right side, if present.
All
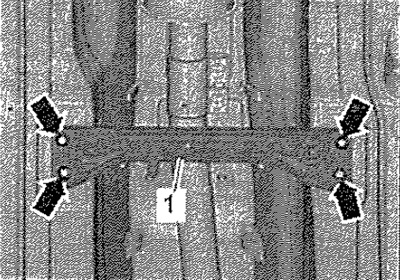
Remove the plastic cover of the floor tunnel. Unscrew the bolts (20 Nm) "arrows" and remove the front cross member of the tunnel.
For vehicles with all-wheel drive
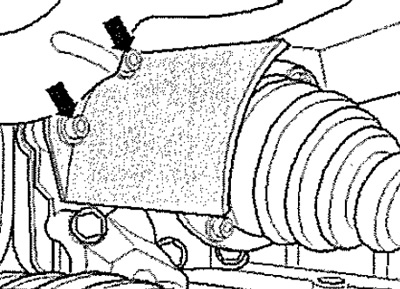
Unscrew the "arrow" bolts and remove the heat shield of the right drive shaft.
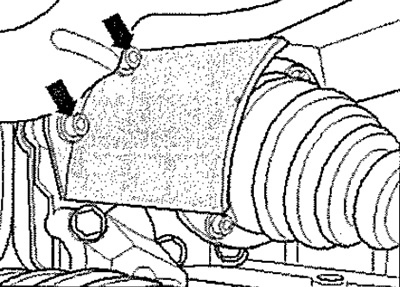
Loosen the screws "see arrows" and remove the heat shield "1". Mark the position of the cardan shaft coupling and the angular transmission flange relative to each other.
Unscrew the cardan shaft from the angular transmission "arrow", holding the triangular flange with a mounting blade.
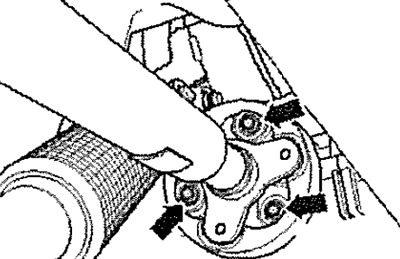
Move the power unit slightly forward in the direction of travel and disconnect the propeller shaft from the angular transmission.
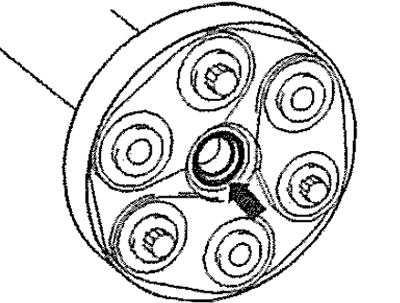
Caution! Risk of damage to the O-ring "arrow" of the cardan shaft flange. Press the cardan shaft horizontally as far forward and to the left as possible (cool side of the car). If the sealing ring is damaged, the cardan shaft must be replaced.
All
Unscrew the "arrow" screws. Remove the connector from the bracket, release the electrical wiring to the lambda probe from the fasteners.
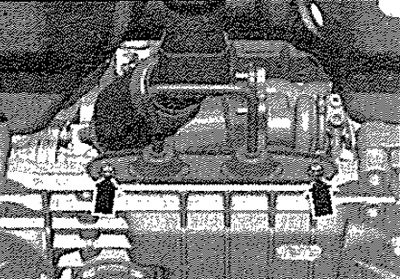
Release and move the "arrow" coupling back. Remove the neutralizer assembly with the inlet pipe by moving it backwards.
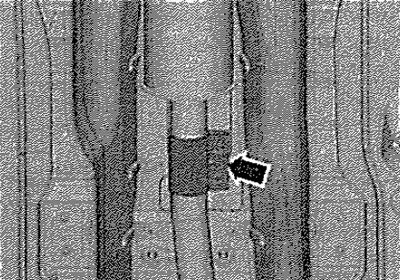
Insert screwdriver "2" into the slot "arrow" of the turbocharger and, having hooked it, remove the sealing ring "1". Replace the sealing ring "1".
Installation
Installation in reverse order.
Note: If the exhaust pipe is removed again, please note the following: Do not damage the bellows. Replace the seals and self-locking nuts. Apply high-temperature paste to the threads.
Connect the neutralizer to the turbocharger without tightening the clamp. Tighten the nuts and the mounting clamp. Adjust the position of the exhaust system components (install without stress).