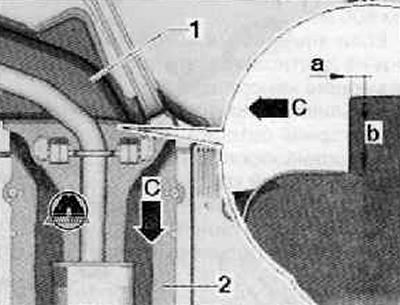
Removing
1. Unscrew the fuel filler cap.
2. Cover the fuel filler opening with a piece of clean foam plastic so that no contaminants can get in.
3. Remove the rear seat cushion and assembly (for details, see the relevant section in chapter Body).
4. To remove a cover of the fuel pump under a rug.
5. Disconnect the five-pin connector of the fuel pump wiring harness.
6. If necessary, empty the fuel tank (for details, see the relevant section in this chapter).
7. Remove the elements of the rear suspension (for details, see the relevant section in chapter Chassis).
8. Remove the fender liner of the right rear wheel arch (for details, see the relevant section in chapter Body).
9. Remove the back of the exhaust pipe (for details, see the relevant section in chapter Intake and exhaust system).
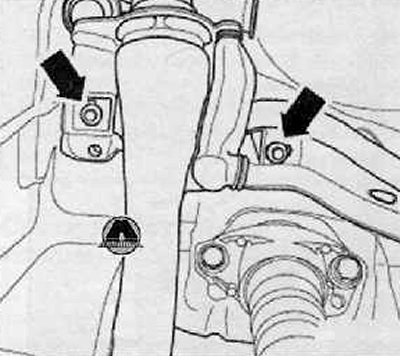
10. Unscrew the screws of the filler neck of the fuel tank (arrows), shown in the figure below.
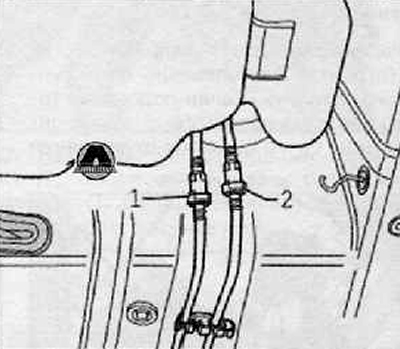
11. Disconnect the fuel supply line (black) (1) and fuel return line (blue) (2) from the fuel tank as shown in the figure below. To do this, press the unlock buttons.
12. Remove the support tape that goes through the heat shield.
13. Remove the fuel tank heat shield.
14. Secure fuel tank with special tool for removing and installing engine and gearbox -VAG 1383 A-.
15. Loosen the band clamp and unscrew the fastening screw (arrows), shown in the figure below.
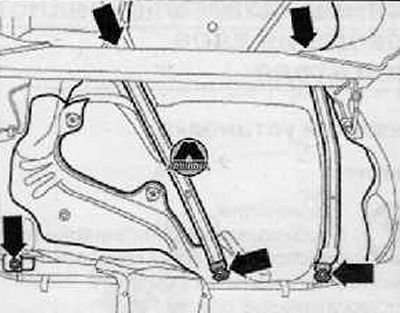
16. To take a bulk mouth from a rubber mouth, to take a fuel tank downwards.
Installation
1. Installation is carried out in the reverse order of operations. In doing so, the following instructions must be observed:
Check both bushings for the ground wire for signs of corrosion and repair any signs of corrosion.
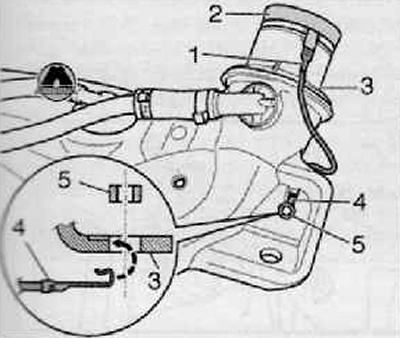
Check the position for assembling the wire connecting to ground (1), which is shown in the figure below. Wiring harness connector (1) must be firmly mounted on the sheet metal ring (2).
contact tongue (4) must be suspended in the fuel tank (3) and fixed with a spacer (5), as shown in the figure below.
The fuel lines must be laid in such a way that they are not excessively bent.
Do not confuse supply and return fuel lines (fuel return line - blue, fuel supply line - black).
Make sure all connections are tight and secure.
Check the strength of the fastening of the supply and return fuel lines on the fuel tank.
Before starting the engine, it is necessary to remove the air from the power supply system.
Switch on the ignition and switch it off only after the fuel pump stops working. This step should be repeated at least 5 times.
Note.
- Make sure the fuel tank insulation is (1) does not rest against the thermal insulation coating of the underbody tunnel (2), after installing the fuel tank.
- Thermal insulation coating of the bottom tunnel (2) should only slightly cover the fuel tank.