



Removal
1. Disconnect the negative cable from the battery.
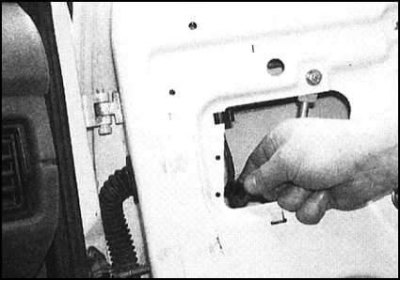
2. If the door is equipped with electrical components, remove the interior trim panel from the door (see section Removal and installation interior door trim panels). Carefully separate the insulating film from the inside of the door, then disconnect the connectors and release the wiring from the intermediate clips...
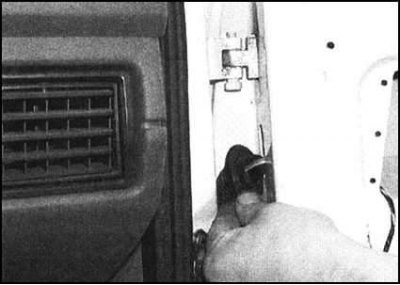
...release the rubber protective boot from the front end wall of the door, then remove the electrical wiring from the frame.
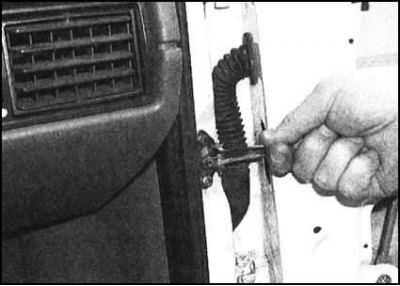
3. Loosen the nut of the axial bolt securing the opening limiter to the door. Remove the bolt. Then proceed according to the instructions given in the corresponding subsection.
Front door
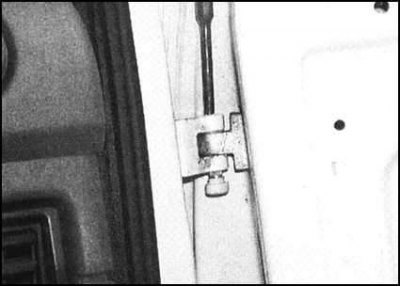
1. Have an assistant hold the door, then use a hammer and a suitable punch to knock out the hinge pins. Try not to bend the pins as you remove them from the hinges. Otherwise, they will need to be replaced during reassembly.
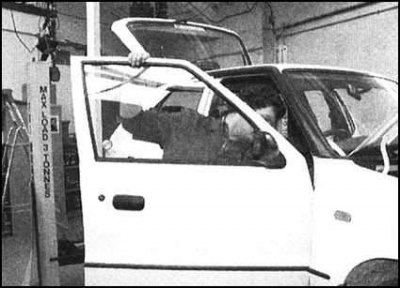
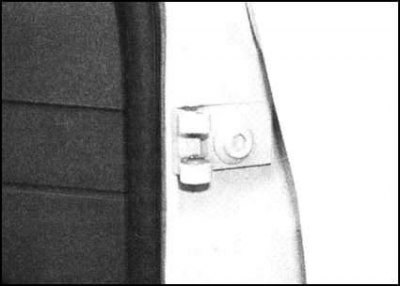
2. After removing the pins from both hinges, remove the door from the vehicle.
This material is published on the portal: www.skodabook.ru
3. Check the hinges for signs of wear and mechanical damage. If replacement is necessary, mark the position of the hinge plate on the rack, then unscrew the fastening bolt and remove the hinge together with the adjusting washer (if any are installed). Replace the defective hinge together with the washer and align its position relative to the marks made during dismantling. Screw in the fastening bolt and tighten it to the required force.
Back door
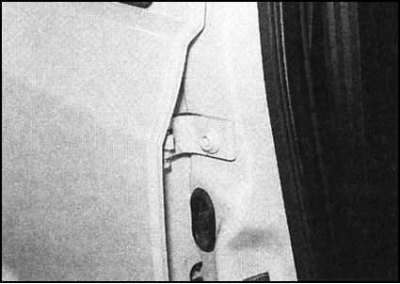
1. Use a marker to trace around each hinge strip on the car body. Ask an assistant to hold the door and remove the hinge mounting bolts.
2. Remove the door from the vehicle, then remove the adjusting washers installed between the hinges and the body (if any are provided).
3. Check the hinges for signs of wear and mechanical damage. If replacement is necessary, carefully knock out the hinge pins. Lubricate the new pins with universal grease, install the hinges on the door, then insert the pins into them. Hammer the pins into the hinges and make sure that they rotate properly. Only then proceed to install the door on the car.
Installation
Front door
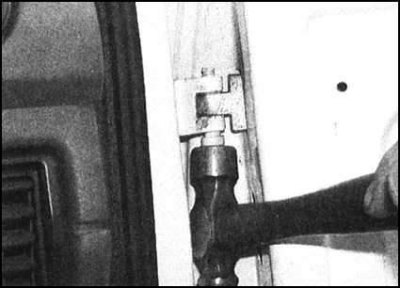
1. Lubricate the hinge pins with a universal lubricant, then slide the door into its regular place on the car. Install the pins, firmly knocking them into the hinges.
2. Align the stopper on your bracket, then lubricate the axle bolt with general purpose grease, insert it into the socket and tighten the nut securely.
3. If equipped, tuck the electrical wiring into the door frame and put the protective cover in place. Make sure that the wires are routed correctly and securely fastened to all the intermediate fasteners provided. Install the insulating film and the door interior trim panel in place (see section Removal and installation interior door trim panels).
4. Check that the door is installed correctly in the body opening, make the appropriate adjustments if necessary, then connect the negative wire to the battery.
Back door
1. With the help of an assistant, move the door to its regular place and screw in the hinge bolts. Install all the provided adjusting washers between the hinges and the body. Align the hinges relative to the marks made during dismantling, then tighten the fastening bolts with the required force.
2. Follow the procedures described in paragraphs 2 through 3 of the Installation subsection.
Adjustment
1. Close the door and check that it is correctly positioned in the body opening relative to the surrounding panels. Minor adjustments to the door position in the opening can be made by selecting the adjusting washers installed under the hinges. Having achieved a satisfactory result, tighten the hinge mounting bolts with the required force.
Note: On front doors, access to the hinge bolts can be greatly facilitated by removing the door opening limiter.
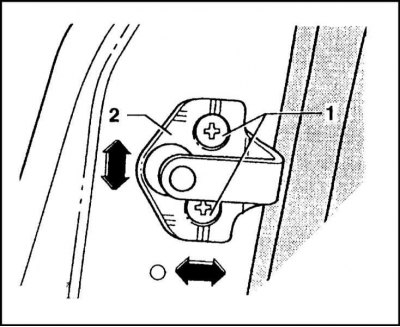
1 - Screws; 2 - Drummer
2. After completing the adjustment, check the proper operation of the lock. The striker should fit tightly into the lock and be securely locked by the latch. If necessary, loosen the mounting bolts and adjust the position of the striker. Having achieved a satisfactory result, tighten the mounting screws with the required force.