



Contents: Removal ⬇ Installation ⬇
Removal
Front seat belts - models without automatic belt tensioners
1. Disconnect the negative cable from the battery.
2. Remove the appropriate front seat (see section Removal and installation seats).
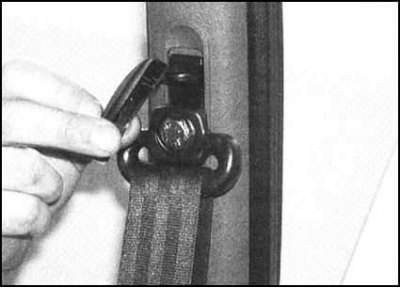
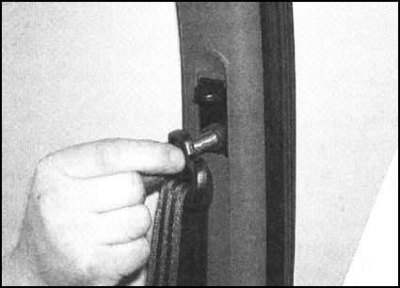
3. Pry off the decorative cover from the upper seat belt anchor, then unscrew the anchor bolt and disconnect the belt from the height adjuster.
 |
 |
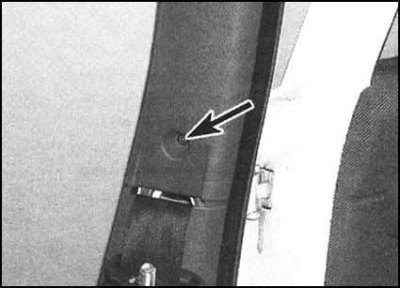
4. Remove the screw securing the upper door pillar interior trim panel, then pry and remove the panel.
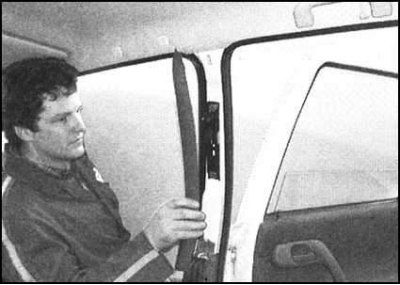
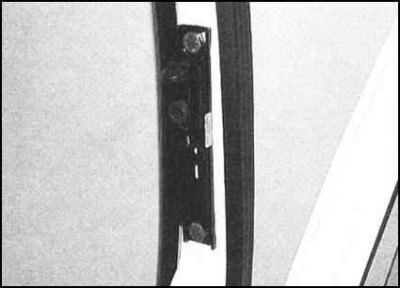
5. If necessary, unscrew the mounting bolts (try to remember the order of installing the washers) and remove the seat belt anchor height adjuster mechanism.
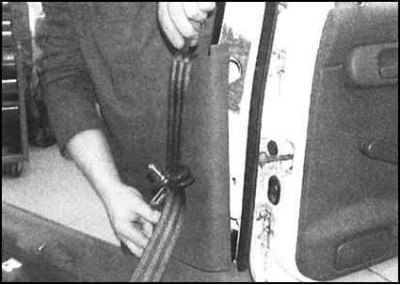
6. Pry up and separate the top edge of the lower door pillar trim panel, then separate the panel from the decorative door sill trim and remove it from the vehicle.
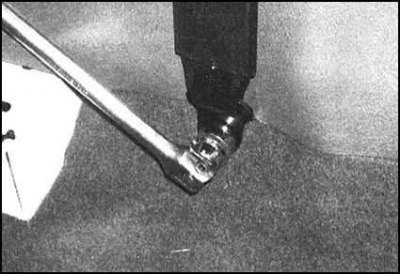
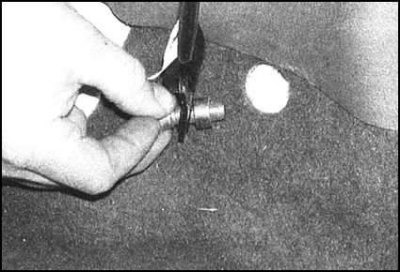
7. Remove the lower seat belt anchor bolt (try to remember the order of installing the washers), then release the belt from the threshold and remove the spacer sleeve from the anchor plate.
 |
 |
8. Remove the bolt securing the inertia drum of the return device and remove the seat belt from the vehicle.
Front seat belts - models with automatic belt tensioners
Warning! See the warning at the beginning of the Section Front Seat Belt Tensioner Mechanism - General Information.
1. Follow the procedures described in paragraphs 1 through 7.
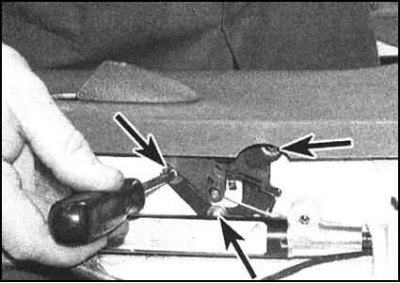
2. Tilt the rear seat assembly forward and carefully release the rear door sill trim panel from its clips. Release all clips and remove the panel from the vehicle. When removing the driver's seat belt from a vehicle equipped with a remote tailgate release, remove the mounting screws and remove the drive arm with the trim panel - disconnect the drive cable as access opens.
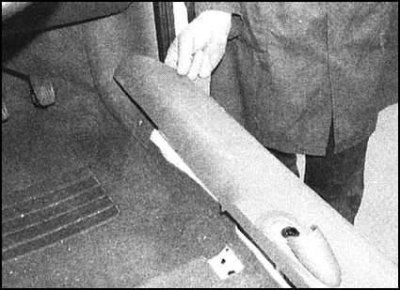
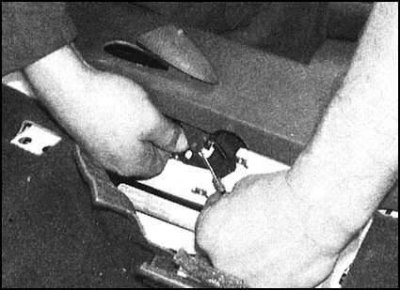
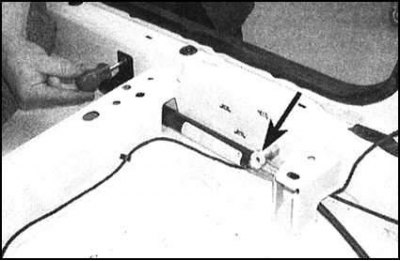
3. Loosen the tensioner mounting nut on the support stud (this will cause the tensioner mechanism to disengage), also remove the front mounting screw.
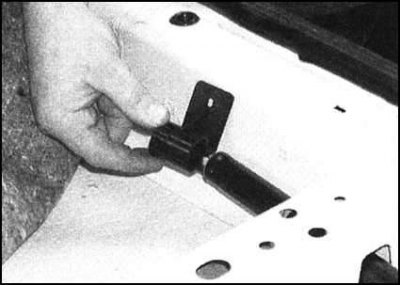
4. Remove the bracket from the front of the tensioner and release it from the support.
5. Remove the tensioner cable retaining clip from the body, then loosen the inertia drum retaining bolt and remove the seat belt assembly from the vehicle.
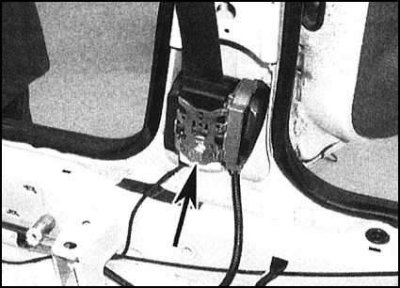 |
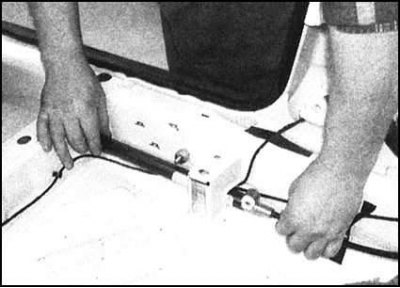 |
Rear seat belts
1. Remove the rear seat assembly (see section Removal and installation seats).
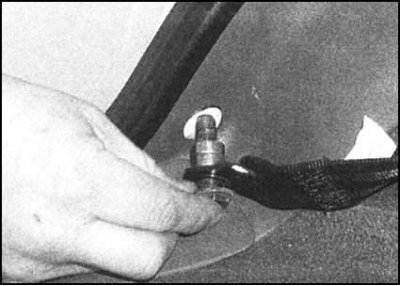
2. Remove the lower anchor bolt securing the seat belt to the floor, remove the spacers and washer installed between the belt anchor plate and the floor panel.
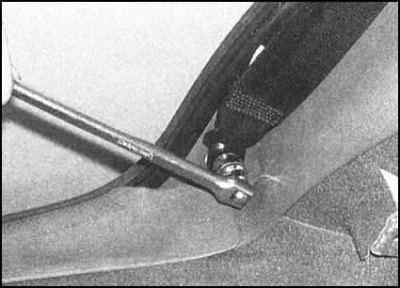
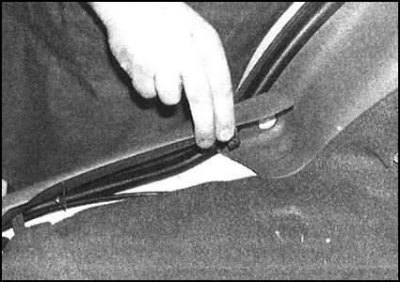
3. Pull up the rear end of the threshold trim to separate it from the floor.
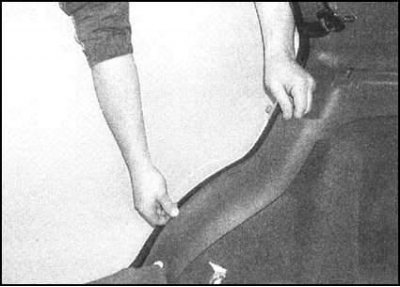
4. Separate the rear seat side trim panel base from the body, then release it from the upper support and remove it from the vehicle.
5. Release the luggage compartment parcel shelf from its supports and remove it. On Estate models, also remove the front section of the parcel shelf.
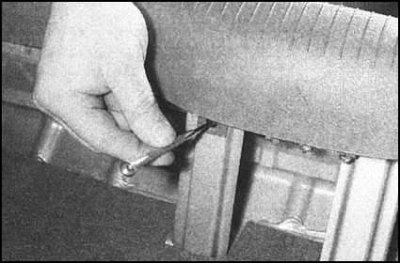
6. On models where the side trim panels overlap the upper rear pillar trim panels, remove the sill plate and the corresponding side trim panel. The sill plate is secured with screws or retainers - the latter are released by removing the center sections from them. The side trim panel is secured with a single clip.
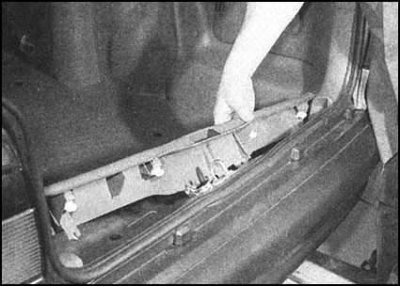
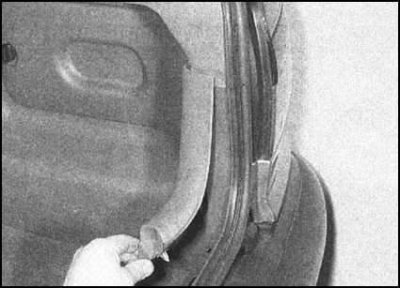
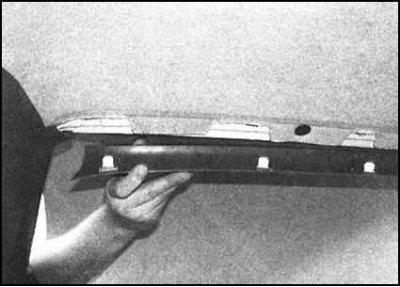
7. Remove the rear door opening sealing tape from the body in the area of the edge of the upper door pillar trim panel, then remove the rear panel from the upper part of the rear door opening.
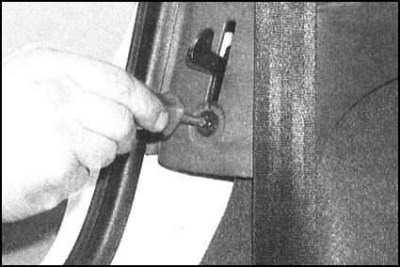
8. Remove the front screws securing the upper trim panel.
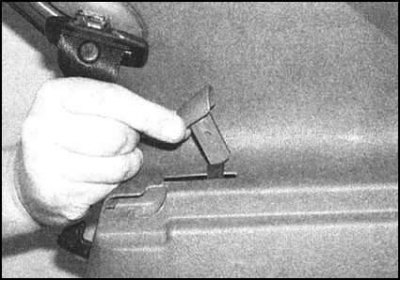
9. Carefully remove the handle from the rear seatback release lever.
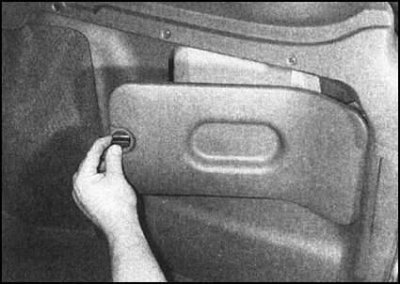
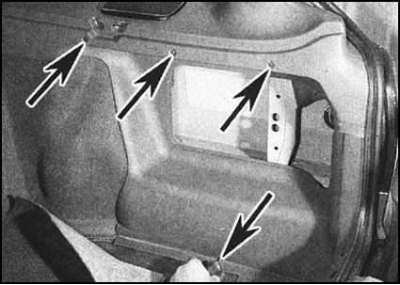
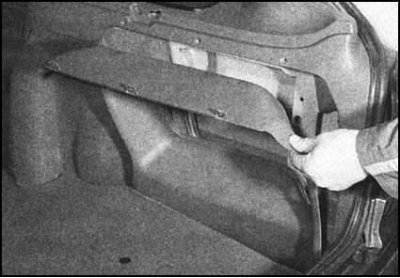
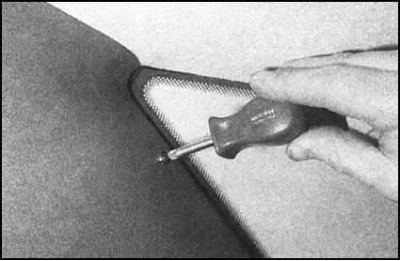
10. On Estate models, remove the access cover from the cargo area side trim panel, then remove the mounting screws and lift the panel away from the vehicle. Remove the screw securing the C-pillar panel.
 |
 |
 |
 |
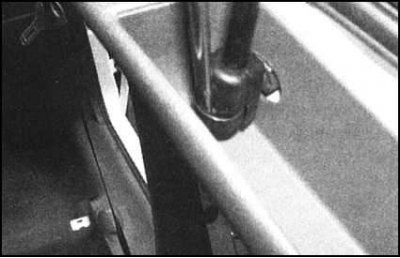
11. On all models, support the tailgate, then lift the latch slightly and release the corresponding support rod from its ball joint.
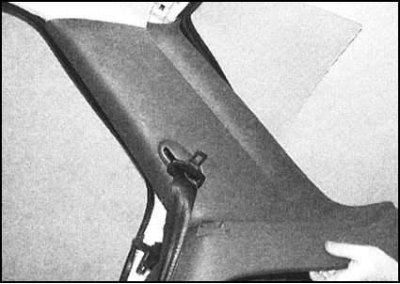
12. Separate the rear pillar trim panel from the body and remove it from the vehicle. Release the seat belt guide from the panel, then remove the panel from the belt and remove it from the vehicle. If so equipped, do not forget to disconnect the electrical wiring from the lamp/rear speaker when removing the panel.
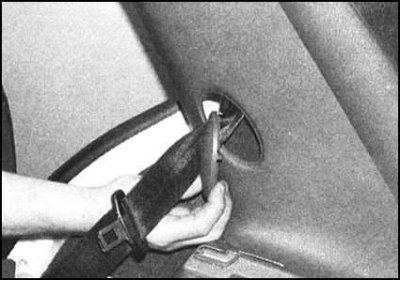
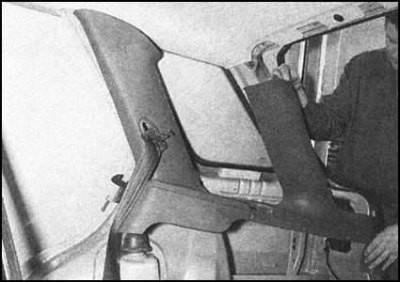
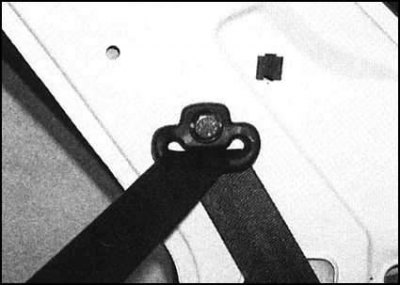
13. Remove the mounting bolt and the upper seat belt anchor.
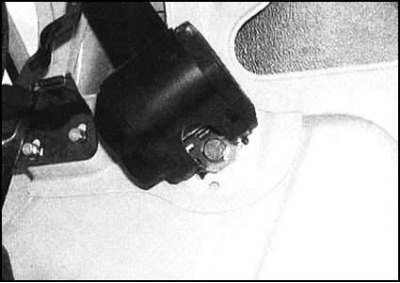
14. Loosen the bolts securing the inertia drum of the return device and remove the seat belt assembly from the vehicle.
Front seat belt buckle
1. Remove the seat (see section Removal and installation seats).
2. Remove the seat back recline adjuster handle, then release the mounting bolt (don't forget the puck) and remove the regulator wheel.
3. Release the front edge of the side trim panel from the clips, then release the rear edge of the panel and remove the panel from the vehicle.
4. Unscrew the mounting bolt (don't forget about the washer and spacer sleeve) and remove the seat belt buckle.
Rear seat belt buckle
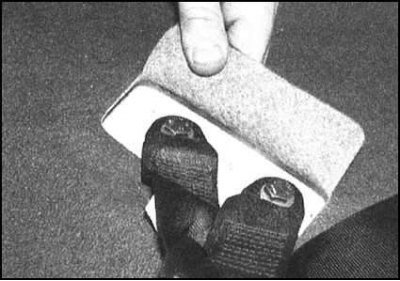
Tilt the rear seat assembly forward, then remove the corresponding mounting bolt (try to remember the installation position of the washer and spacer sleeve) and remove the buckle from the car.
Installation
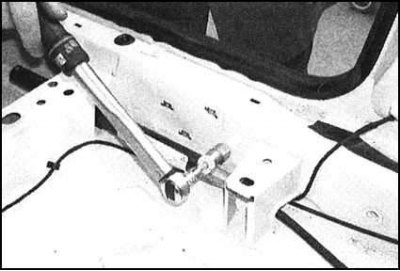
Installation is carried out in reverse order. Please note the following points:
- a) Ensure that the inertia drums are correctly installed on the body. Ensure that all the provided washers and/or spacers are installed on the anchor assemblies;
- b) Tighten all fasteners to the required torque;
- c) Replace all decorative panel fastening fasteners damaged during dismantling. Check the reliability of the fastening of panels and door frame sealing tapes.