
Removing
Note. Before disconnecting the electrical wiring, take care of its marking, in accordance with which, during assembly, harnesses will be laid and connectors will be connected
1. Remove the battery (see Section Removing and installing the battery).
2. Remove the center console (see Section Removal and installation of the center console).
3. Remove the steering column (see Section Removal, installation and adjustment of assembly of the lock of a cowl).
4. Acting in accordance with those given in the Chapter Onboard electrical equipment instructions, remove the following components:
- a) Instrument panel;
- b) radio tape recorder;
- c) cigarette lighter;
- d) passenger airbag (if provided).
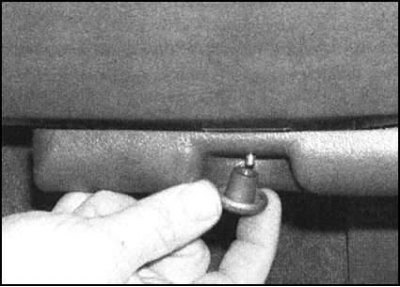
5. Turn out a clamp and release the assembly block of fuses/relays from the basis of the panel of devices from its passenger side.
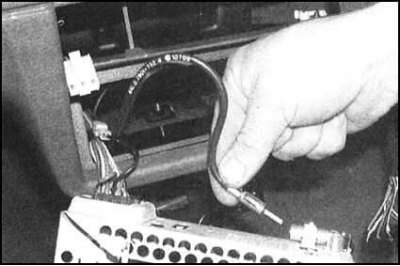
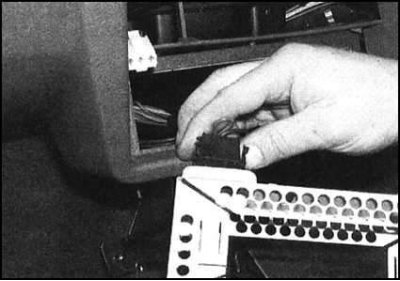
6. Unbend the locking tabs and remove the carrier slide of the radio from the receiving socket in the instrument panel. Disconnect the antenna cable and wiring connector from the sled assembly.
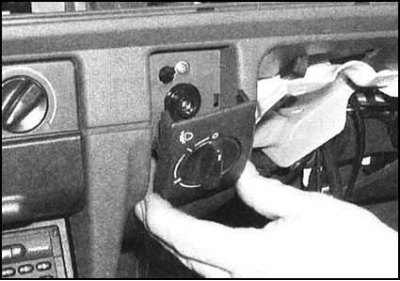
7. Gently prying off, remove the handle of the hydrocorrector of the optical axis of the headlights...
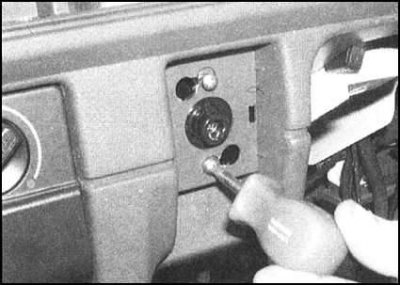
... loosen the fixing screws a couple of turns, then slightly turn the corrector counterclockwise and push it inside the instrument panel.
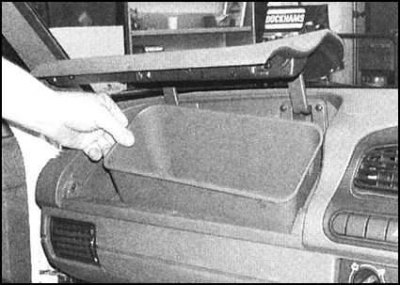
8. On models without a passenger airbag, open the cover on the instrument panel, release the latches and remove the glove box.
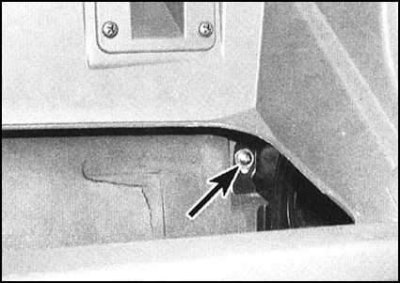
9. Turn out two fixing screws located in a hole under installation of an instrument panel. Also give one screw in the socket for installing the glove box.
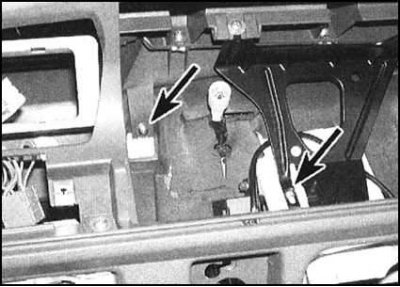
10. Moving along the bottom edge of the dashboard, turn out all fixing screws located there.
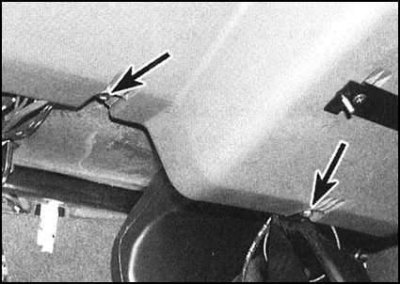
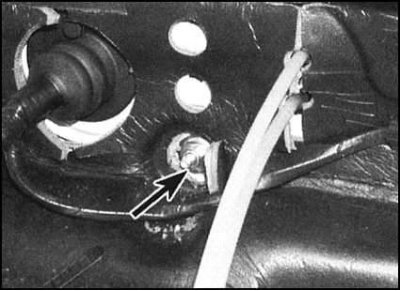
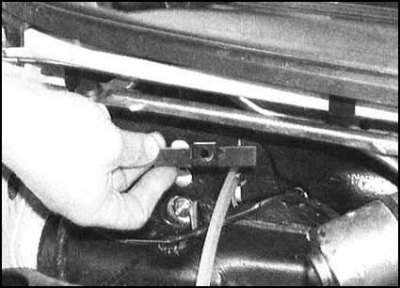
11. In the engine compartment, remove the six nuts securing the panel to the bulkhead, remove the washers (four nuts are located directly under the windshield and two at the bottom). Try to remember the installation positions of the insulating plates placed under the four upper nuts.
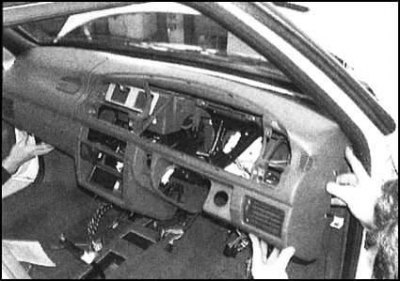
12. Inside the car, with the help of an assistant, separate the base of the instrument panel from the bulkhead of the engine compartment, then lift the assembly up, removing it from the upper mounting studs. Separate the panel from the bulkhead and (adjusting wiring harnesses in through holes) remove it from the car.
Installation
Installation is in the reverse order. Insert all wiring harnesses and cables through the proper clearance holes before installing fasteners. At the first stage, the fasteners are tightened only by hand. Then, moving along the perimeter of the panel, tighten the screws and nuts with the required force. Finally, connect the battery and check that all electrical components and switches work properly.