



Contents: General information ⬇ Front interior light ⬇ Rear interior light ⬇ Luggage compartment light ⬇ Instrument lighting and indicator…⬇ Backlight of the heater control panel ⬇
General information
See paragraph 1 of Section Replacement of lamps for external lighting and signaling devices.
Front interior light
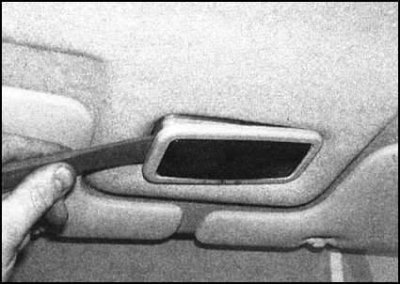
1. Using a screwdriver, carefully pry the light out of the ceiling trim.
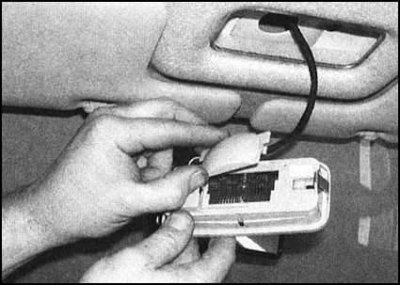
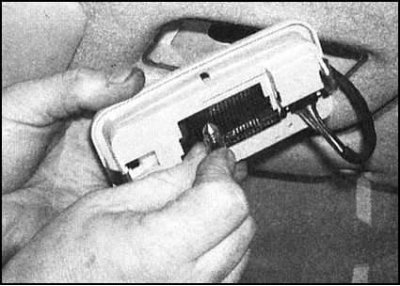
2. Open the cover and release the festoon type lamp from the spring contacts.
 |
 |
3. Installation is carried out in the reverse order. Make sure that the lamp is securely fixed in the spring contacts.
Rear interior light
1. Using a small screwdriver, remove the lamp lens.
2. Release the lamp from the holder contacts and remove the lamp from the fixture.
3. Installation is carried out in the reverse order. Make sure that the lamp is securely fixed in the spring contacts.
Luggage compartment light
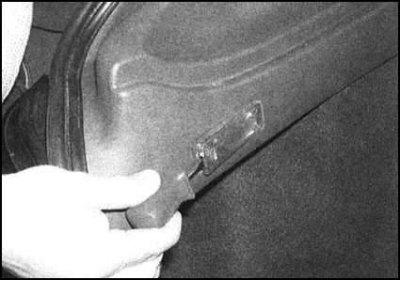
1. Using a small screwdriver, gently pry the light out of the side trim panel.
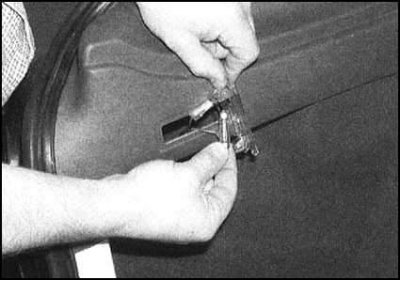
2. Release the festoon type lamp from the spring contacts.
3. Installation is carried out in the reverse order. Make sure that the lamp is securely fixed in the spring contacts.
Instrument lighting and indicator lights
1. Remove the instrument panel (see section Removal and installation the instrument panel).
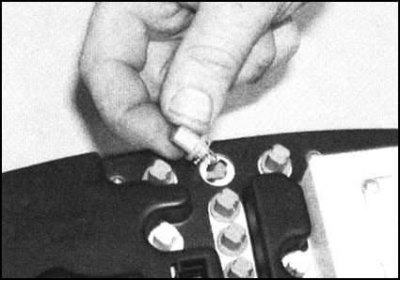
2. To remove the bulb, turn the assembly of the corresponding socket counterclockwise and pull it out of the instrument panel. It is not possible to remove the bulb from the socket. The sockets of 1.2 W bulbs are colored blue, 2 W - green.
3. Installation is carried out in the reverse order. A description of the procedure for installing the instrument panel in place is given in Section Removal and installation the instrument panel.
Backlight of the heater control panel
[Material is available on the website SKODABOOK]
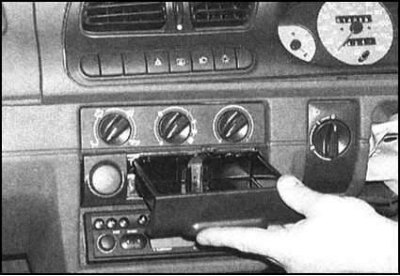
1. Remove the ashtray.
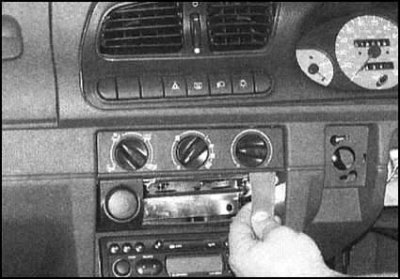
2. Carefully pry up and remove the trim panel from the heater control assembly.
3. Remove the control handles, then the lamp trim.
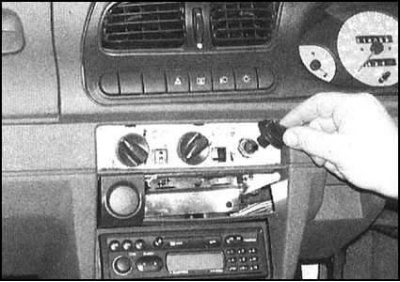
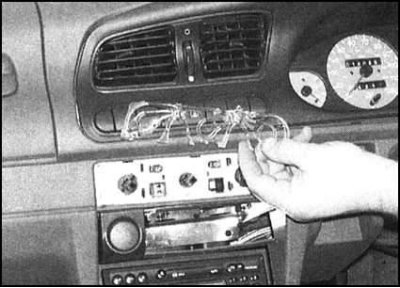
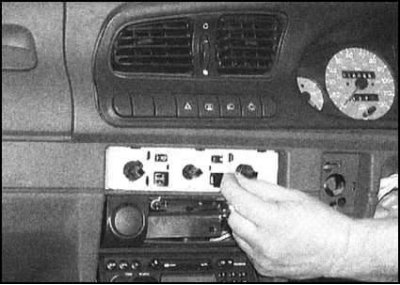
4. The backlight lamps are equipped with push-type bases and are simply pulled out of their sockets.
5. Installation is carried out in the reverse order. Make sure that the lamps are securely fixed in the contacts.