
Note. Before starting work, do not forget to disconnect the negative cable from the battery (see the warning in Section General information and precautions).
Headlights
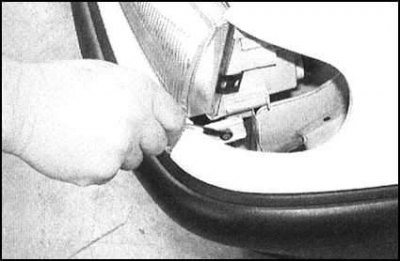
1. Remove both front direction indicators.
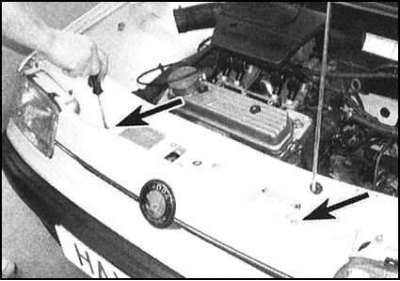
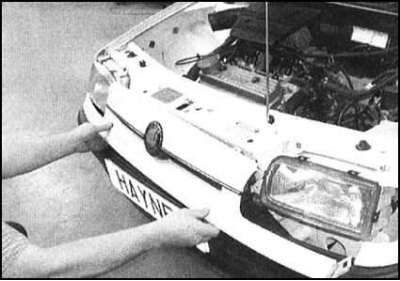
2. On release models up to 1998, remove the left and right bolts securing the front panel (access to the bolts opens through the holes for the installation of direction indicators). Also remove the two screws securing the top of the panel to the cross member of the hood latch. Give fixing nuts in a back part of the panel, then remove the last from the car.
 |  |
 |  |
3. On release models since 1998, remove the mounting screw, then remove the decorative cover installed between the headlight and front bumper.
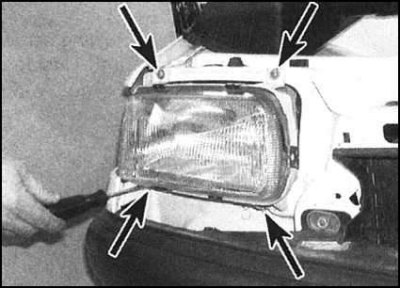
4. On all models, remove the top and bottom headlight mounting screws.
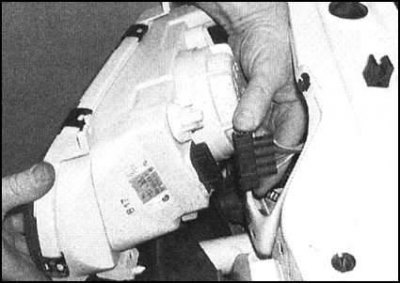
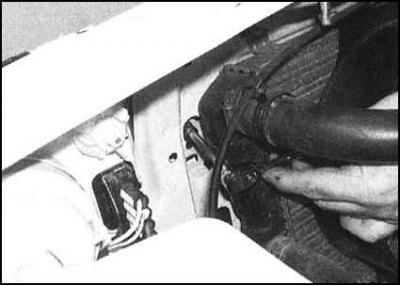
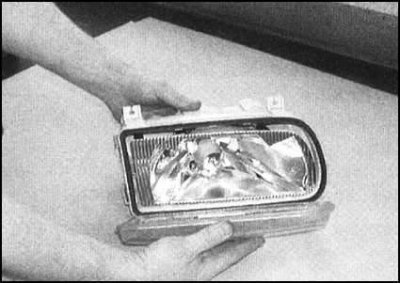
5. Remove the headlamp from its socket and disconnect the electrical wiring.
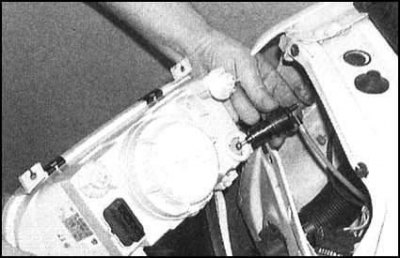
6. Rotate the optics direction adjuster assembly to disengage it from the rear of the headlight assembly, then remove the headlight completely.
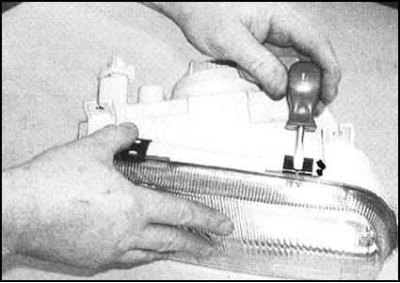
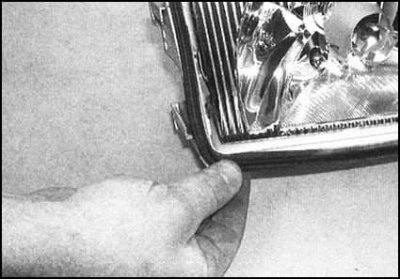
7. If necessary, carefully release the fixing clips and remove the lens from the headlamp. Remove the seal from the headlamp, check its condition, replace if necessary.
 |  |
8. Installation is carried out in the reverse order. All fasteners must be tightened to the required torque. Track reliability of a snap-in of clamps and connection of a regulator. In conclusion, it is necessary to check the installation of the optical axis of the headlight (see Section Adjusting the direction of the optical axis of the headlights - general information and replacement of the regulator mechanism).