
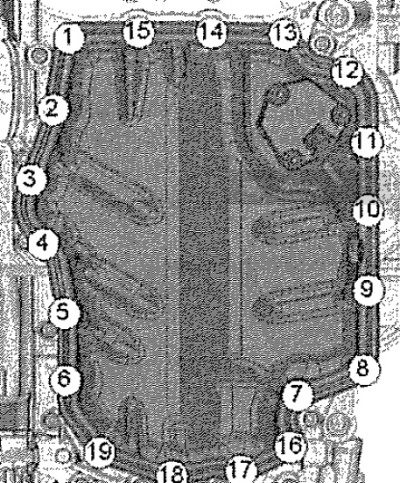
Loosen in sequence -19...1- and completely remove screws.
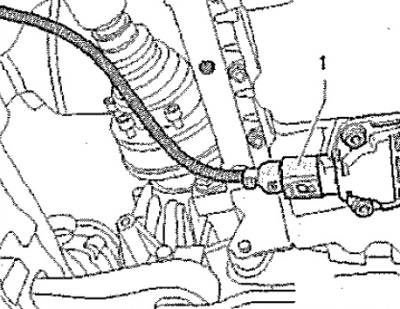
At the point marked with -arrow-, carefully pry off the lower part of the oil pan with a suitable screwdriver. Remove the lower part of the oil pan. If necessary, loosen the lower part of the oil pan with light blows from a rubber mallet.

Installation
Carefully! Risk of clogging of the lubrication system. Open parts of the engine must be covered.
Apply a sealant remover to the sealing surfaces and wait for it to take effect. Remove any remaining sealant from the top of the oil pan. Clean the mating surfaces of oil and grease.
Note: The sealant must not be expired (see expiry date).
Cut off the tip of the sealant tube at the mark located on its end (hole diameter should be approximately 2 mm).
Carefully! Danger of clogging the lubrication system due to excess sealant. The thickness of the sealant layer must not exceed the prescribed one.
Apply a bead of sealant -arrow- to the cleaned seating surface of the lower part of the oil pan as shown in the illustration. Sealant bead thickness: 2...3 mm.
Note: Apply sealant especially carefully in the vicinity of the crankshaft cover. After applying the sealant, the lower part of the oil pan must be installed within 5 minutes.

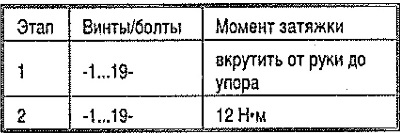
Install the lower part of the oil pan and tighten the fixing screws.
Lower part of the oil pan - tightening torque and order
Tighten the bolts step by step in the sequence shown.
Note: After installing the lower part of the oil pan, wait approx. 30 minutes for the sealant to dry. Only after that you can fill in engine oil.
Fill the engine with oil and check its level.