



Caution! Risk of damage to the clutch and other components. The support of the engagement levers and the entire release bearing unit must be dry and free of oil and grease.
Remove the installed spherical pin with the clamp.
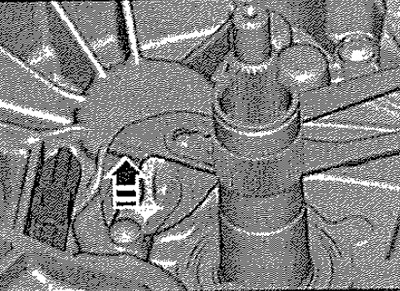
Install a new spherical journal.
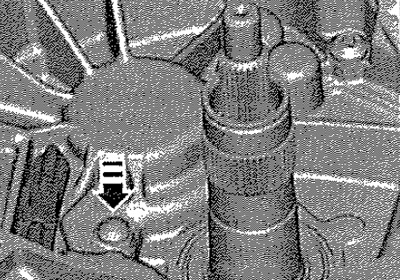
Note: Press the spherical pin by hand, if necessary, press it in with a plastic hammer (without damaging the spherical journal).
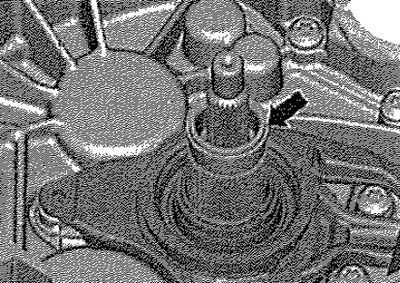
Install the old outer input shaft retaining ring "see arrow".
Place the "T40100" ruler on the upper edge of the clutch housing flange.
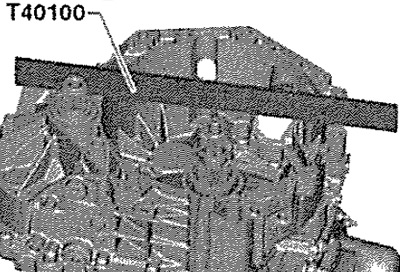
Note: The ruler "T40100" must remain in this position. It is prohibited to move or remove it during all measurements.
Install digital depth gauge "A" on outer input shaft "B". Reset the depth gauge to "zero".
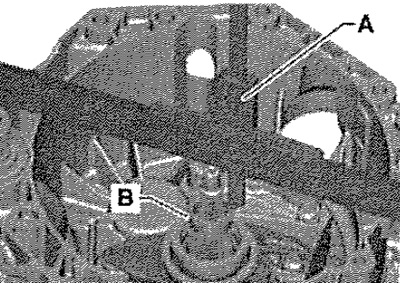
Measure the distance to the retaining ring. Record the measurement result as "B1". Example: dimension "B1" = 2.62 mm.
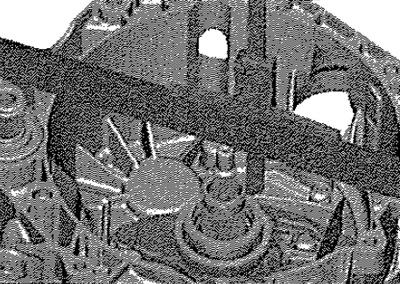
Measure size "B" again in the diametrically opposite place. Record the measurement result as "B2". Example: size "B2" = 2.58 mm.
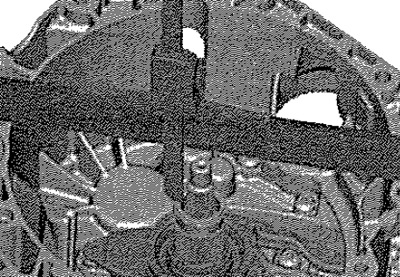
Note: Do not measure at the joint of the ring. This may cause the ring to move and all measurement results will be incorrect.
Determine the average value of two measurements.
Example
Size "B" = B1 + B2/2 = 2.62 + 2.58/2 = 2.60 mm
This dimension "B" is necessary for subsequent calculations. In the following approximate calculation, the dimension "B" = 2.60 mm is obtained. The dimension "B" is only in this example, for another gearbox the dimension "B" will be different. Since 2 clutches are provided, the adjustment is made in 2 stages. Each measurement requires various preparatory measures, as well as several pairs of calculations. Strictly adhere to the following order of work.
Remove the locking ring again "see arrow".
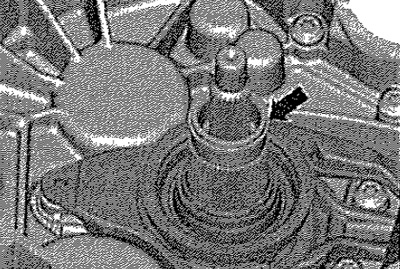
Note: This ring must no longer be installed!
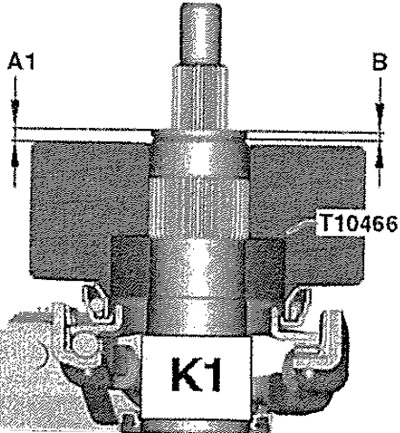
Determine the size "A1" of the adjusting washer of the large clutch engagement bearing "K1".
Article reprinted from the website (SKODABOOK.RU)
Attention! Do not install the adjusting washer!
Install the large engagement lever.
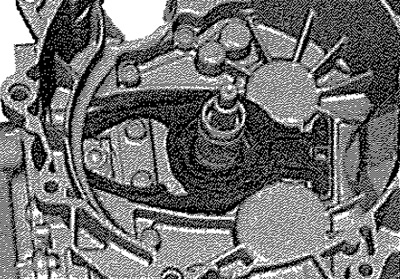
Install the "T10466" tip on the "large" engagement bearing. Press the "T10466" tip once and turn it. Watch how the engagement bearing turns. This way the "T10466" tip "sits" on the bearing correctly.
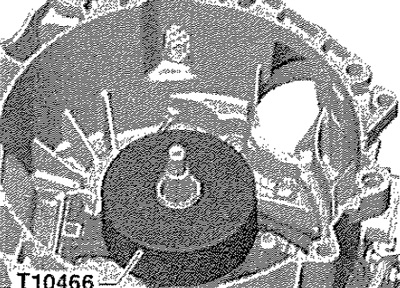
Install a digital depth gauge "from above" on the outer primary shaft and reset its readings to "0". Place a ruler -T40100t on the "upper edge" of the clutch housing flange.
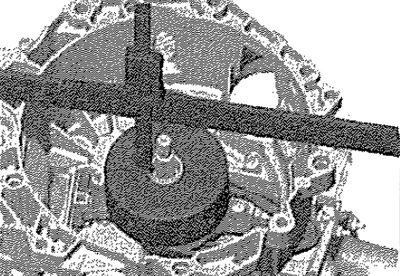
Measure the distance to the "end of the shaft" in the "T10466" tip.
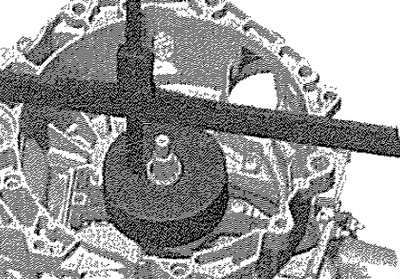
To make this measurement as accurate as possible, install the digital depth gauge twice, in diametrically opposite places. This way, the most accurate value is determined, since the unevenness during "swinging" on the engagement bearing is minimized. Determine the average value for two measurements on the tip "T10466" average value "A1".
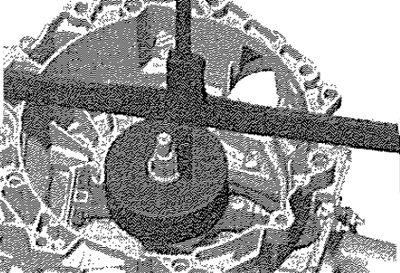
Record the measurement result as "A1".
Example
Size "A1" = 4 93 + 4 91/2 = 4.92 mm
Result: "A1" = 4.92 mm
Subsequent calculation
"A1" minus "B" = depth of the clutch engagement bearing "KP".
Calculation example
4.92 mm minus 2.60 mm = 2.32 mm
In this way, the actual seating depth of the engagement bearing in the gearbox is determined.
Continuation of calculation
Now you can include the tolerances in the twin-plate clutch in the calculation. It's very simple: The tolerance value is indicated on the "new" clutch "arrow". This is usually a value between minus 0.40 and plus 0.40 mm, which is indicated on the new clutch. Write down this value.
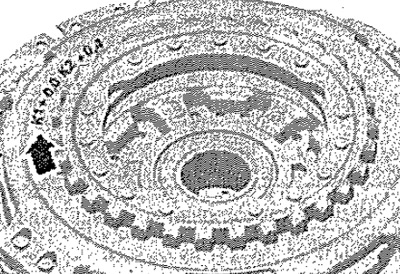
Example: The clutch indicates K1 "+0.0 mm"
The final calculation for "K1": "Defined" clearance plus the value for the clutch = thickness of the adjusting washer "K1"
Calculation example
2.32 mm + 0.0 = 2.32 mm
Result: Thickness of the adjusting washer for "K1" = 2.32 mm
Select the correct washer from the table and set it aside until installation.
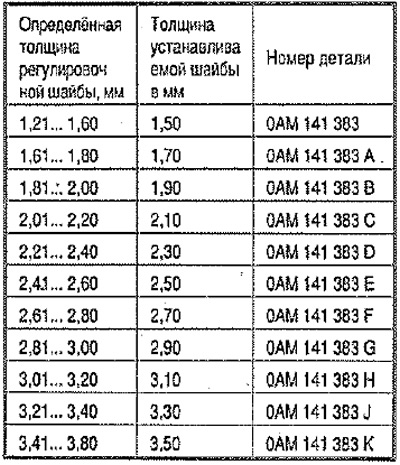
Select the required adjustment shim from the supplied set and set it aside until installation. In this case, a 2.30 mm adjustment shim, part number 0AM 141 383 D, is installed.
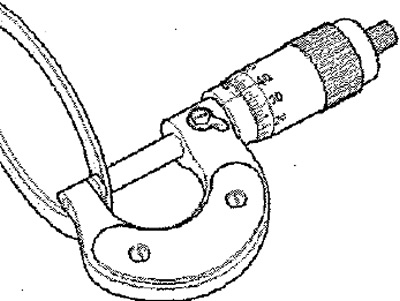
Attention! Then install only 1 of these adjusting washers. It is prohibited to install 2 washers.
Thus, the "correct" adjusting washer for "K1" is determined. When installing the clutch later, use only this adjusting washer. Continue adjusting the clutch "K2". Determine the size "A2" of the adjusting washer of the small clutch engagement bearing "K2".
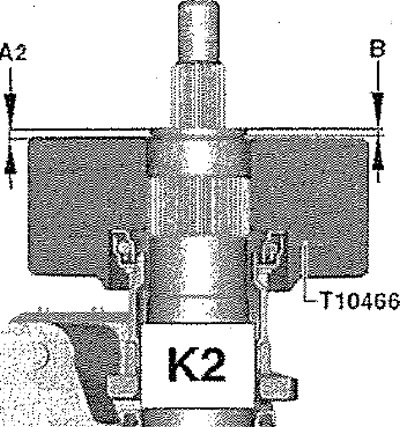
Remove the large engagement lever.
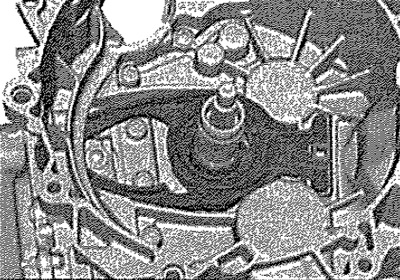
Insert the small engagement lever with the upper and lower parts of the guide sleeve. Tighten the screws to the specified torque.
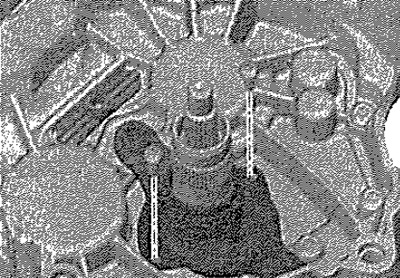
Install only the small bearing without the adjusting washer.
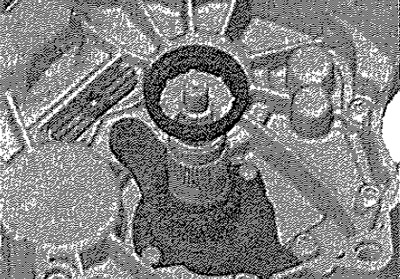
Attention! Do not install the adjusting washer!
The small engagement bearing fits on the 8 slots in only one position. "Turn" to make sure the small engagement bearing is installed correctly and the slots are seated correctly.
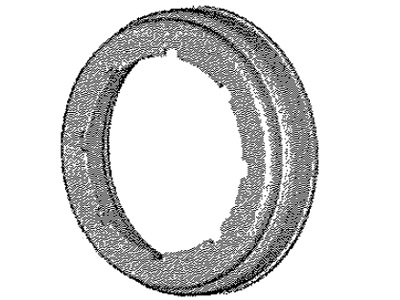
Position the tip "T10466" on the small engagement bearing. Press the tip "T10466" once and turn it. Watch how the engagement bearing turns. This way the tip "T10466" "sits" on the bearing correctly.
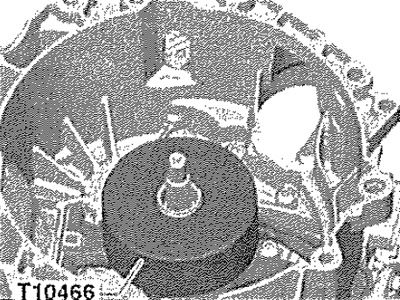
Install the digital depth gauge "from above" on the outer primary shaft. Reset the depth gauge to "zero". Measure the distance to the "end of the shaft" in the "T10466" tip. To make this measurement as accurate as possible, install the digital depth gauge twice, in diametrically opposite places. This way, the most accurate value is determined, since unevenness during "swinging" on the engagement bearing is minimized. Determine the average value for the two measurements on the "T10466" tip. Record the measurement result as "A2".
Example
Size "A2" = 4.79 + 4.75/2 = 4.77 mm Result: "A2" = 4.77 mm
Subsequent calculation
"A2" minus "B" = depth of clutch engagement bearing "K2".
Calculation example
4.77 mm minus 2.60 mm = 2.17 mm
In this way, the actual seating depth of the engagement bearing in the gearbox is determined.
Continuation of calculation
Now we can include the tolerances in the twin-plate clutch into the calculation. It's very simple:
The tolerance value is indicated on the "new" clutch "arrow".
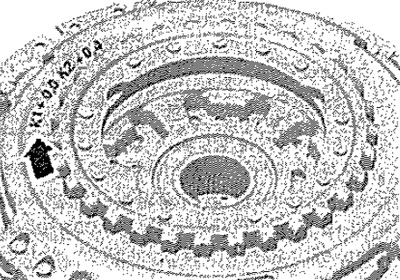
This is usually a value between minus 0.40 and plus 0.40 mm, which is indicated on the new clutch. Write down this value.
Example: The clutch indicates K2 "+0.4 mm"
The last calculation for "K2": "Defined" gap plus the value for the clutch = thickness of the adjusting washer "K2",
Calculation example
2.17 mm + 0.4 = 2.57 mm.
Result: Thickness of the adjusting washer for "K2" = 2.57 mm
Select the correct washer from the table and set it aside until installation.
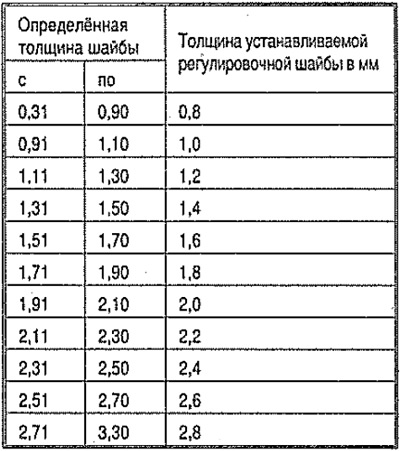
This determines the "correct" adjusting washer for "K2". When installing the clutch later, use only this adjusting washer. Select the correct one from the adjusting washers supplied and set it aside until installation. In this case, install a 2.60 mm adjusting washer.
Attention! Then install only 1 of these adjusting washers. It is prohibited to install 2 washers.
Now you can install the clutch.