



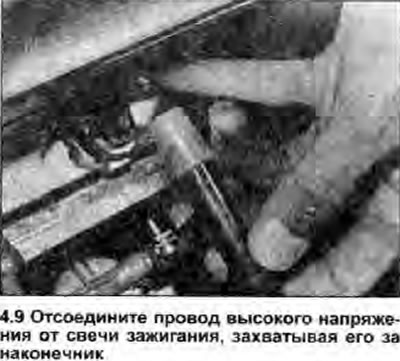
9. To remove the spark plugs, first open the hood and mark the location of the high-tension wires. Disconnect the wires from the spark plugs by grasping the tip (photo).
10. It is advisable to clean dirt from the spark plugs using a clean brush, electric vacuum cleaner or compressed air to prevent dirt from entering the cylinders.
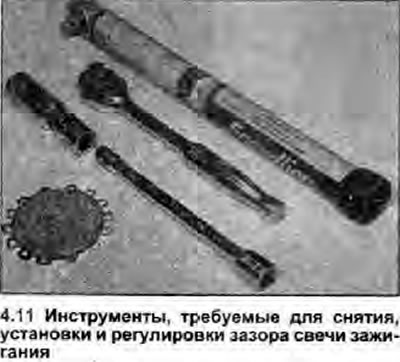
11. Unscrew the spark plugs using a spark plug wrench or a suitable open-end wrench (see photo). Check their condition as follows.
12. The condition of the spark plugs can be used to determine the condition of the engine. If the nose of the spark plug insulator is clean and white, without carbon deposits, this indicates a weak mixture or a too hot plug.
The original can be viewed on (SKODABOOK.RU)
13. If the tip and nose of the insulator are covered with hard black carbon, this indicates that the mixture is too rich. If the spark plug is black and oily, the engine is probably badly worn.
14. If the nose of the insulator is covered with a light brown coating, the mixture is correct and the engine is probably in good condition.
15. The spark plug gap is very important. If it is too large or too small, the spark size and performance will be seriously impaired. The gap should be within the value given in the Specifications at the beginning of this Section.
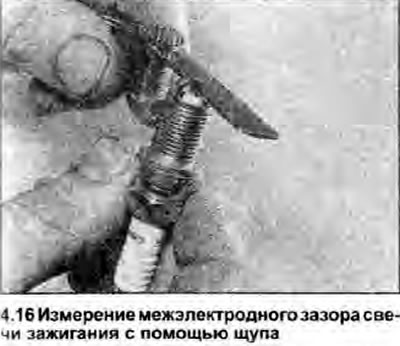
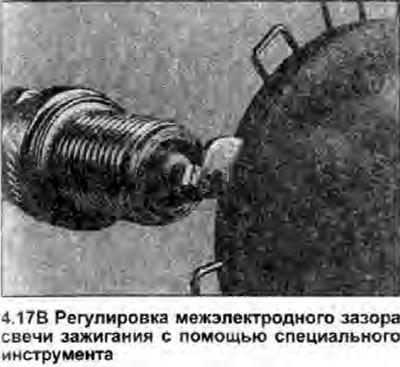
16. To set the gap, measure it with a feeler gauge, then bend the open or closed outer electrode until the correct gap is obtained. The gap is correct if a feeler gauge of the correct size holds firmly and slides freely (see photo).
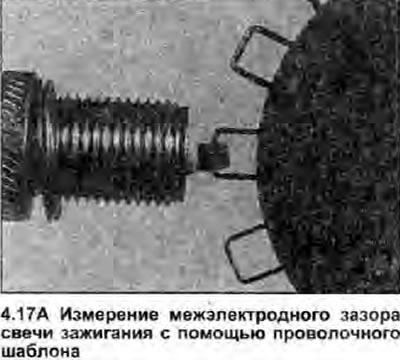
17. A special tool for adjusting the spark plug gap is available in hazardous parts stores (see photo).
 |
 |
18. Before installing spark plugs, make sure the outside surface of the plug and the threads are clean. To make it easier to remove the plug next time, coat its threads with copper grease (type Holts Copaslip).
19. Screw in the spark plugs by hand, then tighten them to the specified tightening torque Specifications. It is often difficult to insert spark plugs into their holes without damaging the threads. To avoid this, place a piece of rubber hose over the end of the spark plug.
20. Connect the high voltage wires in the correct order as noted before removal,