



22. Before removing wires, make sure they are marked.
23. Check the tip for corrosion in the form of a white solid powder. The tip simply slides onto the spark plug, so make sure it is tight. If it is not, disconnect the wire and use pliers to gently crimp the metal tip until it fits securely onto the end of the spark plug.
24. Wipe the wires with a clean cloth. After that, check that there are no burns, cracks or other damage.
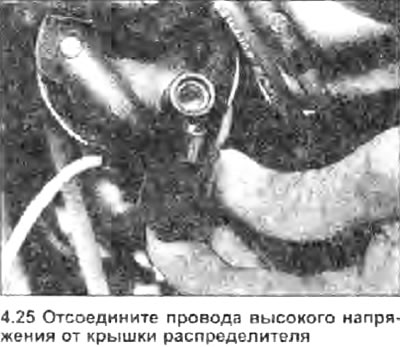
25. Disconnect the other end of the wire from the distributor cap (see photo). Also check the tip. If you have an ohmmeter, check the resistance of the wire by connecting the meter between the end of the wire that connects to the spark plug and the toothed segment inside the distributor cap. Finally, reconnect the wire.
26. Check the remaining high voltage wires in the same way.
27. If new wires are required, purchase a kit appropriate for your vehicle model and engine.
28. Remove the distributor cap, wipe it clean, and carefully inspect the inside and outside for cracks, burnt-out lines, and worn contacts. Also inspect the distributor rotor. Replace any defective components. It is recommended that you replace the distributor cap and rotor each time you install new high-voltage wires. When installing a new cap, remove the high-voltage wires from the old cap and install them on the new one in the same places.
29. Even if the ignition system is in excellent condition, some engines may be difficult to start due to the ignition components being bypassed by moisture in the air. Holts Wet Start is an effective moisture remover. Holts Damp Start is used to ensure the cap is sealed to prevent moisture in the air from entering the ignition system, and in extreme cases, Holts Cold Start will help start the engine with weak spark power.
Information published on the website: SKODABOOK.ru