



Contents: Removal ⬇ Installation ⬇
Removal
1. Disconnect the negative cable from the battery.
2. Apply the handbrake, then jack up the front of the car and support it on axle stands.
3. Drain the engine oil, then clean and install the drain plug, tightening it to the torque specified in the Specifications. If the engine is about to be serviced, it is recommended that the filter be changed along with the oil.
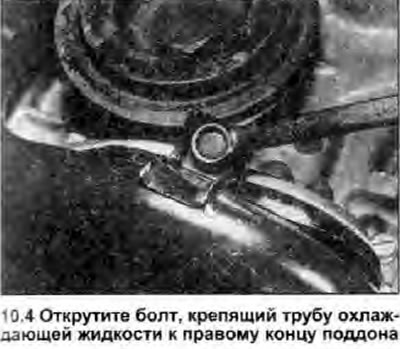
4. From the bottom of the front of the vehicle, loosen and remove the bolt securing the coolant pipe to the bracket on the right end of the pan (see illustration).
5. Working in the reverse order to that shown in the illustration, gradually and evenly loosen and remove the oil pan mounting bolts, noting the location of the coolant bracke bracket, which is mounted under the right bolt (see Fig. 2A.7).
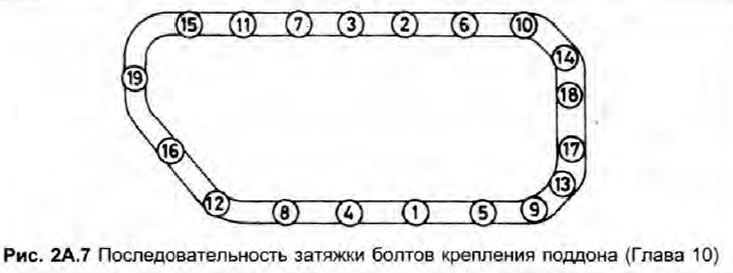
Fig. 2A.7. Sequence of tightening the pan mounting bolts
6. Break the connection by hitting the tray with your palm, then lower and remove the tray.
7. While the pan is removed, take the opportunity to clean the oil pump pickup tube/strainer. Inspect the oil pickup strainer opening for clogging or cracks, and replace it if necessary, see Chapter 9.
Installation
8. Clean the mating surfaces of the cylinder block/crankcase and oil pan from oil, then wipe the oil pan and the inside of the engine with a clean rag.
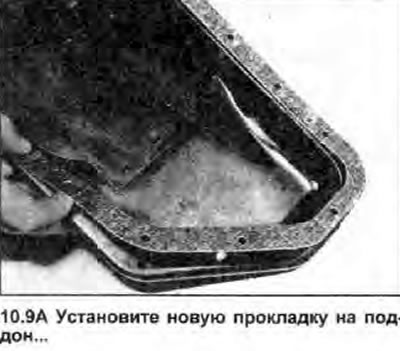
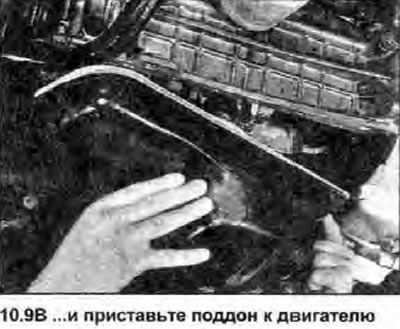
9. Install a new gasket on the pan and place it against the cylinder block/crankcase (see illustrations). Insert the mounting bolts, not forgetting the coolant pipe bracket, and tighten them by hand.
 |
 |
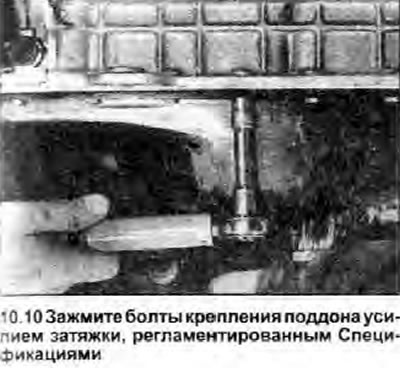
10. Working in the sequence shown in Illustration 10.5, tighten the pan bolts to the tightening torque specified in the Specifications (see illustration).
11. Insert the coolant tube mounting bolt and tighten it securely, then lower the vehicle to the ground and connect the negative cable to the battery.
12. Fill the engine with oil as described in Section 1.