



Removal
1. Remove the valve cover as described in Chapter 4.
2. Using a 10mm Allen key, remove the two cylinder head mounting bolts that also secure the left and right rocker arm supports to the head.
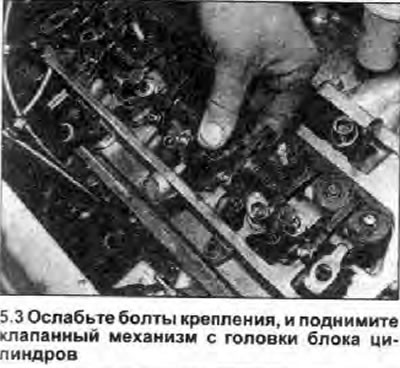
3. Loosen the four valve train mounting bolts gradually and evenly, one-half turn at a time, until the valve spring pressure on the rocker arms is released. Remove the bolts, noting the location of the oil shield, which is mounted on top of the right support, and lift the valve train assembly off the cylinder head (see illustration).
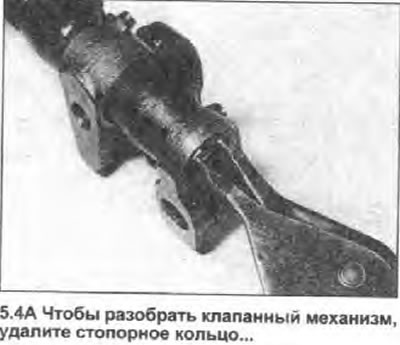
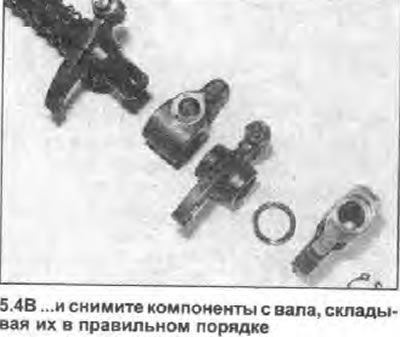
4. If necessary, the valve train assembly can be disassembled by removing the retaining ring from one end of the rocker shaft and removing the various components from the end of the shaft. Lay out all components in the correct order to avoid confusion during reassembly (see illustrations).
 |
 |
Inspection
5. After disassembling the valve train, inspect the working surfaces of the rocker arms and shaft for wear and scratches. If there are visible signs of wear, the corresponding rocker arm and/or shaft must be replaced.
Installation
6. If the valve train has been disassembled, reassemble in the reverse order of removal and secure all components with the snap ring. Make sure the snap ring is properly seated in the groove and all rocker arms rotate freely on the shaft.
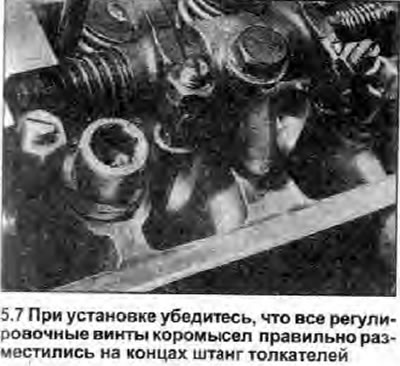
7. Lower the valve train into its working position on the cylinder head, making sure that all rocker arm adjusting screws are correctly positioned on the ends of their corresponding pushrods (see illustration).
8. Insert the four valve mechanism mounting bolts and, having correctly positioned the oil shield in the right support, tighten them evenly and gradually with the tightening force specified Specifications (see illustrations).
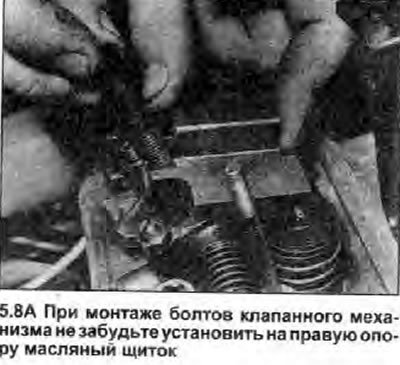 |
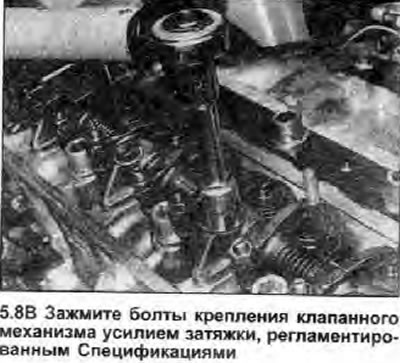 |
9. Insert the two cylinder head mounting bolts that also secure the left and right bearings and tighten them first to the specified torque. Stages 1 (see Specifications), and then tighten it to the values indicated in Specifications for stages 2 and 3 angles. If necessary, use the Chapter 6, paragraph 26.
10. Adjust the valve clearances as described in Section 1.
11. Install the valve cover as described in Chapter 4.