
Removing
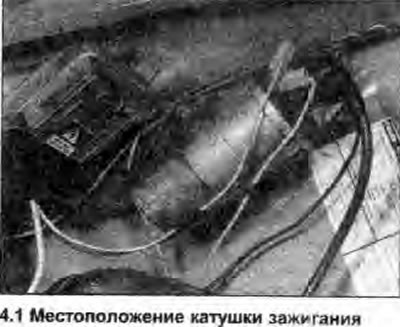
1. The ignition coil is installed on the inner panel of the right wing, behind the ignition control unit (see illustration).
2. Disconnect the negative cable from the battery.
3. Disconnect the high voltage wire from the ignition coil.
4. Note the locations of the low voltage connections on the ignition coil, then disconnect them.
5. Loosen the mounting nuts and remove the ignition coil. Note the location of the ground strap under one of the nuts.
Examination
6. You can test the ignition coil without removing it, but first disconnect the wiring from the coil.
7. Using a multimeter, check the resistance of the primary winding (between clamps "+" And "-") and secondary winding (between clamp "+" primary winding and high-voltage terminal of the secondary winding). No values are given in the Specifications, but a typical resistance for the primary winding is about 0.5 ohms, and for the secondary - 5000 ohms. If there is infinite resistance (chain break), the ignition coil is faulty.
8. Defective coil should be replaced.
Installation
9. Install in the reverse order of removal.