



Contents: Windshield/Headlamp Washer Fluid…⬇ Feed pump ⬇ Windshield washer nozzles ⬇ Rear window washer nozzle ⬇ Headlamp lens washer nozzles ⬇
The windshield washer fluid reservoir is located in the right front corner of the engine compartment. On models equipped with headlamp washers, an additional pump is provided to supply fluid from the reservoir to the headlamp washer nozzles.
Windshield/Headlamp Washer Fluid Reservoir
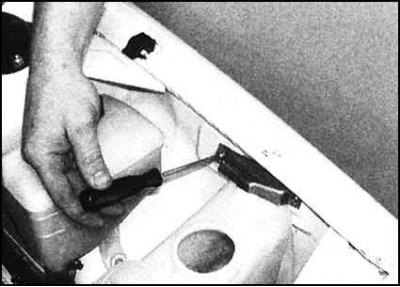
1. In the engine compartment, unscrew the bolts and remove the pressure plate from the top of the tank.
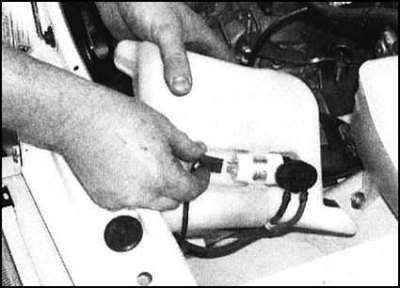
2. Remove the tank from the supports, then disconnect the hoses (try to remember the order in which they are connected). Disconnect the electrical wiring from the feed pumps and remove the tank from the vehicle.
3. Installation is carried out in the reverse order. Ensure that the wiring and hoses are correctly laid and securely connected (the top hose is marked accordingly). Finally, fill the reservoir with the required amount of fresh fluid and check it for signs of leaks.
Feed pump
1. Remove the washer fluid reservoir.
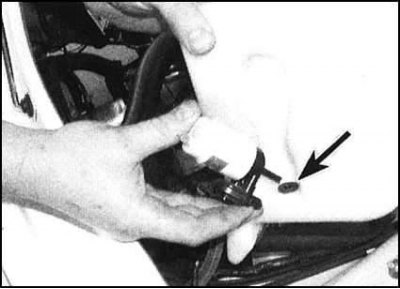
2. Drain the contents of the tank into a suitable container, then carefully remove the pump from the tank, then remove the rubber bushing.
3. Installation is performed in the reverse order. A defective bushing must be replaced. After pouring liquid into the tank, check the tightness of the bushing fit.
Windshield washer nozzles
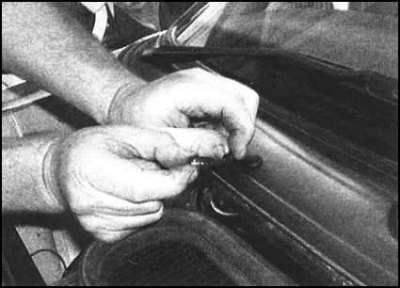
1. Release the nozzle with the seal from its seat and disconnect the supply hose from it.
2. When installing, make sure the hose is securely fastened and the nozzle is tightly seated. If necessary, adjust the direction of the jet using a thin rod.
Rear window washer nozzle
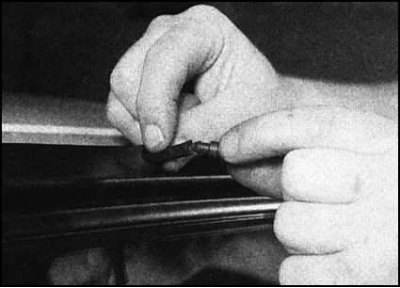
1. Release the nozzle with the seal from its seat and disconnect the supply hose from it.
2. When installing, make sure the hose is securely fastened and the nozzle is tightly seated. Check the proper functioning of the washer, and if necessary, adjust the direction of the jet using a thin rod.
Headlamp lens washer nozzles
1. Remove the front bumper (see section Removal and installation the front bumper).
2. On early models, loosen the nuts securing the nozzle to the bumper, remove the washers, then remove the nozzle from the bumper. If necessary, the removed unit can be disassembled after removing the fastening clamp.
3. On later models, the nozzles are secured with clamps.
4. Installation is carried out in the reverse order. Check the proper functioning of the nozzles, if necessary, adjust the direction of the jets (use a thin rod).