



Contents: Removal ⬇ Installation ⬇
Front Bumper Installation Components
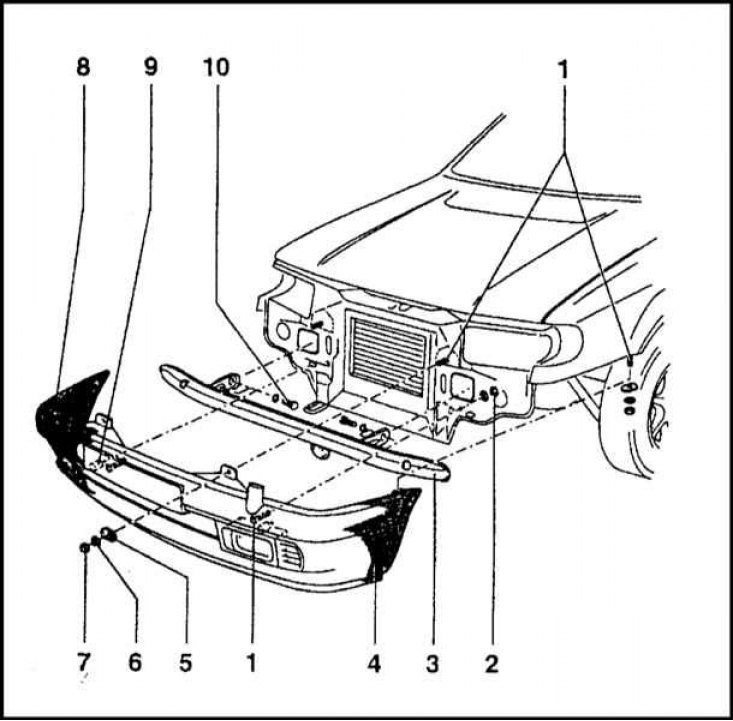
1 - Bolts; 2 - Nuts; 3 - Amplifier; 4 - Bumper; 5 - Overlay; 6 - Nut; 7 - Washer; 8 - Amplifier; 9 - Bolt; 10 - Bolt
Typical front bumper installation components are shown in the illustration.
Removal
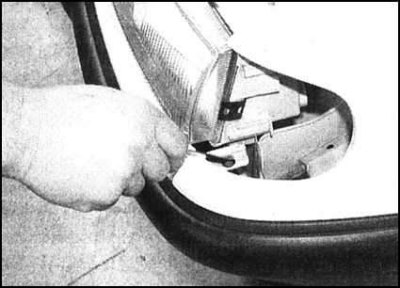
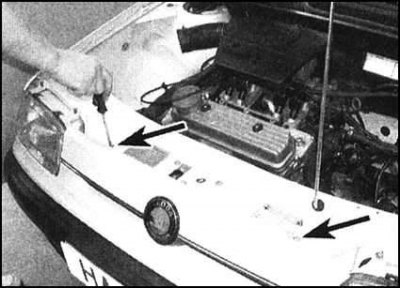
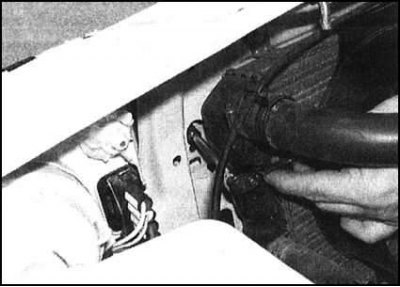
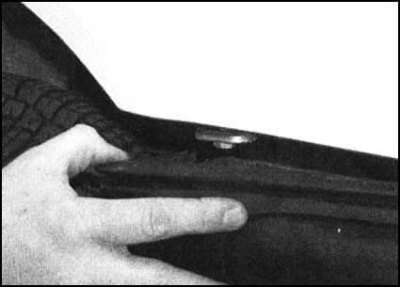
1. On pre-1998 models, remove both front turn signals. Through the holes that are created, unscrew the left and right front panel mounting bolts. Also remove the two screws that secure the top of the panel to the hood latch crossmember. Loosen the mounting nuts from the back of the front panel, then remove the panel from the vehicle.
 |
 |
 |
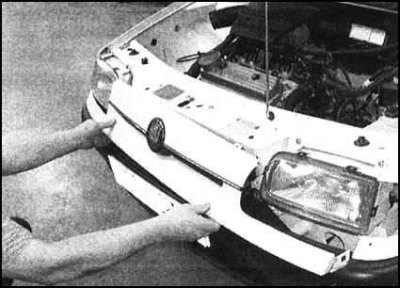 |
2. On later models, unscrew the two mounting screws, then release the clips and remove the decorative trims installed between the headlights and the bumper.
3. To provide better access, firmly set the parking brake, then jack up the front of the vehicle and support it on stands
4. On models equipped with front fog lights, disconnect the wiring from the fog light assemblies and move it away from the bumper.
5. On models equipped with headlamp washers, remove both headlamp assemblies. Loosen the clamps and disconnect the hoses from the rear of the washer nozzles, allowing the nozzles to be removed from the bumper assembly.
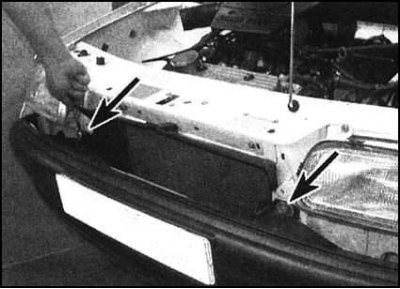
6. On all models, remove the two nuts securing the upper bumper to the front of the vehicle. Don't forget to remove the washers.
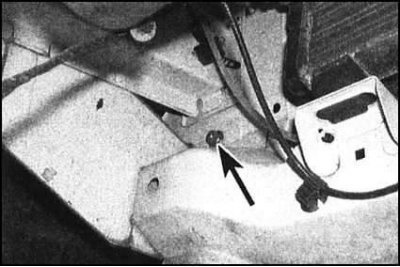
7. Loosen the nuts securing the central bumper supports on the front of the vehicle under the vehicle.
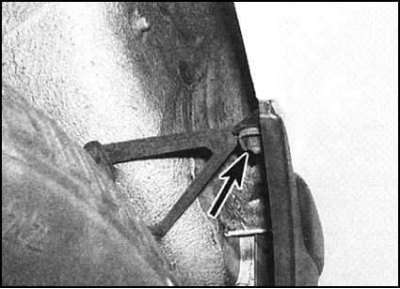
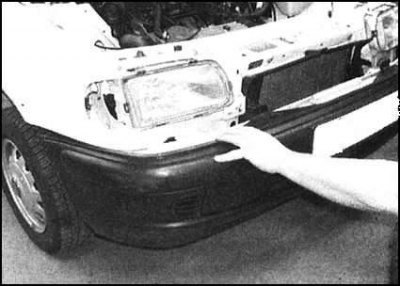
8. Loosen the nuts securing the left and right ends of the bumper to their supports (it is not necessary to completely remove the nuts, as the mounting holes are oval in shape). With the help of an assistant, slide the bumper assembly forward and remove it from the vehicle.
 |
 |
Installation
Installation is carried out in the reverse order. Make sure that the fasteners are tightened securely.