



Clutch Pedal Components
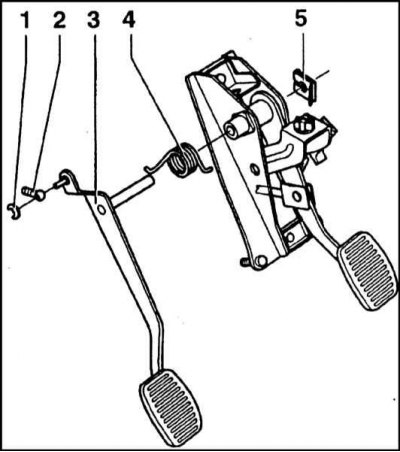
1 - Cable retainer; 2 - Clutch cable; 3 - Clutch pedal; 4 - Spring; 5 - Axle lock
Right hand drive models
Note: Replacing the clutch pedal axle bushings is possible without dismantling the pedal assembly, despite the extremely limited access. Remove the cotter pins from both sides of the pedal axle and move the thrust washers back, allowing the axle bushings to be pulled out of their seats and removed from the axle. Lubricate the new bushings with a universal grease such as Litol 24 or G00062 before installation (ask at auto chemical stores). After seating both bushings in their receiving sockets, install the thrust washers in place and secure the assembly with new cotter pins. Finally, do not forget to adjust the clutch drive cable (see section Removal, installation and adjusting the clutch cable).
Removal
1. The components of the pedal assembly are shown in the accompanying illustration.
2. In the engine compartment, disconnect the negative battery cable, then locate the transmission end of the clutch drive cable and loosen the adjusting nut completely to provide maximum cable slack.
3. Remove the center console (see section Removal and installation the center console).
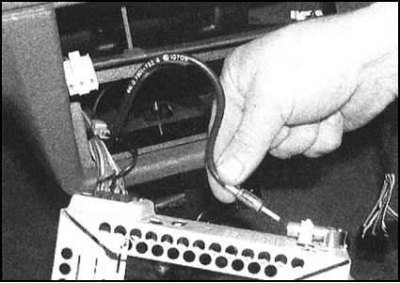
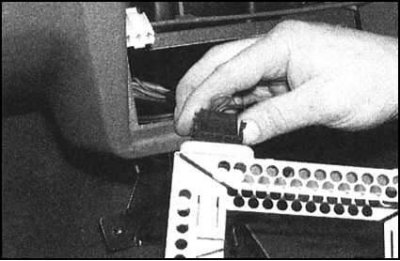
4. Remove the radio unit, then bend back the locking tabs and remove the radio frame from the receiver socket in the instrument panel. Disconnect the antenna cable and electrical wiring, then completely remove the frame.
 |
 |
5. Release the clamps and remove the sleeve connecting the heater casing to the rear footwell.
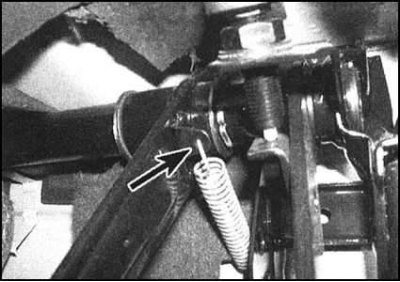
6. Disconnect the auxiliary spring from the clutch pedal. Remove the fastener securing the drive cable to the pedal under the instrument panel. Release the cable end from the pedal.
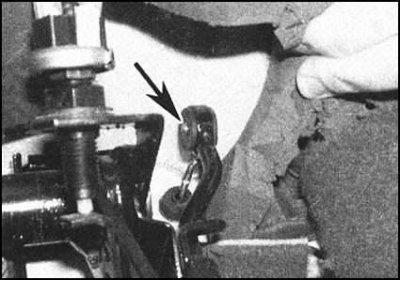
7. Disconnect the drive cable from the top of the accelerator pedal.
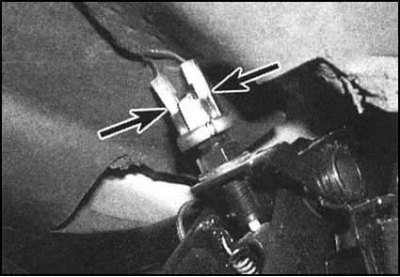
8. Disconnect the electrical wiring from the brake light switch sensor, which is screwed into the top of the right pedal assembly bracket.
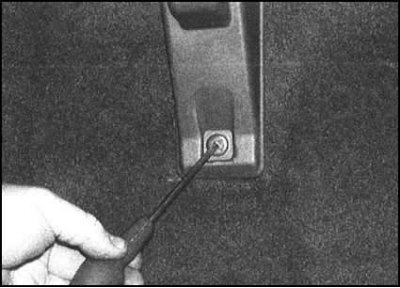
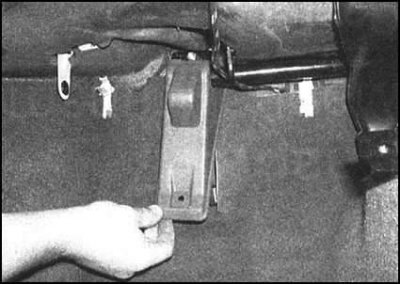
9. In the passenger footwell, remove the plastic retainer and remove the decorative panel from the left pedal assembly bracket.
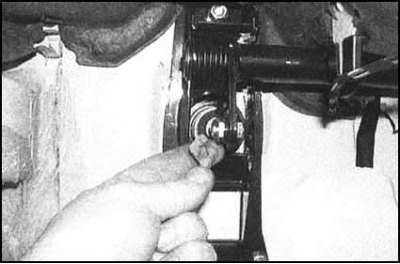
10. Remove the retainer and release the brake booster servo push rod mounting end from the pedal.
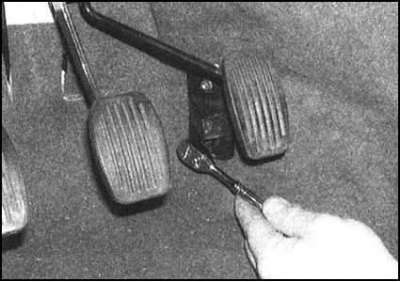
11. Loosen the mounting nuts and remove the accelerator pedal stop and the foot rest on the left side of the clutch pedal.
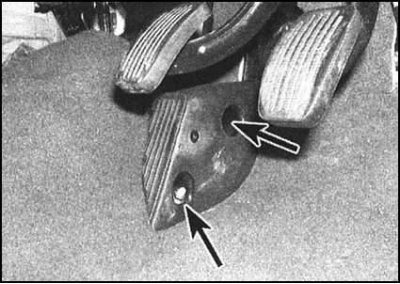
The article is located on the website [SKODABOOK.ru]
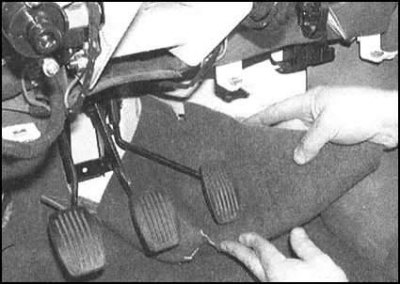
12. Release the fasteners and roll up the carpet on the engine compartment bulkhead, providing access to the lower pedal bracket mounting nuts.
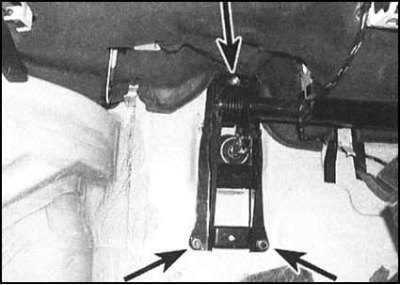
13. Remove the nuts securing the left and right pedal assembly brackets. Remove the lower support plates from the engine compartment.
14. Carefully remove the pedal assembly from the vehicle.
15. With the assembly on a workbench, carefully unhook the brake pedal return spring from the rear of the servo arm. Remove the brake pedal axle retaining rings and remove the support brackets, axle bushings and return spring from the pedal assembly. Further disassembly is not possible. The clutch and brake pedals are supplied as a single assembly (only axle bushings and cotter pins are subject to individual replacement - see note at the beginning of the Section).
Installation
Installation is carried out in reverse order. Particular attention should be paid to the following points:
- a) Do not forget to lubricate the axle bushings of the pedal assembly with universal grease before installation (see note at beginning of Section);
- b) After connecting the accelerator cable to the pedal, check that it is adjusted correctly;
- c) After connecting the clutch drive cable, adjust it according to the instructions given in Section Removal, installation and adjusting the clutch cable;
- d) Finally, connect the battery and check that the brake lights are functioning properly.
Left hand drive models
Removal
1. In the engine compartment, disconnect the negative battery cable, then locate the transmission end of the clutch drive cable and loosen the adjusting nut completely to provide maximum cable slack.
2. Disconnect the auxiliary spring from the clutch pedal. Remove the fastening clip of the drive cable from the pedal under the instrument panel. Release the cable end from the pedal.
3. Remove the retainer from the end of the pedal axle, slide the pedal out of its place and remove it from the support bracket complete with auxiliary spring.
4. Check the pedal for signs of wear and mechanical damage. Replace if necessary. The pedal axial bushing also serves to seat the brake pedal. If the bushing needs to be replaced, ensure that the foot brake pedal is securely fixed while the old bushing is being removed and the new one installed.
Installation
1. Install the auxiliary spring on the pedal, lubricate the pedal axle and bushing with universal grease (see note at beginning of Section).
2. Place the pedal in its regular place, making sure that the auxiliary spring is installed correctly. Secure the assembly with a clamp.
3. Lubricate the end of the drive cable with multi-purpose grease and connect it to the pedal, securing it with the clamp.
4. Connect the return spring to the pedal, then adjust the clutch drive cable (see section Removal, installation and adjusting the clutch cable). Finally, connect the negative cable to the battery.