



Contents: Removal ⬇ Installation ⬇
Removal
1. Place the car on a level surface, engage any gear and block the front wheels.
2. Jack up the rear of the car and support it securely on axle stands so that both wheels are off the ground; then remove the wheels.
3. Proceed as described in the relevant Chapters of Section 9, remove the brake drums and disconnect the brake cables from the drum brake support shields; pickup models only: Disconnect the brake pressure control valve spring from the torsion beam axle.
4. Disconnect the brake pipes from the wheel cylinders (Section 9) so that the brake and hub assemblies can be removed along with the torsion beam axle, or remove the rear stub axle (Chapter 9) so that the drum brake backing plate can be separated and moved aside without disconnecting the brake lines.
5. Loosen the bolts where necessary, release the handbrake cables and brake pipes from the torsion beam axle and its hinges. Move them to the side and secure them so that they are not twisted or damaged.
6. Unscrew the lower mounting bolts of the suspension unit.
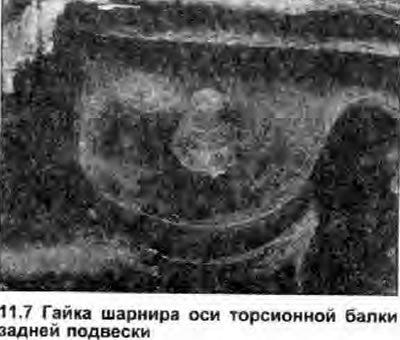
7. Unscrew the nuts of the torsion beam base hinges (see photo). Ask an assistant on the opposite side to knock out the bolts, and lower the axle assembly to the ground.
8. Do not disturb the hinge brackets; see Chapter 12.
9. Thoroughly clean the axle and underbody areas around the fasteners, remove any dirt (and anti-corrosion coating of the bottom, if necessary), then carefully inspect the components for corrosion, cracks, deformation or any other signs of wear or damage; be sure to check the hinge bolts and nuts. Replace any worn or damaged components.
10. If the axle, its hinge brackets or the bottom are rusted, clean the damaged area down to bare metal and paint it. If the thread of the hinge bracket union nut is damaged, seek advice from a specialist.
11. Check the hinge bushings and replace them if they are cracked, worn or otherwise damaged. You will need a press or vice and a socket or piece of tubing for removal and installation; before removing, soak the old bushing with a special penetrating liquid, and when installing a new bushing, use liquid soap or petroleum jelly.
Installation
12. Install in the reverse order of removal, paying attention to the following.
[The original article is located on: Skodabook.ru]
- a) All fasteners should be only lightly tightened at first until the suspension is assembled and the vehicle is on the ground. Once the vehicle is on its wheels, rock the vehicle to ensure that the suspension components are properly seated, then tighten all nuts and bolts to the specified torque Specifications.
- b) Guided by the relevant Chapters of Section 9, assemble and adjust the brake system components.