Contents: Removal ⬇ Installation ⬇
Removal
1. Jack up the front of the vehicle and support it securely on axle stands.
2. Unscrew the rear engine mount from the crossmember.
3. Unbolt the engine/transmission ground strap from the crossmember.
4. Remove the exhaust outlet pipes (Section 4).
5. Disconnect the gear shift rod from the transmission (Section 7).
6. Remove the steering gear mounting bolts from the top of the crossmember and support the steering gear (Chapter 18).
7. Loosen the clamps of the hinge of the rear part of the lower control arm, then loosen the front nuts of the hinge and remove the bolts; separate the lever from the crossbar.
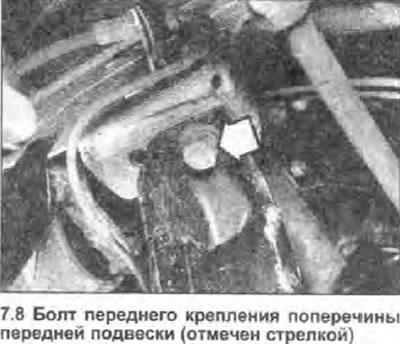
8. Unscrew the bolts of the front crossmember mount (see photo) and lower the crossmember down.
Installation
9. Install in the reverse order of removal, paying attention to the following:
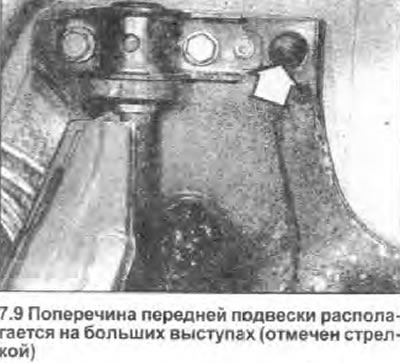
- a) Raise the crossmember, positioning it on the large protrusion in the bottom (see photo), then install the front mounting bolts.
- b) All fasteners should initially be only lightly tightened until the suspension is assembled and the vehicle is on the ground.
- c) With the vehicle on its wheels, rock it to ensure that the suspension components are properly seated, then tighten all loose nuts and bolts to the specified tightening torque Specifications.
- d) After performing such work, it is necessary to check the wheel alignment angles (Chapter 21).