



General description
1. Remove the instrument panel (Chapter 19), then proceed as described in the relevant subchapter.
Devices
Checking the serviceability
2. When checking the coolant temperature gauge circuit, follow the instructions Section 3.
3. When checking the fuel gauge circuit, follow the instructions Section 4.
Removal
4. Unscrew the two mounting screws and remove the top cover of the instrument panel.
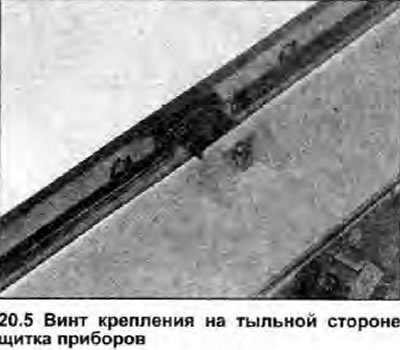
5. Unscrew the screws around the perimeter on the back side (photo) and separate the shield into two halves. Note that glue was used in several places for fastening; carefully remove it with a sharp knife or scalpel.
6. Unscrew the corresponding nuts and remove the device from the panel.
Installation
7. Install in the reverse order of removal.
PCB
Removal
8. Remove all the illumination and warning lamps from the rear of the panel (Chapter 14).
9. Unscrew the nuts securing the instruments to the panel.
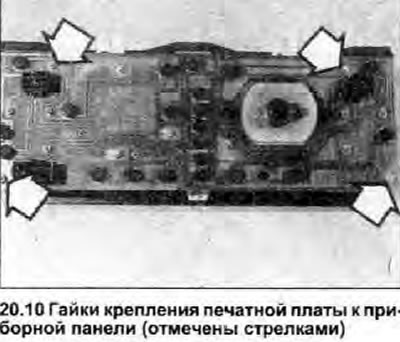
10. Unscrew the nuts and remove the printed circuit board from the panel (photo).
Installation
11. Install in the reverse order of removal.