
2. The system includes a control unit installed in the dashboard, a hydraulic drive (in which a special fluid is used) on each headlight unit, and tubes connecting each actuator to the control unit.
3. Please note that none of the system components can be replaced individually.
4. You can check the system as follows. Release both drives (see below) and comparing their range of motion. If they do not work in sync, the system is faulty and must be replaced. Similarly, if there are fluid leaks from any part of the system, replace it.
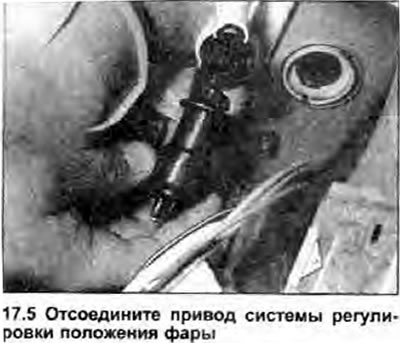
5. To remove the system, separate the drives from the headlights by rotating them counterclockwise and abruptly tearing off the ball joint. Be careful not to damage the connecting pipe (photo).
6. Follow the passage of the tubes to the partition, releasing them from clamps or ties, squeeze out a large sealing ring, and carefully pass the tubes and drives into the car interior.
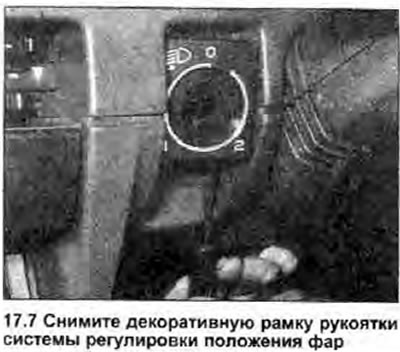
7. Remove the control handle, separate the decorative frame (photo), then unscrew the control box from the dashboard.
8. Remove the dashboard (Chapter 19) and remove the system components.
9. Install in the reverse order of removal.