



Contents: General description ⬇ Headlight ⬇ Front side light ⬇ Front direction indicator ⬇ Side turn signal repeater ⬇ Assembling the rear lights ⬇ Rear fog light ⬇ Reversing light ⬇ License plate light ⬇
General description
1. Whenever replacing lamps, please refer to the following points:
- a) Before starting work, turn off the relevant lights.
- b) Remember that if the lamp has just been lit, the bulb may be very hot.
- c) Always check that there is good contact between the lamp and the holder. Remove any corrosion or dirt before installing a new lamp.
- d) Wherever bayonet type lamps are used, check that the contacts are securely connected.
- e) When replacing a bulb, make sure that the new one has the same wattage as the old one: this is especially true for headlight bulbs (see below).
Headlight
2. Working in the engine compartment, unscrew the plastic cover from the back of the headlight assembly.
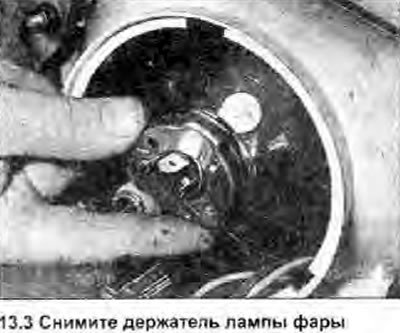
3. Disconnect the wiring, then press the holder and turn it counterclockwise (photo).
4. Remove the lamp (photo).
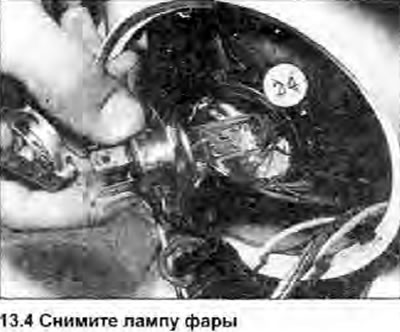
5. When installing a new lamp, handle it through a cloth and do not touch the glass with your fingers. If fingerprints accidentally remain on the glass, wash them off with methyl alcohol.
6. Install in the reverse order of removal; make sure the locking tabs of the new bulb are properly aligned with the grooves in the reflector.
Front side light
7. Working in the engine compartment, separate the cartridge from the rubber cushion on the headlight reflector (photo).
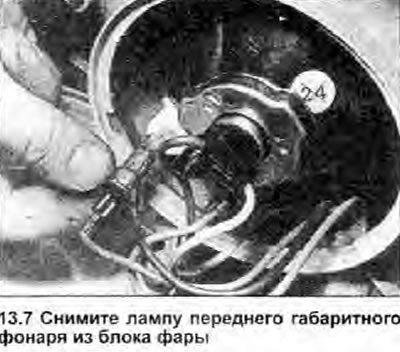
8. Press down on the lamp, turn it counterclockwise and remove it.
9. Install in the reverse order of removal.
Front direction indicator
10. Working in the engine compartment, turn the socket counterclockwise and separate it from the rear of the headlight assembly. You may have to disconnect the wiring first (photo).
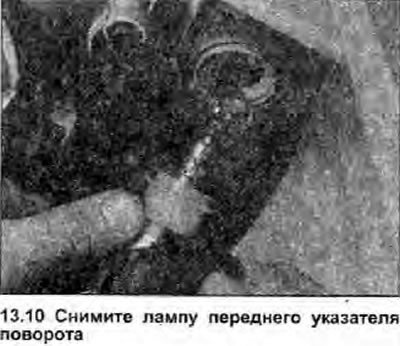
11. Press the bulb into the holder, turn it counterclockwise and remove it.
12. Install in the reverse order of removal.
Side turn signal repeater
13. When working from outside the vehicle, remove the two screws securing the lens to the front fender (photo).
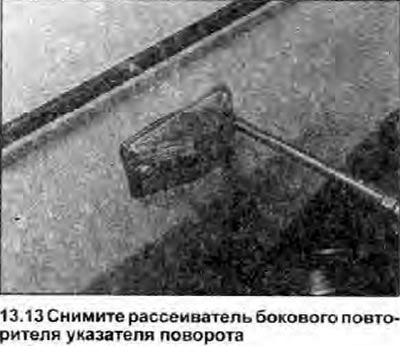
14. Press the two tabs and remove the cartridge from the front fender.
15. Press the lamp into the holder, turn it counterclockwise and remove it (photo).
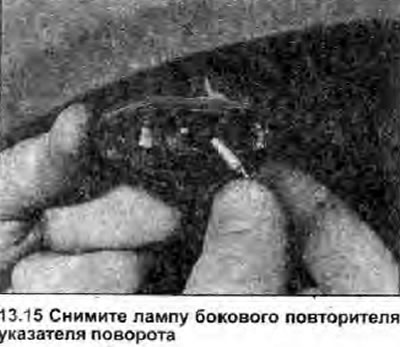
16. Install in the reverse order of removal.
Assembling the rear lights
17. Open the rear door and disconnect the electrical wiring from the tail light assembly.
18. Lift the metal tab and remove the bulb holder from the light assembly.
19. The three lamps in the holder can be removed by pressing and turning counterclockwise (photo).
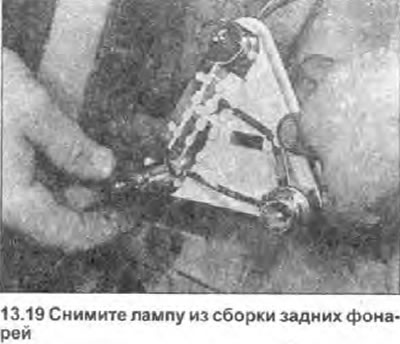
20. Install in the reverse order of removal.
Rear fog light
21. The rear fog light is housed in the light unit attached to the rear door, together with the reversing light.
22. Working from outside the vehicle, remove the two screws securing the diffuser (photo).
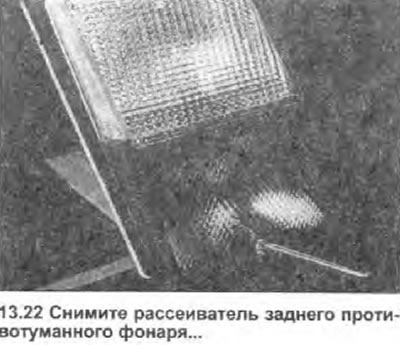
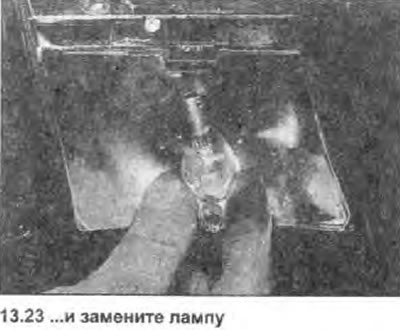
23. Press on the lamp, turn counterclockwise and remove (photo).
24. Install in the reverse order of removal.
Reversing light
25. The procedure for replacing the reversing light bulb is the same as for the rear fog light bulb (see above).
License plate light
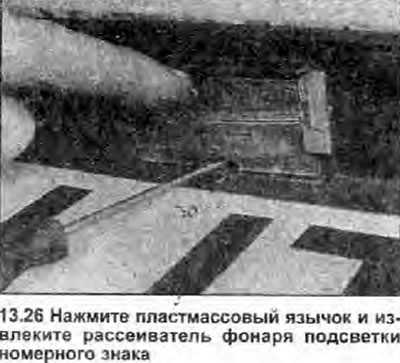
26. Working from outside the vehicle, press the plastic tab securing the lens, slide the lens toward the license plate and release (photo).
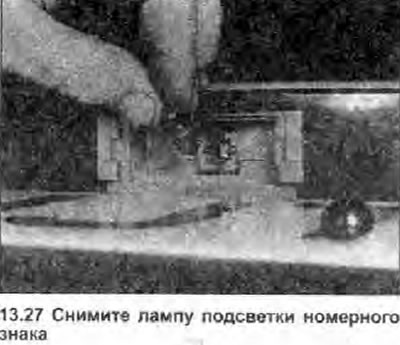
27. Press on the lamp, turn counterclockwise and remove (photo).
28. Install in the reverse order of removal.