



9. Drain the fluid from the system, install the drain plug and lower engine shield, fill with clean water.
10. Replace the expansion tank filler cap, start the engine, and warm it up to normal operating temperature. Then stop the engine and drain the fluid. Repeat the procedure as necessary until only clean water flows out, then fill the system with the specified Specifications coolant.
11. If the one specified in Specifications coolant and replaced at the specified intervals, the above procedure will be sufficient to keep the system clean for a very long time. Otherwise, the following steps will need to be taken.
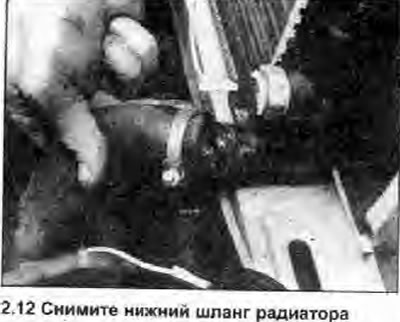
12. First, drain the coolant, this time disconnecting the lower hose from the radiator, then disconnect the upper hose from the thermostat housing (photo). Insert a water hose into the upper hose, and run water through the radiator until it comes out of the lower hole clean.
13. To flush the engine cooling jacket, insert a water hose into the thermostat housing and run water through the engine until it runs clear out of the bottom hose. If the water does not run clear after a while, the system needs to be flushed with a special cleaning agent such as Holts Radflush or Holts Speedflush.
14. In case of serious contamination, you can perform a reverse flush. To do this, remove the radiator (Section 3), turn it over and insert a water hose into the lower outlet. Run water through the radiator until it comes out of the upper hole clean. A similar procedure can be used to flush the heater matrix.