
Note: See Warnings given in Chapter 1 of this section before starting work.
Removing
Note: Radiator repairs are best left to a professional, although minor leaks can be repaired with Holts Racfweld type sealant.
Radiator
1. Drain the liquid from the cooling system (see section 1).
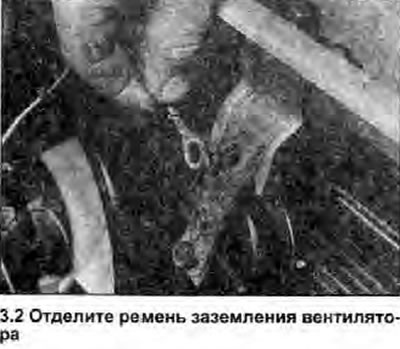
2. Loosen the fixing nut, separate the fan ground strap from the horn mounting stud (see photo) and remove the signal assembly.
3. Separate the cooling system hoses from the radiator.
4. Disconnect the electrical fan thermal switch wires.
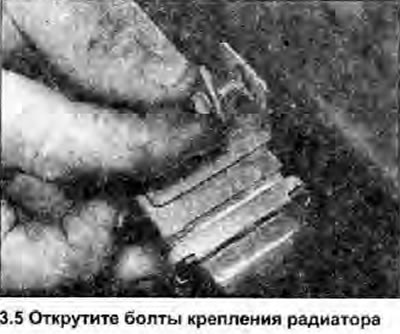
5. Remove the two upper radiator mounting bolts (see photo).
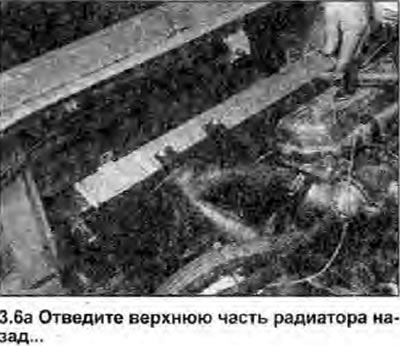
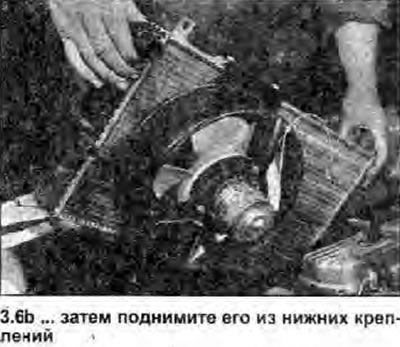
6. Pull the top of the radiator back, lift it out of the bottom mountings and remove the radiator from the engine compartment along with the fan, taking care not to damage its core (see photo).
 |  |
Expansion tank and its filler cap
7. Drain or pump out the coolant from the expansion tank, block or pinch the connecting hose to the radiator, then unscrew the fixing nuts and remove the tank from the engine compartment.
Inspection
Radiator
8. To allow a complete inspection of the heatsink, separate the fan from the heatsink as described in Chapter 5. If the radiator was removed due to clogging (caused by overheating), try to flush it in reverse (see section 1) or, in particularly difficult cases, use a special cleaner strictly in accordance with its manufacturer's instructions. Make sure the product is suitable for use in an aluminum radiator.
9. Using a soft brush, a jet of water from a garden hose, or compressed air, clean the radiator core of leaves, dead insects, etc.
10. Minor radiator leaks can be repaired with Holts Radweld. Serious leaks and damage should be referred to a specialist. or the radiator should be replaced.
11. If the radiator needs to be repaired or replaced, before removing it, separate the thermal switch (see chapter 6) and all cooling system hoses.
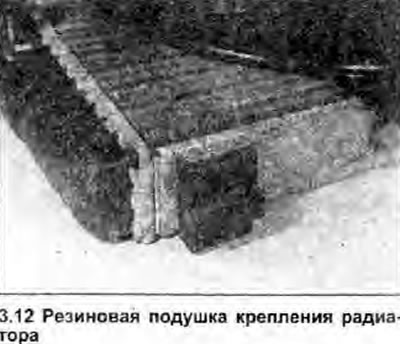
12. Check the condition of the radiator fasteners and replace them if necessary (see photo).
Expansion tank and its filler cap
13. Remove remaining coolant from reservoir and flush with fresh water to clean. If the tank is leaking, first try to fix it using a special sealant or a suitable adhesive. If this fails, replace the tank.
14. The expansion tank filler cap must be cleaned and checked each time it is removed. Make sure that the sealing surfaces and cap threads are clean and undamaged and that they fit snugly on the corresponding part of the expansion tank.
15. The serviceability of the expansion tank cap safety valve can only be checked using a special pressure tester (cooling system compressor), equipped with a suitable adapter. The lid relief valve must hold air pressure until it reaches the operating pressure specified in Specifications, the valve should open.
16. If there is any doubt about the tightness of the cover or the serviceability of its valve, replace the cover. Please make sure that the replacement you have purchased is exactly the type you require.
Installation
Radiator
17. Install in the reverse order of removal paying attention to the following:
- a) Make sure the heatsink is positioned correctly. without undue stress on its fasteners.
- b) Place the hoses carefully so that they do not get entangled with other components, and tighten their retaining clamps.
- c) Fill the cooling system (see section 1).
Expansion tank and its filler cap
18. Install in the reverse order of removal paying attention to the following:
- a) Make sure that the hoses, especially those between the tank and the radiator, are routed correctly, without twists or sharp bends, and are securely attached with clamps.
- b) Fill the cooling system (see section 1).