



Contents: Removal ⬇ Installation and adjustment ⬇
Adjusting the lock striker
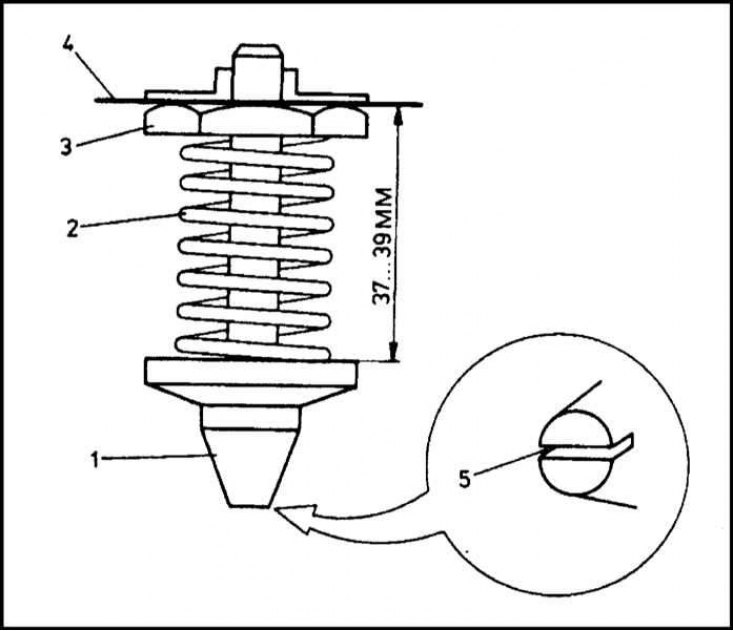
1 - Drummer; 2 - Spring; 3 - Lock nut; 4 - Hood; 5 - Spline
Removal
1. Open the hood and place a rag under both corners to protect the paintwork on the body panels.
2. Use a marker to trace the hinge strips attached to the hood.
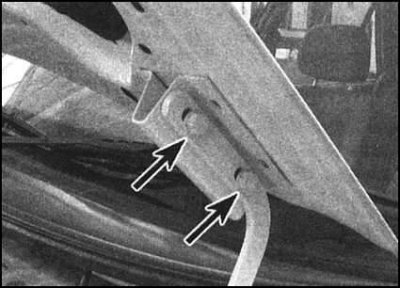
3. Have an assistant hold the hood and remove the bolts securing the hood to both hinge strips. Remove the washers, then carefully remove the hood from the car.
4. Carefully inspect the hinges for signs of wear and looseness of the pivot joints. Replace if necessary (each hinge is attached to the body with three nuts).
Installation and adjustment
1. With the help of an assistant, position the hood on its hinges according to the marks made during dismantling. Install the washers, screw in and, for now, tighten the mounting bolts only by hand. Adjust the position of the hinges according to the marks, then tighten the bolts completely.
[The article is located on the website: skodabook.ru]
2. Close the hood and check that the gaps between the hood and the panels of both front wings of the car are the same. If necessary, loosen the hinge bolts and make the necessary adjustments to the position of the hood. Once you have achieved a satisfactory result, tighten the hinge nuts/bolts securely and check that the latch operates properly.
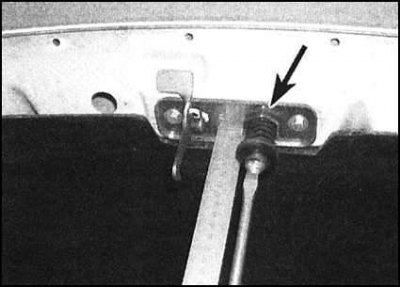
3. Make sure that the bonnet is flush with the surfaces of the surrounding body panels. If necessary, the height of the bonnet can be adjusted by changing the length of the striker pin. The manufacturer (Skoda) recommends a value of 38±1 mm as a reference figure. To adjust, loosen the lock nut and, accordingly, screw the pin in or out by the required amount. Having achieved the required position, fix the striker pin in it and tighten the lock nut with the required force.