Removal
1. Jack up the front of the vehicle and support it securely on axle stands.
2. Separate the ball joint from the lower arm or from the steering knuckle (Chapter 6).
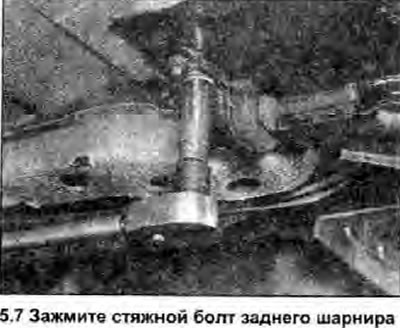
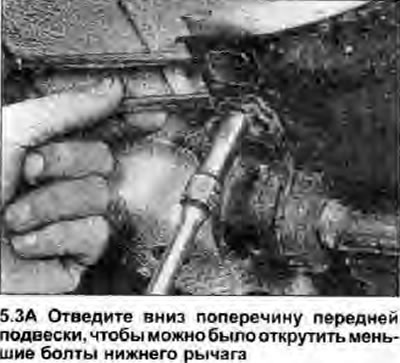
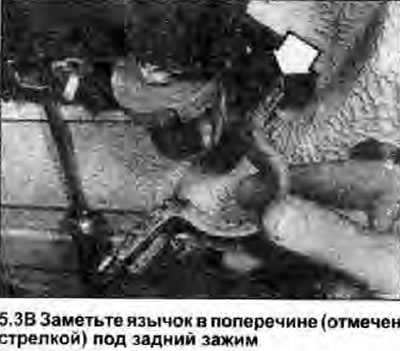
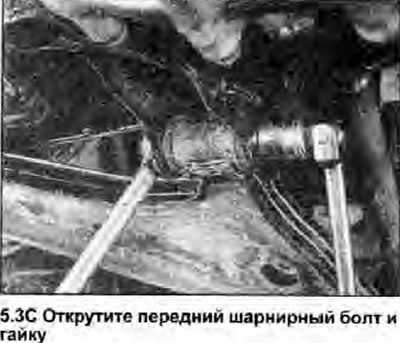
3. Unscrew and remove the rear lower arm pivot clamp, note the location of the tab. First unscrew the two large bolts, then insert a powerful screwdriver and move the crossbar down so that the wrench fits into the resulting gap and you can unscrew the smaller bolt and nut. Unscrew the front nut and remove the bolt (photo).
 |
 |
 |
4. Remove the lever.
Bulkhead
5. Thoroughly clean the control arm and crossmember/underbody areas around the fasteners, then carefully inspect the components for cracks, warping, or other signs of wear or damage; don't forget the pivot bolt and clamp fasteners. Replace any worn or damaged components.
6. Check the pivot bolt bushings and replace them if they are cracked, worn or split. The rear pivot bolt bushing can be replaced by hand, while replacing the front bushing requires a press or vice.
Installation
7. Install in the reverse order of removal, paying attention to the following.
- a) All fasteners should initially be only lightly tightened until the suspension is assembled and the vehicle is on the ground.
- b) With the vehicle on its wheels, rock it to ensure that the suspension components are properly seated, then tighten all loose nuts and bolts to the specified torque Specifications (photo).
- c) After performing such work, it is necessary to check the wheel alignment angles (Chapter 21).