2. To remove the system or part of it, first jack up the front or rear of the vehicle and place it on axle stands. Alternatively, park the vehicle in a pit or overpass.
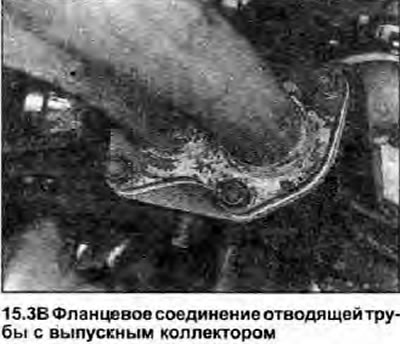
3. To remove the discharge pipe, unscrew and remove the two nuts of the flange connecting the discharge pipe to the central part, and release the springs. Unscrew the nuts of the flange connecting the outlet pipe to the collector. Separate the outlet pipe from the connections at each end, then lower it and remove it from under the vehicle (see illustrations).
 |  |
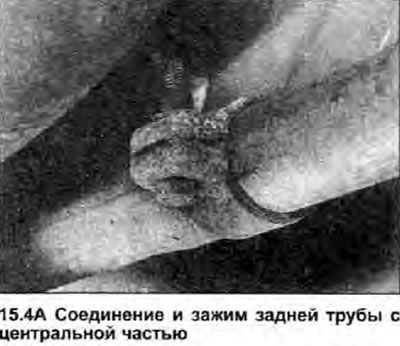
4. To remove the rear pipe, loosen the clamp of its connection with the central part, release the pipe from the brackets, and pull it back (see illustrations).
 |  |
5. The central part can be removed together with the front discharge pipe or separately. Separate the center section from the back first (as described in the previous paragraph), then separate the central part from the outlet pipe or from the manifold, free the pipe from the hangers, and remove it from under the car.
6. Replace all gaskets and seals after each removal; check and, if necessary, replace all fasteners, clamps and rubber hangers.
7. Install in the reverse order of removal paying attention to the following:
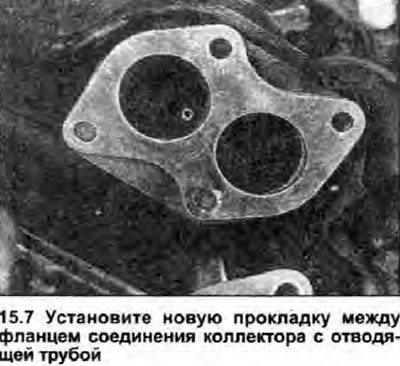
- a) Make sure that the mating surfaces of the joint and flanges are clean. Always install a new gasket between the manifold and exhaust pipe (see illustration).
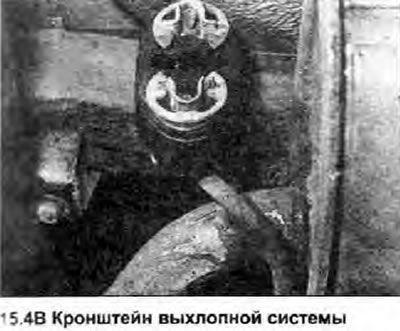
- b) Suspend the system loosely on its mounts and check that it does not touch the body parts or the suspension, even if the rubber suspensions are deflected to the limit.
- c) Apply a small amount of anti-lock compound to the threads of all nuts (except for self-locking) and bolts, as well as on the bushings of the joints.
- d) After starting the engine, check the system for leaks, and only then lower the car onto the wheels.