



Contents: Removal ⬇ Installation ⬇
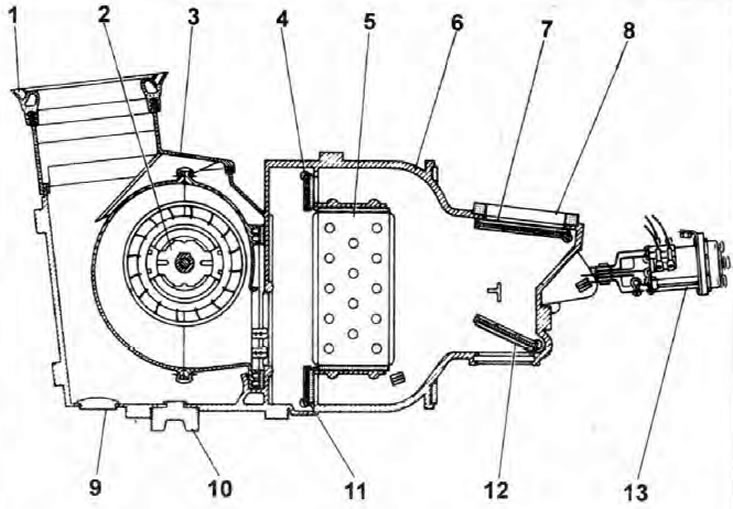
Fig. 3.2. Heater unit
1. Rubber seal; 2. Supercharger motor; 3. Casing; 4. Bypass valve; 5. Heater matrix; 6. Heater housing; 7. Regulating valve; 8. Air duct; 9. Cork; 10. Bushing; 11. Bypass valve; 12. Regulating valve; 13. Switch for heating/ventilation modes of the passenger compartment.
Note: See Warnings given in Chapter 1 this Section before you begin working.
Removal
1. Disconnect and remove the battery (see Section 12).
2. Drain the cooling system (see Section 1). If the antifreeze cannot be replaced, collect the drained liquid in a clean container.
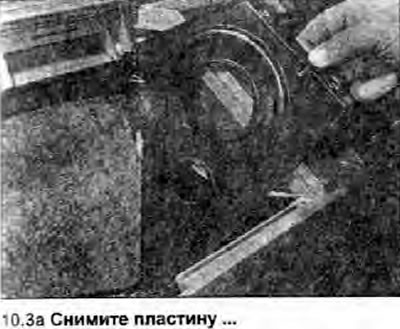
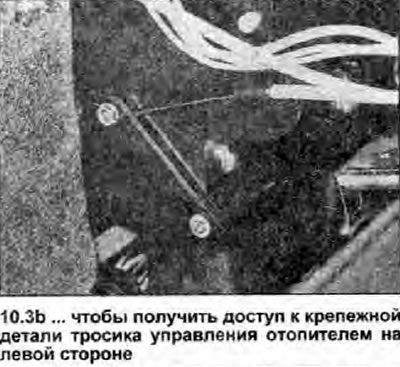
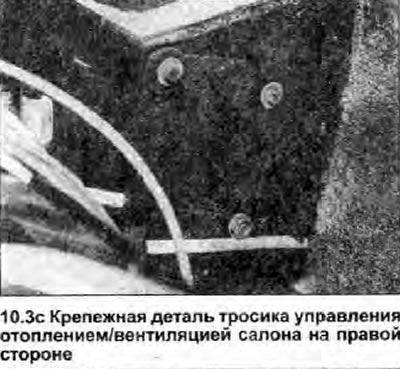
3. Disconnect the cables from the control levers on the heater unit. To access the cable fasteners, you must remove the central heating/ventilation switch panel, the glove compartment and the plate on the left side (see photo).
 |
 |
 |
4. While working in the engine compartment, lift the air intake manifold from the heater unit (see photo).
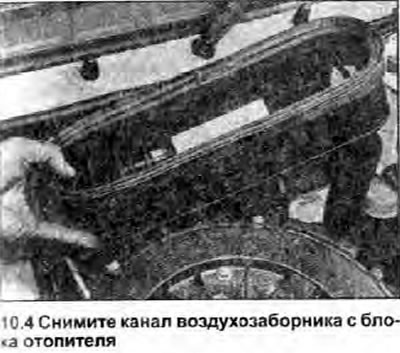
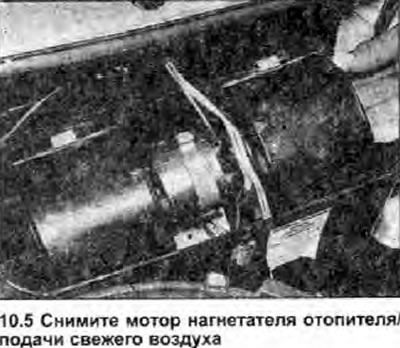
5. The blower/fresh air supply unit is now accessible and can be removed from the heater housing (see photo). In doing so, it is necessary to disconnect the wires from the blower terminals as soon as they become accessible.
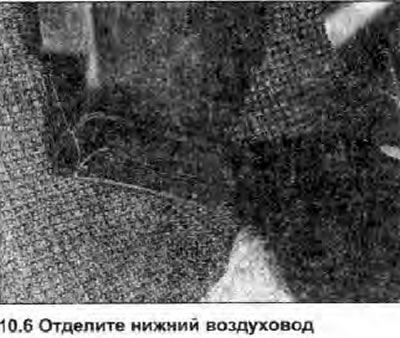
6. Fold the carpet away from the bulkhead in the front of the vehicle to access the lower heater duct mount just above the center tunnel. Carefully pry the duct away from the heater (see photo).
(The original can be viewed on skodabook.ru)
7. Loosen and remove the two heater mounting nuts located on the engine side of the bulkhead. Make sure all mating components and parts are separated from the heater unit and carefully remove it from the bulkhead. Have an assistant separate the heater unit from the upper air ducts in the passenger compartment.
Installation
8. Perform installation in reverse order. Make sure all mating components and parts are installed correctly and securely.
9. Finally, fill the cooling system and check the heater hose connections for leaks.