



Contents: Removal ⬇ Installation ⬇
Note: See Warnings given in Chapter 1 this Section before starting work.
Removal
1. First, drain the cooling system (see Section 1). If the antifreeze cannot be replaced, collect the drained liquid in a clean container.
2. To improve access, remove the air cleaner assembly as described in Section 4.
3. Loosen the generator mounting bolts and remove the drive belt.
4. Loosen the clamps and separate the hose from the water pump.
5. Apply the handbrake, then jack up the front of the car and support it on axle stands.
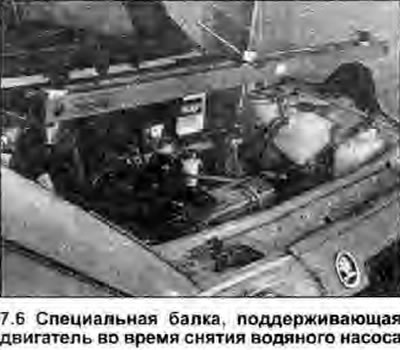
6. The water pump is mounted to the right engine mount and will need to be supported to remove the weight of the engine. This can be done by using a jack placed underneath the engine with a piece of wood between them. Remember that this is to support the engine from underneath rather than lift it. Alternatively, attach the lifting eyes to the lifting bracket on the cylinder head and use a winch or support beam to take the weight off the engine mounts (see photo).
7. Working underneath the vehicle, remove the nut securing the engine/transmission tie rod to the subframe bracket. Remove the bolt securing the rod to the engine support bracket and lift the rod off (down).
8. Loosen the right suspension through bolt and remove the nut. To obtain the required clearance for removing the through bolt, use a hammer and a suitable punch to knock out the plug from the right spar. The through bolt can then be removed from under the wing through the opening.
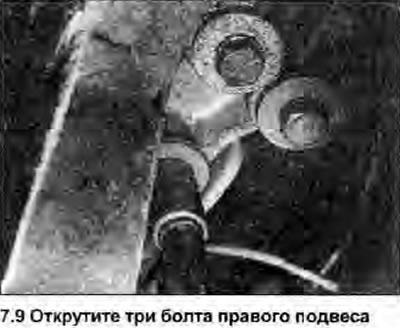
9. Loosen the three bolts securing the right strut bracket to the body and lift the bracket out of position (see photo). If this requires lowering the engine slightly, be careful not to overload or damage the exhaust system mounts or other related components. Loosen any components that could be damaged when moving the engine down.
10. Loosen and remove the four water pump mounting nuts. Lower the engine enough to allow the water pump to be lifted off its mounting studs and removed from underneath the vehicle (see photo).
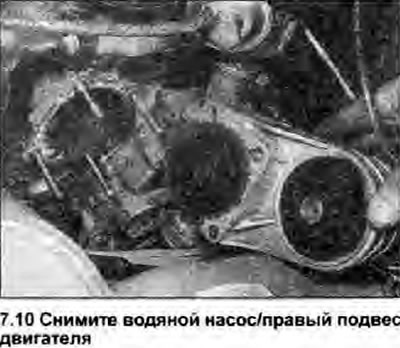
11. Clean the contact surfaces of the water pump and engine, being careful not to damage them. Note that the gasket must be replaced. If the connecting hoses are damaged, replace them together with the clamps.
Installation
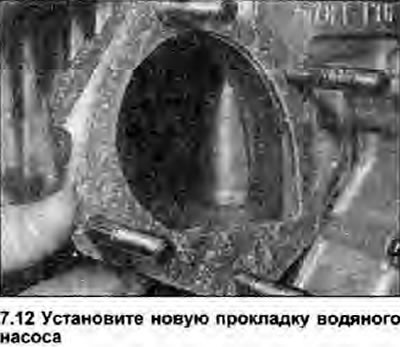
12. Install in reverse order. Use a new gasket and lubricate the mating surfaces with a suitable sealant (see photo).
13. Tighten the fasteners to the specified tightening torque Specifications. Fill the cooling system with the specified Specifications quantity of antifreeze and check the joint with the water pump for leaks. Separate and remove the winch or frame.
14. Install the drive belt and adjust its tension as described in Section 1.
15. Install the air filter (see Section 4).