
Note: See Warnings given in Chapter 1 of this section before starting work.
Removing
Note: Minor leaks from the heater matrix can be repaired with a sealant such as Holts Radweld.
1. The matrix can be removed from the heater, leaving the latter in the working position in the car. Drain the cooling system first (see section 1); if the antifreeze is not replaceable, collect the drained fluid in a clean container.
2. See Section 12 and remove the wiper motor.
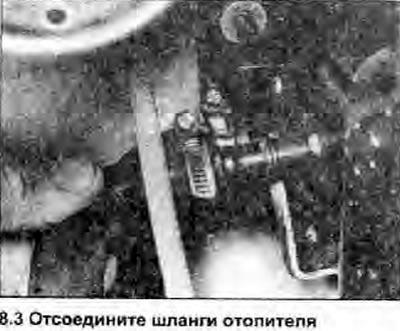
3. Loosen the clamps and separate the coolant supply and return hoses from the corresponding matrix nozzles (on the right side of the heater block). Be prepared for a small amount of fluid to come out when separating the hoses (see photo).
4. Loosen the pinch screw and disconnect the heater control cable from the control valve lever on the right side.
5. Unscrew the fixing nut and separate the ground strap from the heater mounting stud on the bulkhead of the engine compartment (on right).
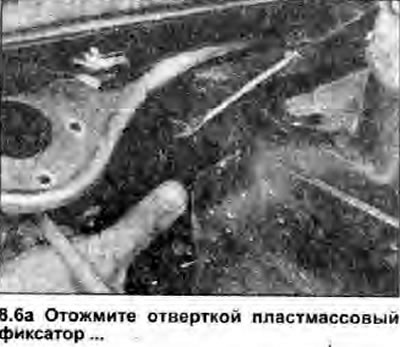
6. Press with a screwdriver and separate the plastic retainer, then carefully remove the matrix from the heater housing (see photo).
 |  |
Installation
7. Install in reverse order. When attaching the control cable, make sure that it is installed so that the control lever in the panel and the lever on the wall of the heater box are both set to «hotter» position. In this position, the lever on the heater is fully moved forward.
8. Finally, fill the cooling system and check the heater hose connections for leaks.