
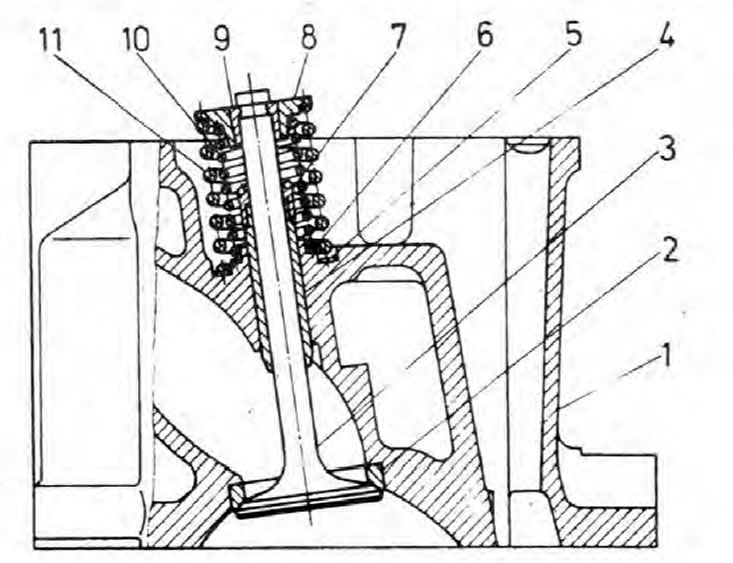
Pic. 2B.2. Location of valve components in the cylinder head
1. Cylinder head; 2. valve seat; 3. Valve; 4. Valve guide; 5. External spring support; 6. Internal spring support; 7. Valve guide valve stem cap; 8. Spring support cup; 9. Valve cotters; 10. Internal spring; 11. External spring.
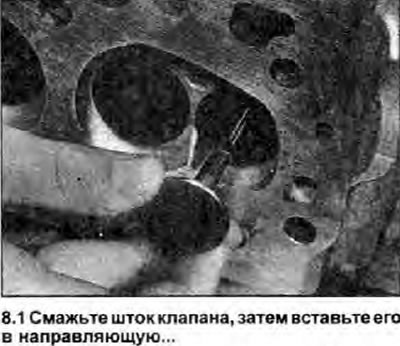
1. Lubricate the stems and reinsert the valves into their original positions in the guides. If new valves are installed. insert them into the places to which they were lapped (see illustration).
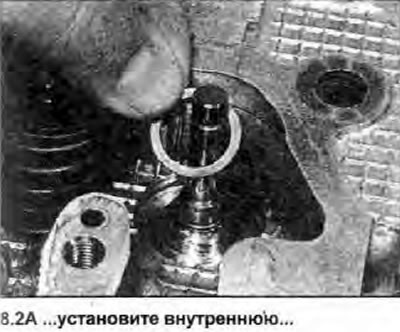
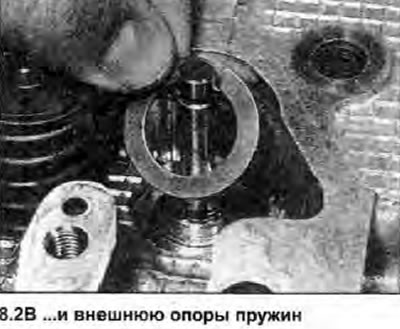
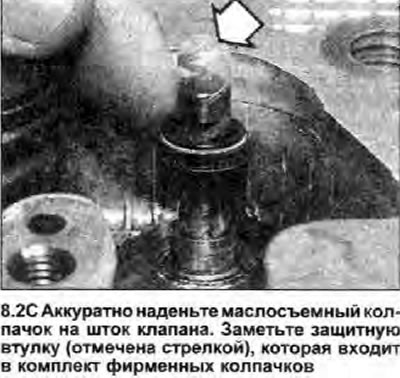
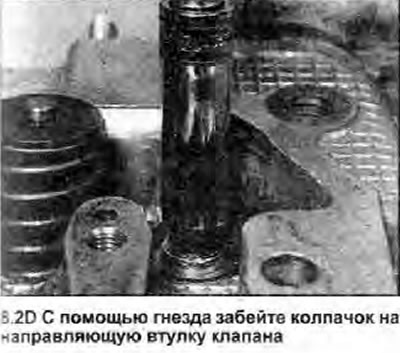
2. Working on the first valve, first install the inner and outer spring supports. If genuine Skoda valve stem seals are installed, install one plastic bushing included in the cap kit onto the end of the valve stem; it will protect the lip of the cap from damage when it is installed on the valve stem. Dip the new cap into the oil, then carefully slide it over the valve onto the guide. Using a suitable socket or metal pipe, drive the cap onto the guide, then remove the protective sleeve from the valve stem (see illustrations).
 |  |
 |  |
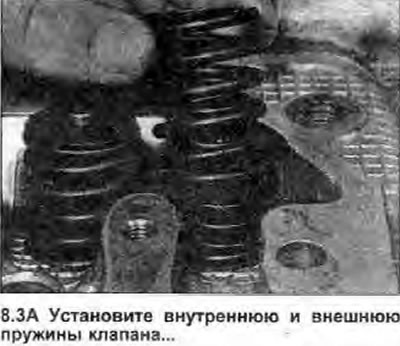
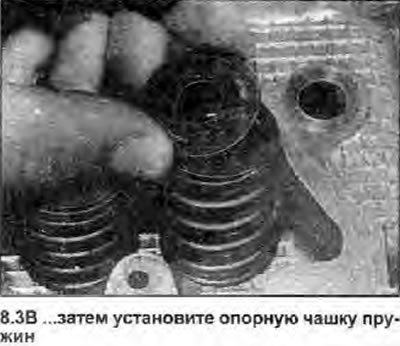
3. Place the inner and outer springs on their supports, then install the spring support cup (see illustrations).
 |  |
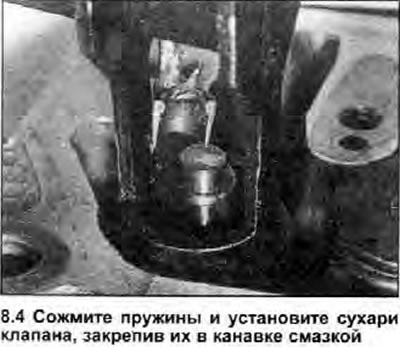
4. Compress the springs and insert the cotters into the recess in the valve stem (see illustration). Fix the crackers in working position using a small amount of lubricant. Release the puller, then repeat the procedure on the remaining valves.
5. After all valves are installed, place the cylinder head with the combustion chambers down, laying blocks of wood under the carrier, and hit the ends of the valve stems with a mallet to settle the position of the components.