



2. Wait until the engine has completely cooled down before starting the procedure.
Models with ignition distributor
If there is no factory marking, mark the spark plug wires yourself using tape in accordance with the cylinder numbering (from 1 to 4, counting from the timing chain). Disconnect the wires from the spark plugs (to avoid damaging the contact terminal, pull only by the rubber tip, and never by the wire itself!).
Models without distributor
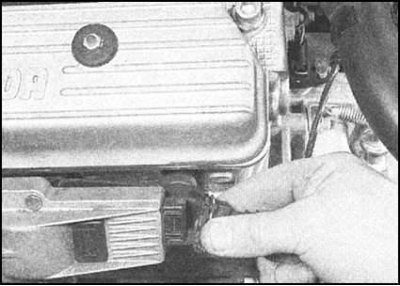
1. Disconnect the wiring connector at the end of the ignition coil unit.
2. Using a socket wrench, remove the two socket head bolts located under the block.
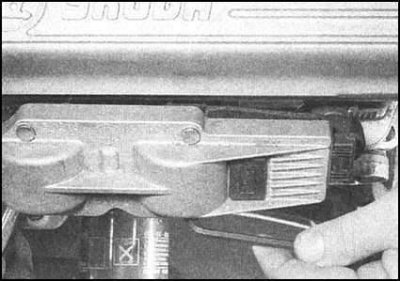
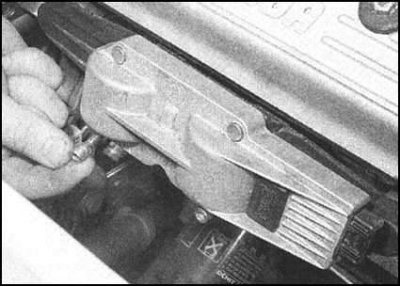
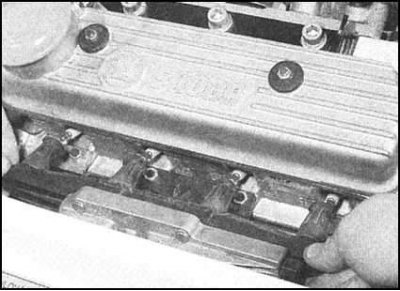
3. Gently pull forward to remove the coil assembly from the spark plugs.
All models
1. Before removing the spark plugs, to avoid debris getting into the cylinders, remove small debris and dirt from the spark plug niches - clean the niches with a thin brush or blow them out with compressed air (you can use a regular bicycle pump).
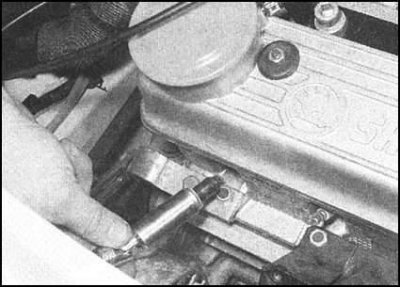
2. Using a special key equipped with an elastic insert, unscrew the spark plugs. To avoid damaging the threads, try not to tilt the spark plugs while unscrewing.
3. Analysis of the external condition of the spark plugs can provide a lot of useful information about the degree of engine wear. If the working end of the spark plug is shiny and free of deposits and deposits, then too lean an air-fuel mixture is supplied to the combustion chambers, or the spark plug has an excessively high heat rating (heat removal from the electrodes in a hot spark plug occurs less intensively than in a cold one).
4. If the working end of the spark plug and the central internal insulator are covered with a thick layer of soot deposits, the mixture is too rich. Black coloration of the working part of the spark plug in combination with traces of oil indicates internal wear of the engine or excessive enrichment of the mixture.
5. A golden or greyish-brown colouring of the working part of the spark plug is evidence of the correct composition of the air-fuel mixture and the good internal condition of the engine.
6. Finally, make sure that the replacement spark plugs correspond to the size of those just removed from the engine. In most cases, the spark plugs should have a flat seat and be equipped with a sealing washer, however, on some 135 engines, cone-type spark plugs without washers are used. It is unacceptable to install spark plugs of the wrong size on the engine. If you are not sure about the selection of spark plugs, contact the Skoda service center for advice.
7. One of the most important parameters determining the spark plug sparking efficiency is the size of the interelectrode gap. Nominal values of spark plug gaps are given in the Specifications.
8. To set the interelectrode gap, measure it using a special feeler gauge, and then bend the side electrode in the appropriate direction very carefully. Do not try to adjust the position of the central electrode under any circumstances, as this may cause the internal porcelain insulator to fail, which is fraught with the most serious consequences.
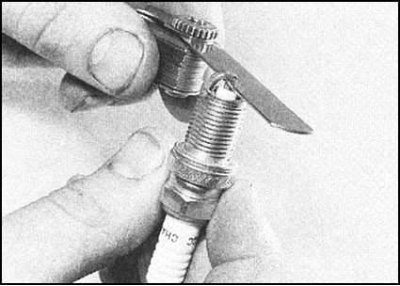
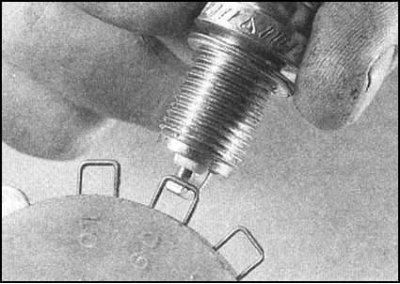
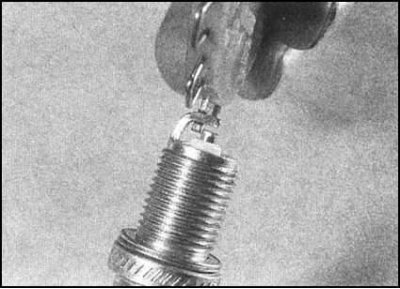
9. The gap adjustment should be made using a special device, which is usually mounted on the body of the wire-type feeler gauges.
10. Before installing the spark plug on the engine, make sure that the contact tip of the tail is tightly seated. Also check the cleanliness of the threaded part and the outer surface of the insulator. Lightly lubricate the thread with copper-containing grease to make it easier to unscrew it next time.
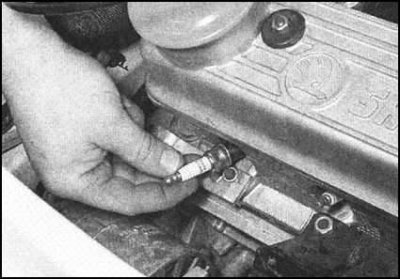
11. Carefully insert the spark plug into the hole in the head recess.
Note. It is usually quite difficult to screw the spark plug into the threaded hole of the cylinder head without skewing. To avoid damaging the thread in the body of the head made of a soft aluminum alloy, it is best to screw the spark plug in by a section of the fuel hose placed on its outer insulator. In this case, if there is a skewing, the hose will simply start to turn on the spark plug without any risk of damaging the thread.
(Data copied from the portal: «skodabook.ru»)
12. Remove the section of hose from the spark plug tail screwed into the head, then tighten the spark plug to the required force using a torque wrench.
Note: If you don't have a torque wrench handy, tighten the spark plug until it stops by hand, then tighten it an additional quarter turn with a spark plug wrench. Install all remaining spark plugs on the engine in a similar manner.
13. On models equipped with a distributor, connect the spark plug wires to the spark plugs as marked, then replace the top engine cover.
14. On models without a distributor, install the ignition coil assembly in the reverse order to that described above. Tighten the coil assembly mounting bolts to the specified torque.