



Note: Before you begin, please refer to the Note given at the beginning Chapters 9.
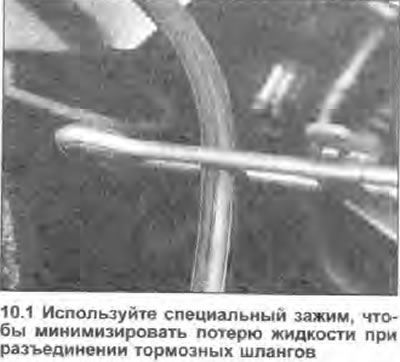
1. If any tube or hose needs to be replaced, remove the master cylinder feed tank cap and re-tighten it, placing a piece of polyethylene under the cap (do not damage the level sensor). This will allow you to get an airtight seal and prevent liquid spillage. Alternatively, clamp the hoses with a special clamp (see photo) or clog the metal couplings. Put a rag under the coupling to be disconnected to catch the leaking liquid.
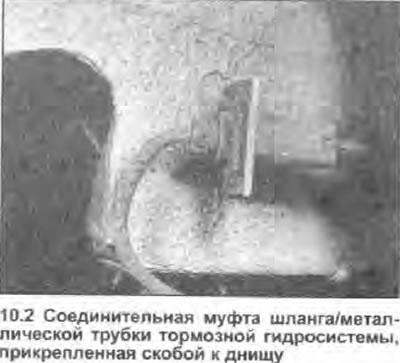
2. If it is necessary to detach the hose, unscrew the union nut and remove the spring clip securing the hose to the bracket (see photo).
3. To loosen the union nuts, you will need a special ring spanner. Alternatively, you can use a suitable sized regular spanner, although if the nuts are corroded, there is a high risk of stripping their chamfers. In this case, use a self-locking spanner and replace the tube and damaged nuts. Before removing the tube, be sure to clean the union and the surrounding area. When removing a component with more than one union, draw the connections before disconnecting them.
4. If the brake pipe needs to be replaced, you can buy a ready-made pipe of the required length from Skoda dealers, with connecting nuts and already flared ends. All that remains is to bend the pipe to the required profile and install it on the car. You can make the pipe yourself, but this requires very precise measurements of the original.
5. When installing, do not overtighten the union nuts. There is no need to apply too much force to obtain a secure connection. When installing the hoses, be sure to replace all sealing washers.
6. Make sure that the tubes and hoses are routed correctly, without twists or loops, and that they are secured in the appropriate brackets. After installation, remove the polyethylene from the reservoir neck and bleed the brake hydraulic system as described in Chapter 9. Wash away any spilled liquid and thoroughly check the system for leaks.