
Checking and adjusting the drive belt
10. The drive belt should be visually inspected for wear, cracks, or detachment. If any of these damages are present, replace the drive belt.
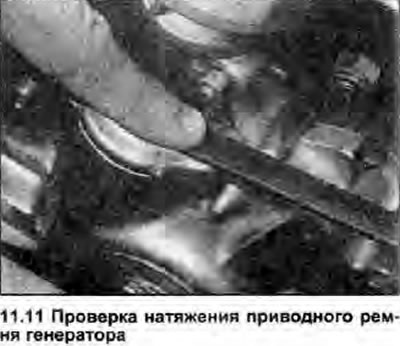
11. The tension of the drive belt is tensioned correctly when, with a force of approximately 2 kg applied to it, in the middle of the run between the pulleys of the generator and the water pump, the belt deviates by 10-15 mm (photo).
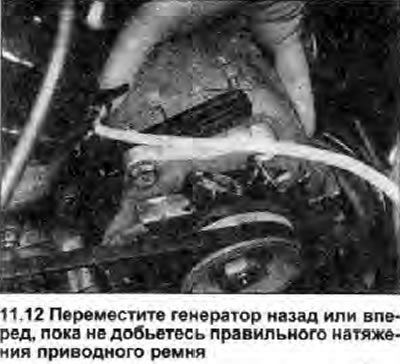
12. To adjust the tension of the drive belt, loosen the bolts on the bracket, swivel axle and alternator clamp, and move the alternator back or forth until the correct tension is achieved (photo). This will be made much easier if the pivot and clamp bolts are only slightly loosened so that some force is required to move the generator. In this way, it will be possible to correctly tension the drive belt faster.
13. When the belt is properly tensioned, tighten any loose bolts and recheck the tension.
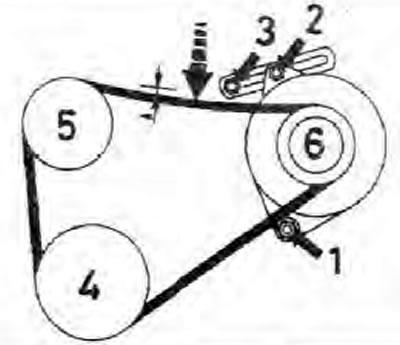
1. Alternator pivot bolt
2. Alternator clamp bolt
3. Alternator bracket bolt
4. Crankshaft pulley
5. Water pump pulley
6. Alternator pulley
A Deflection of the drive belt by 10-15 mm
Drive Belt Replacement
14. To replace the drive belt if it is worn or stretched, loosen the mounting, pivot and clamp bolts and move the generator as far as possible to the water pump.
15. Remove the old drive belt from the crankshaft, alternator and water pump pulleys.
16. Carefully slide the new belt over the pulleys, being careful not to contaminate it with grease, and adjust the tension as described above.
Note: After replacing the belt, it is recommended to check the tension again after approximately 400 km.