
8. Check the wheel bearings by grasping the sides of the wheel and rocking it from side to side. There should be some play, but if excessive movement is felt, the bearings need to be adjusted.
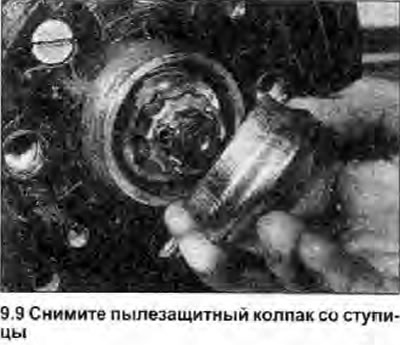
9. If adjustment is necessary, remove the wheel. Then, using a hammer and a machinist's chisel, carefully knock the dust cap off the end of the hub (photo).
10. Remove the stud and unscrew the fixing nut.
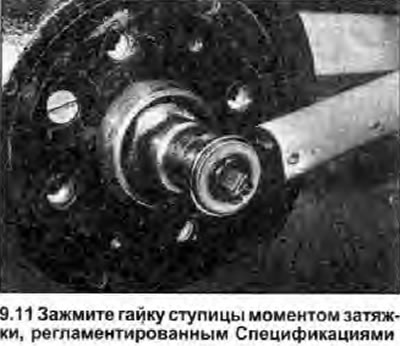
11. Tighten the hub nut with a tightening torque of 15 Nm (photo), while rotating the brake drum counterclockwise.
12. Tap the brake drum around the perimeter with a mallet to release the bearing cones.
13. Loosen the nut half a turn (180°), and then re-tighten it with a tightening torque of 5 Nm.
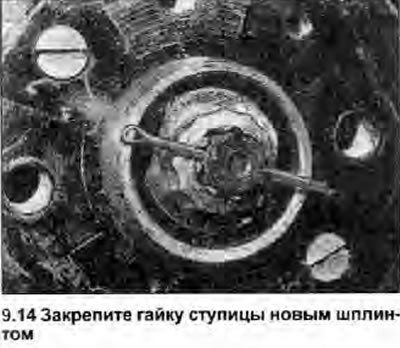
14. Install the lock nut so that the two slots in it are aligned with the cotter pin hole. Insert new pin (photo), bending its ends around the grooves of the fixing nut.
15. Hammer the dust cap into place.
16. Recheck the clearance as above, keeping this in mind. which is very important to have a small backlash.
17. Repeat the procedure on the opposite hub, install the wheels and lower the vehicle to the ground.