
Removing
1. The brake light switch is screwed into the top of the foot brake pedal bracket in the driver's footwell.
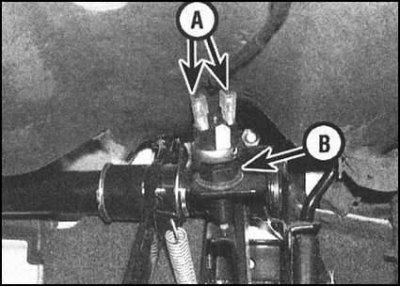
2. Under the instrument panel, disconnect the electrical wiring from the top of the sensor switch.
3. Loosen the lock nut, then unscrew the sensor switch and remove it from the pedal bracket along with the washer.
Installation
1. Install the locknut and washer on the sensor switch, then screw the latter into the pedal bracket.
2. Connect an ohmmeter/probe lamp between the sensor-switch terminals. Screw in the sensor-switch so that the device registers an open circuit (infinite resistance/probe lamp off). Gently depressing the foot brake pedal, check for conduction (zero resistance / probe lamp is on) already after 10÷15 mm of pedal travel. If necessary, correct the position of the sensor-switch, achieving the desired results.
3. In the absence of a meter at hand, the same adjustment can be made by visually registering the operation of the brake lights (ignition on) - use the help of an assistant.
4. Depress the pedal, then pull the sensor-switch plunger out, resting it against the body of the pedal. Release the pedal to install the plunger.
5. After adjusting the switch switch, securely tighten the locknut and connect the electrical wiring. Check again that the brake lights are working properly.