
Note. Reassembly will require a new hub assembly pinch bolt nut as well as new strut top mount nuts.
Removing
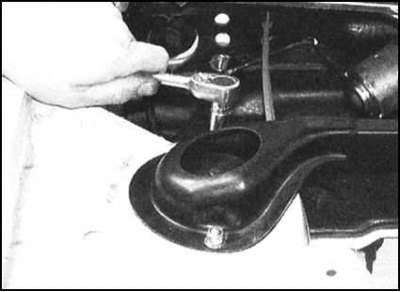
1. Open the hood and check the engine compartment for the presence of the upper suspension strut brace. If necessary, give nuts of the top support and remove a bar.
 |  |
2. Chock the rear wheels, apply the parking brake, then jack up the front of the vehicle and place it on jack stands. Remove the corresponding front wheel.
3. On models equipped with an anti-roll bar, loosen the stabilizer bar strut nut to the lower arm, remove the washer and lower rubber insert.
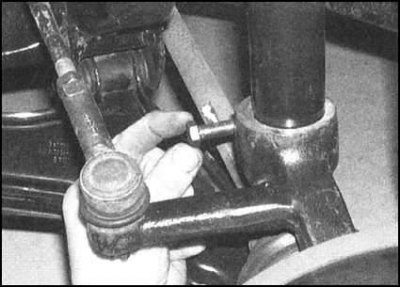
4. On all models, loosen the nut and remove the pinch bolt securing the hub assembly to the strut.
Note. During assembly, the nut must be replaced without fail.
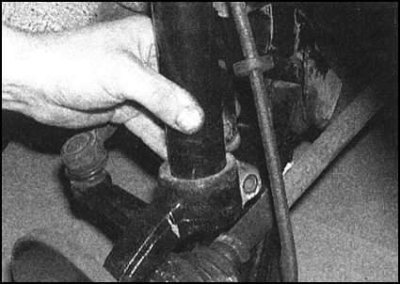
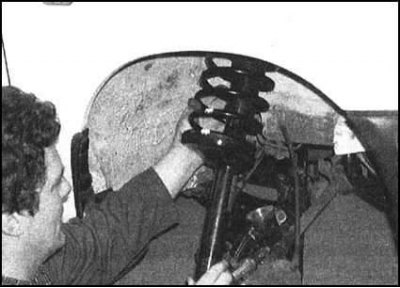
5. Using a pry bar, carefully lower the lower arm, releasing the ball joint from its seating collar at the base of the hub assembly - try not to over-tighten the brake hose. If the assembly does not separate from the rack, use a large flat-bladed screwdriver to carefully pry the jaws of the mounting collar. On models equipped with an anti-roll bar, try not to let the rubber cushion and the washer of the top support of the stabilizer bar link fall out.
Note. The ball joint pinch bolt must be replaced without fail (complete with its own nut).

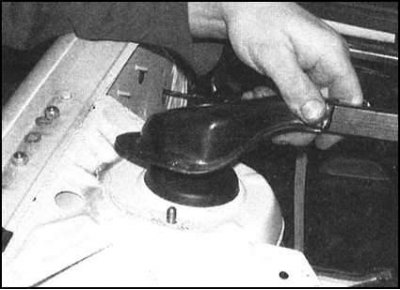
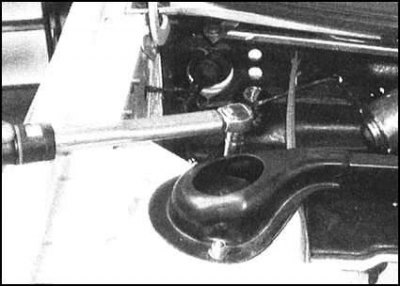
6. In an impellent compartment remove a plastic cover, then give nuts of the top support of a rack and remove washers.
Note. During assembly, the nuts must be replaced without fail. Remove the strut through the wheel arch and remove it from the vehicle.
Installation
1. Through the wheel arch, bring the rack to its regular place, install the washers and screw on the new upper nuts. Tighten the nuts to the required torque, then install the plastic cover. If the car is equipped with a spacer bar, temporarily screw on the old nuts, only lightly tightening them.
2. Insert the lower part of the rack into engagement with the hub assembly. On models equipped with an anti-roll bar, place the stabilizer bar post on the lower suspension arm, ensuring that the upper rubber insert and washer are correctly positioned.
3. Align the mounting holes, insert the tie bolt, screw on a new nut and tighten it to the required torque.
4. Where required, install lower rubber insert and stabilizer bar support washer. Screw on the nut and tighten it to the required torque.
5. Replace the wheel, then lower the vehicle to the ground and tighten the wheel bolts to the correct torque.
6. On models equipped with a strut brace, remove the old strut mounting nuts and replace with new ones (do not forget to put washers), by tightening them to the required torque.