
Front Suspension Strut Components

1 - Shock absorber; 2 - Helical spring; 3 - Protective cover; 4 - Buffer compression stroke; 5 - Upper spring plate; 6 - Bearing; 7 - Rubber cushion; 8 - Upper rack support; 9 - Rubber ring; 10 - Nut M12
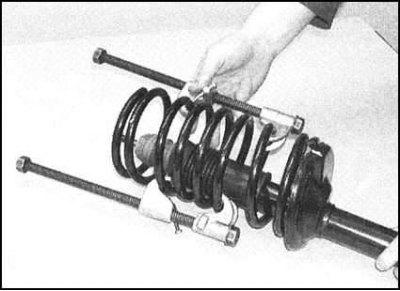
Note. You will need a special tool to compress the suspension coil springs. The compilers of this manual recommend the use of an adjustable type of tool - ask your car accessories store. Any attempt to disassemble the uprights without the use of a special tool is fraught with serious injury.
Reassembly will require a new mounting plate nut.

1. Remove the strut from the car, clean it of dirt, then clamp it vertically in a vise with soft jaws. Using a special tool, compress the helical spring, completely removing the load from the plates. Follow the correct fixing of the tool on the coils of the spring (strictly follow the manufacturer's instructions).
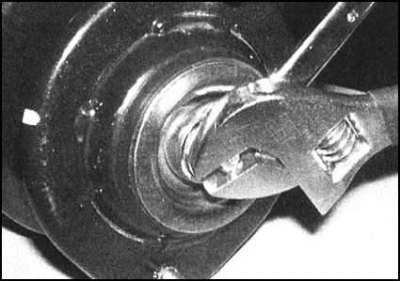
2. Using a wrench, block the piston rod of the rack-mount assembly from turning and give the nut securing the upper plate.
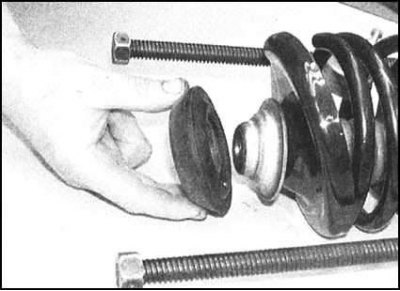
3. Remembering the installation position of the components, give the nut...
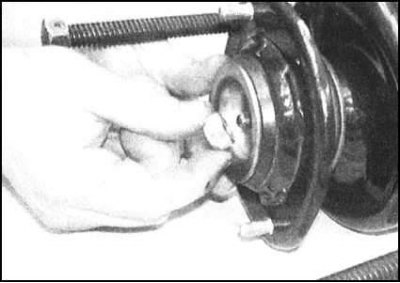
and remove the belleville washer from the rack...
... and mounting plate...
Note. During assembly, the nut must be replaced without fail.
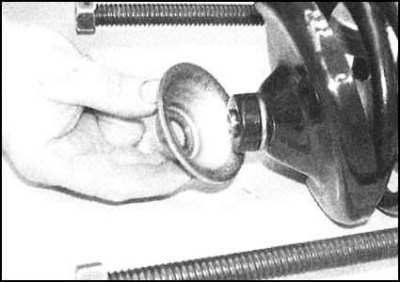
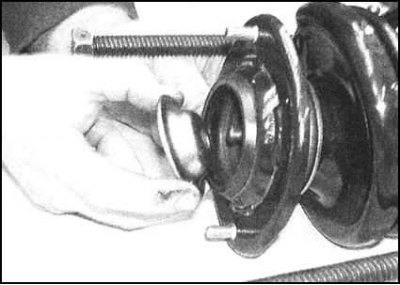
4. Remove the rubber bushing...
...bearing holder...
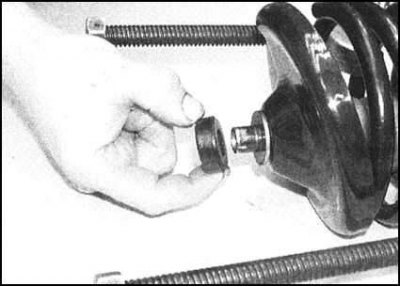
... bearing...
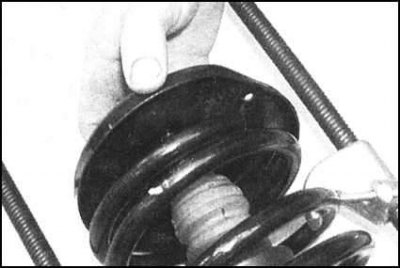
...remote bushing and upper spring plate...
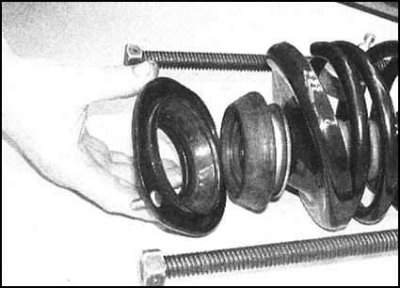
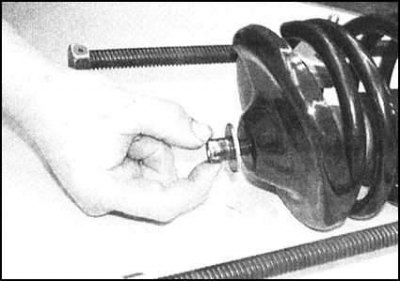
Then remove the coil spring...
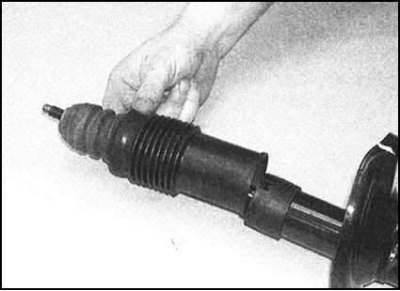
5. Remove the rubber protective boot and the compression stroke buffer from the shock absorber piston assembly.
6. Carefully inspect the shock absorber for signs of hydraulic fluid leaks. Check the piston for cavities, and the shock absorber body for mechanical damage. Holding the shock absorber vertically, check the correct operation of its operation, first over the entire length of its stroke, then on short compressions with a stroke of 50 to 100 mm. In both cases, the compression resistance must be uniform and continuous. Otherwise, the shock absorber is defective and must be replaced.
7. Check all components for signs of wear, deformation and mechanical damage, paying particular attention to the condition of the bearing and spacer. Replace defective parts.
8. Install the compression stroke buffer and rubber boot onto the shock absorber. Make sure that the lower edge of the boot is properly seated on the shock absorber body.
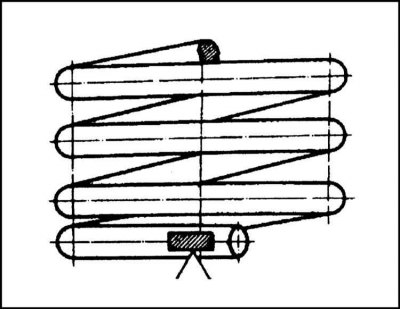
9. Replace the helical spring. Follow the correct fit of its lower end relative to the stop of the plate.
10. Fully stretch the shock absorber, then install the upper plate on it, again correctly turning it with an emphasis relative to the end of the spring.
11. Install the spacer, bearing, bearing retainer and rubber bush, then install the top mounting plate.
12. Install a Belleville washer on the piston, then screw on a new nut. While holding the piston from turning, tighten the mounting plate nut to the required torque.
13. After verifying that the spring is properly seated on the cymbal stops, release the compression tool and remove it from the rack.