
Removing
1. Disconnect the negative cable from the battery.
2. Remove the starter as described in Section 12.
3. Working in the engine compartment, turn the clutch cable adjusting nut counterclockwise to obtain maximum cable play. Separate the cable from the clutch release lever and release the cable cover from the mounting bracket.
4. Unscrew the knurled retaining ring and disconnect the speedometer drive cable from the drive mechanism mounted at the rear of the transmission.
5. Apply the handbrake, block the rear wheels, then jack up the front of the vehicle and place it on axle stands. Remove both front wheels.
6. Drain the gear oil as described in Section 1.
7. Remove the outlet pipe (see Section 4).
8. Loosen and remove the mounting screws, then remove the lower motor shield and the left side shield plate.
9. Disconnect the wiring connectors from the reversing light switch.
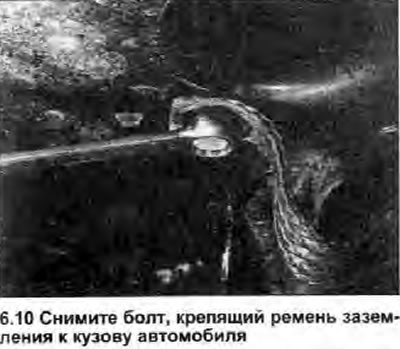
10. Working under the vehicle, loosen and remove the mounting bolt, then disconnect the transmission ground strap from the underside of the vehicle (see photo).
11. Disconnect the movable link and the gearshift stabilizer bar from the transmission as described in Chapter 2.
12. Remove the internal CV joints of the drive shafts from the transmission as described in paragraphs 3-6 of Chapter 4.
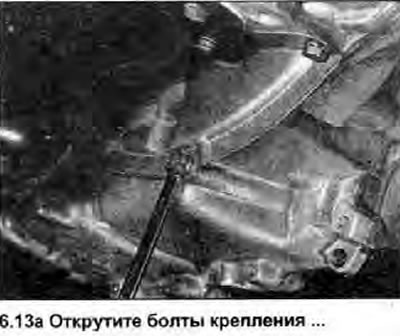
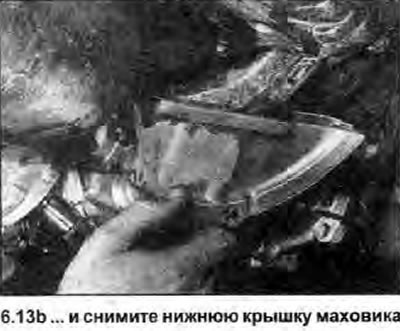
13. Unscrew the fixing nuts and the bolt of the lower flywheel cover and remove the cover from the transmission (see photo).
 |  |
14. Loosen the nut securing the rear engine/transmission connecting rod to the subframe bracket, then remove the bolt securing the rod to the engine support bracket and slide the rod out from under the vehicle.
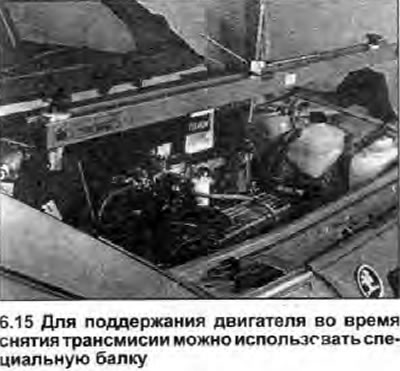
15. Place a jack under the engine, laying a piece of board between them, and slightly raise it to transfer the weight of the engine to the jack. Alternatively, attach mounting lugs to the engine lift bracket on the cylinder head and attach a winch or support beam slings to them (see photo).
16. Support the transmission with a jack, laying a piece of board between them.
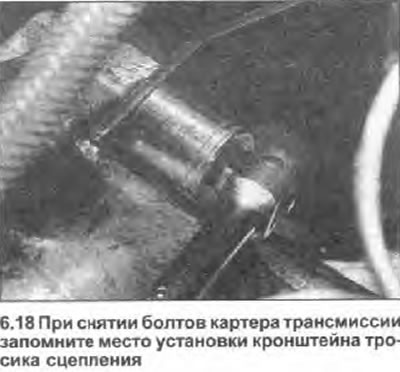
17. Loosen and remove the left engine/transmission mount thru-bolt and remove the square nut from the front of the mounting bracket. Loosen the right hanger through bolt.
18. Remove any remaining bolts securing the transmission to the engine, noting the correct location of the clutch cable mounting bracket, then again ensure that you have disengaged and disconnected all adjacent components (see photo). Move the drive shafts and shift linkage away from the transmission unit so that they do not interfere with the removal procedure.
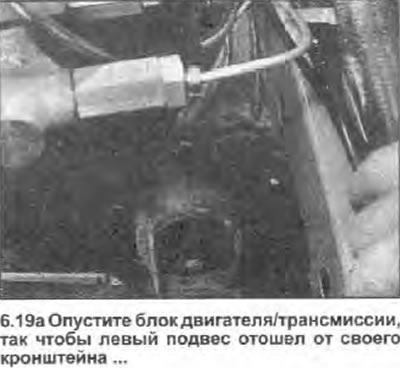
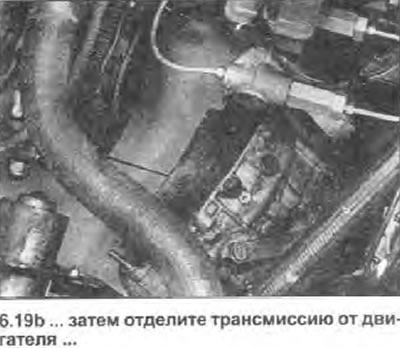
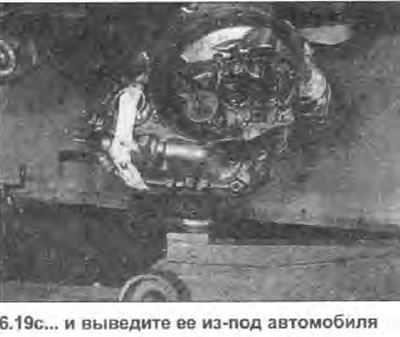
19. Gently lower the engine and transmission until the left hanger separates from its bracket, then separate the transmission from the engine. This may be difficult to do at first due to the alignment pins. Do not let the transmission hang with its full weight on the input shaft. Once the transmission is free, lower the jack and move the block out from under the vehicle (see photo).
 |  |
 |
Installation
20. Install the transmission in the reverse order of removal, paying attention to the following:
- a) Make sure all mounting pins are in position before installation.
- b) Apply a small amount of high temperature grease to the transmission input shaft grooves. Measure the amount of grease very carefully, there is a high probability of contamination of the clutch friction disc linings with excess grease.
- c) Tighten all nuts and bolts with a torque specified specifications.
- d) Connect the shift rod and stabilizer bar as described in Chapter 2.
- e) Install drive vases as described in paragraphs 9-12 of Chapter 4.
- f) Adjust the length of the clutch cable (see section 1).
- g) Finally, fill the transmission with the Specifications type and amount of oil (see section 1).